Rosewill R5 Black Mid Tower Case Review
R5 Exterior Thoughts
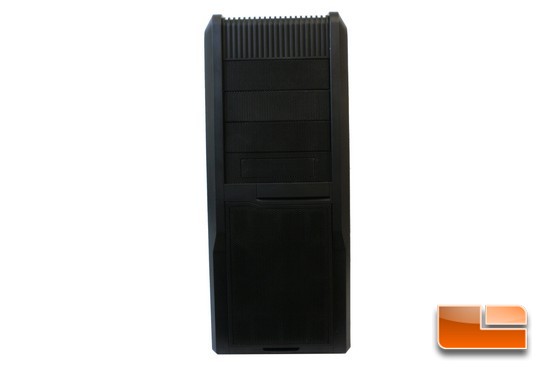
I am going to start the this review of the exterior at the front of the R5 chassis, and then make my way around the entire external chassis. First glance at the front of this chassis, we can see that the R5 can handle up to 4 5.25 bay devices/drives, this chassis can also accommodate a 3.5 floppy drive (for those who may still use this drive).
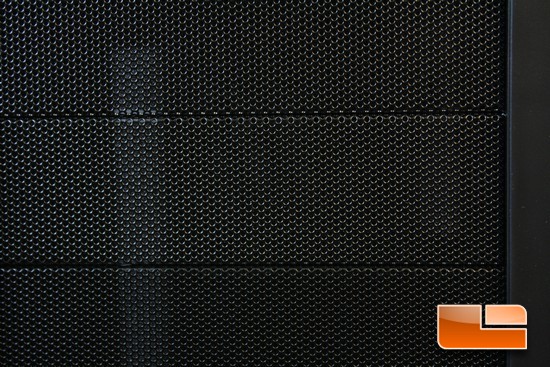
Each of the 5.25 bay covers utilize a metal mesh covering to allow for more ventilation inside of the R5 chassis.
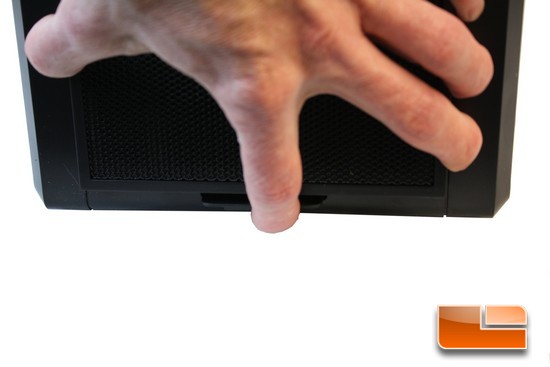
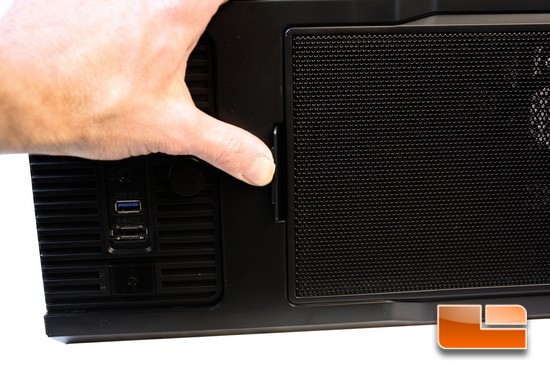
Instead of having to remove the entire front bezel to gain access to the front fan filter, Rosewill puts in a smaller filter holder that can be removed. To remove the front fan filter, gently grab the small clip that secures the filter and lift it up.
I would like to add that the size of this fan filter carrier is rather large, and has enough surface area to keep our fans free flowing.
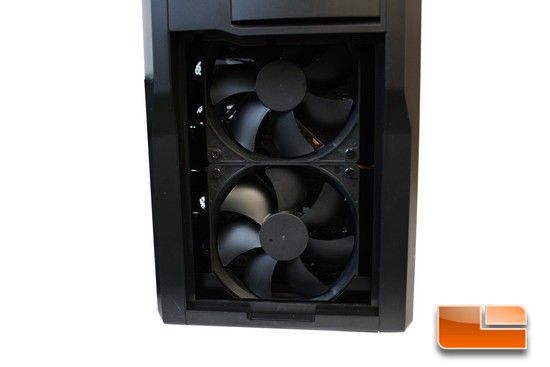
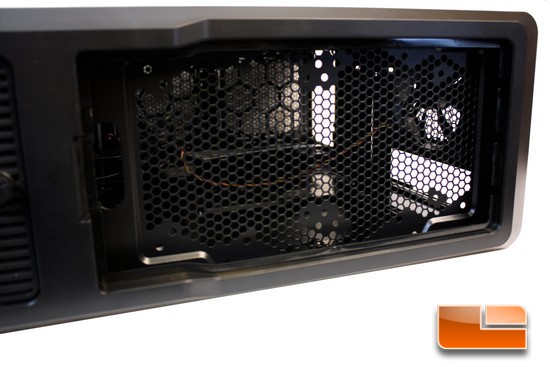
As soon as we remove the front bezel fan filter holder, we can see that Rosewill places 2 120mm fans up in the front of this chassis. This should give us plenty of fresh air from the front of this chassis.
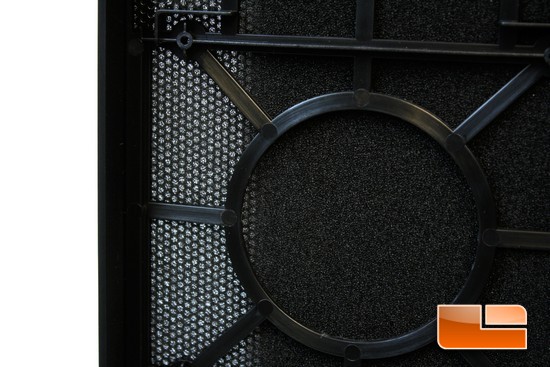
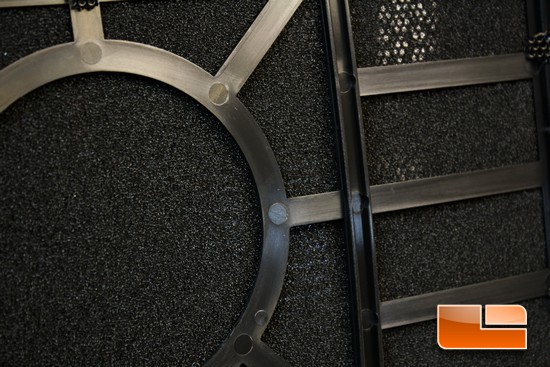
Looking at what Rosewill uses as a filter for the front fans. This has gotten me rather baffled; we cannot remove just the filter to be able to clean it. So the only way to clean this filter is we have to clean the carrier as well.
I would have liked to have the filter being able to be removed by itself, so it can make cleaning a little easier for us to perform.
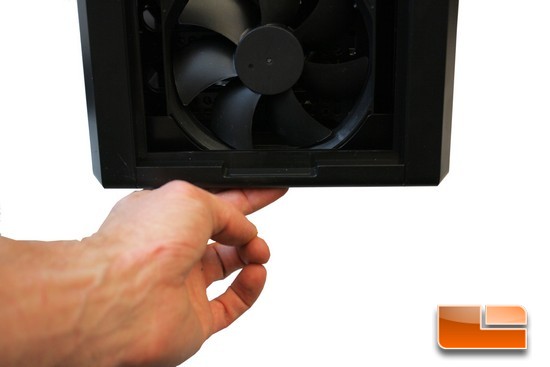
If we ever need to remove the front fans, Rosewill makes the entire front bezel removable. Like many other chassis, just need to put our hands just underneath the front bezel and gently pull it towards us.
Removing the front bezel was extremely easy and did not require a lot force to remove it. Literally it is a two finger removal job; where it just requires two fingers to remove the front bezel.

Looking at the front of the R5 chassis with the front bezel removed.
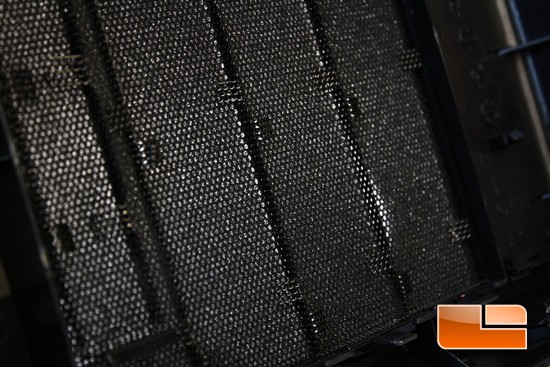
Like many other chassis on the market today, Rosewill includes small foam filters behind the 5.25 bay covers to keep large particles entering the R5 chassis.
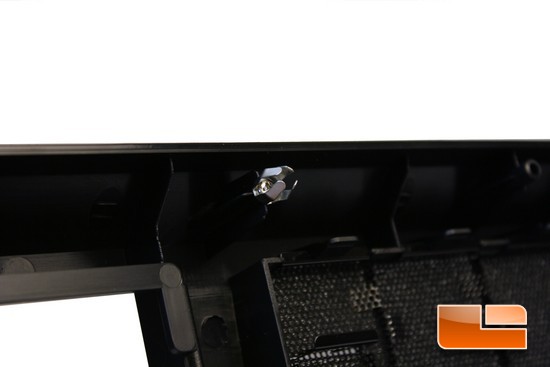
I had to show you why the front bezel was so easy to remove. Rosewill uses metal clips on the front bezel, instead of using a plastic clip that is molded into the front bezel like other chassis manufacturers do.
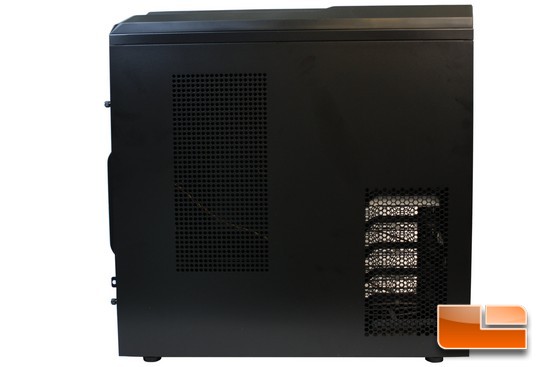
Time for me to turn my attention over to the left side of the R5 chassis. To the front of the left side panel (Right side in picture), Rosewill includes HDD ventilation ports; no we cannot mount fans here. To the rear of the left side panel (Left side in picture) are more ventilation holes, we can mount either 2 120/140mm fans here or a combination of both. These fan vents do not have any fan filters mounted/installed here.
We will have to guess how to mount the side panel fans to this side panel. As I do not see any fan mounting holes for our 120/140mm fans. I would have preferred to have seen some fan mounting holes here to make installation a bit easier.
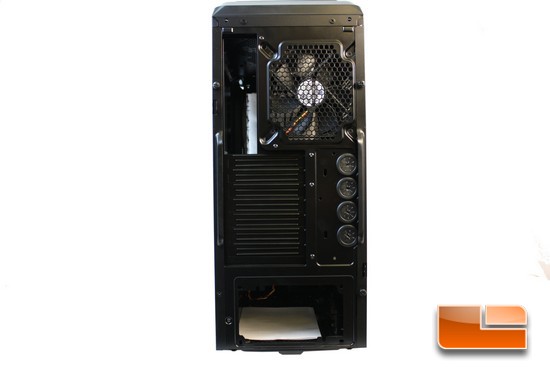
Time for me to give a good look at the rear/back side of the Rosewill R5 chassis.
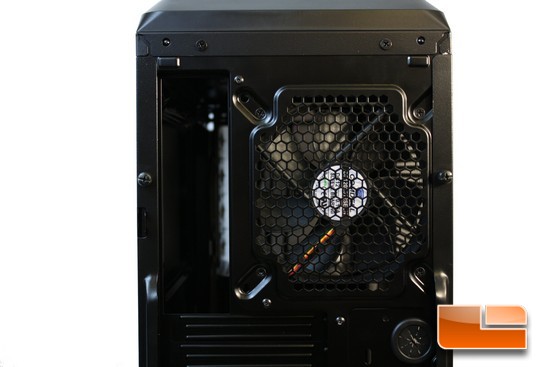
Starting up from the top and working my way down, we can see that Rosewill uses a pretty standard layout we have seen on countless of other chassis. The R5 chassis can mount either a 120mm (installed) or a 140mm fan as an exhaust fan.
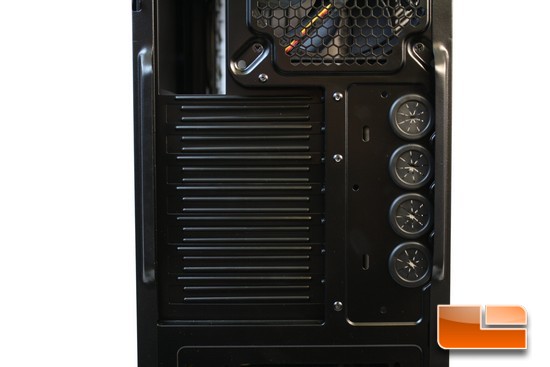
Looking at the PCI expansion ports, the R5 chassis can use motherboards that only have 7 PCI expansion ports. Now this is what I thought was a nice addition to this chassis, was the addition of 4 rear facing water cooling access ports into this chassis instead of the traditional 2.
I like to run a dual loop water cooling set up on my computer, which gives me 4 hoses to deal with, the R5 chassis can easily accommodate this unique water cooled computer configuration.

The R5 chassis uses multiple mounting holes for the PSU to accommodate a multitude of different PSUs, or mounting configurations.
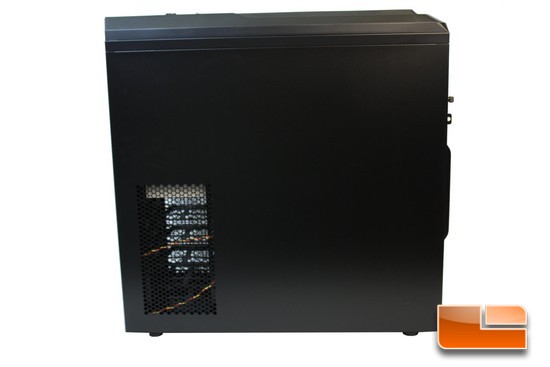
The right side of the R5 chassis, again Rosewill uses ventilation holes near the HDDs. But this time we can mount 2 120mm fans here to help improve our HDD cooling. Once again there are no fan filters are mounted/installed here, and no visible fan mounting holes.
Again I would have preferred to have seen some fan mounting holes to make our fan installation a bit easier.
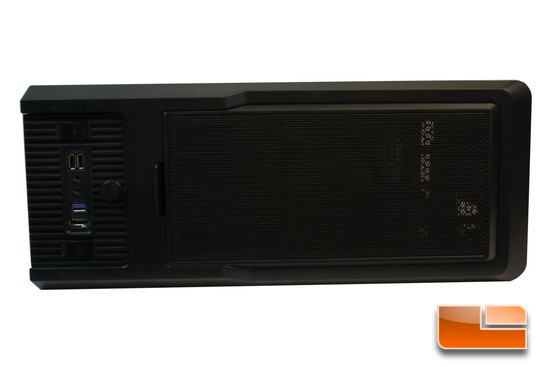
Turning our attention over to the top of the Rosewill R5 chassis.
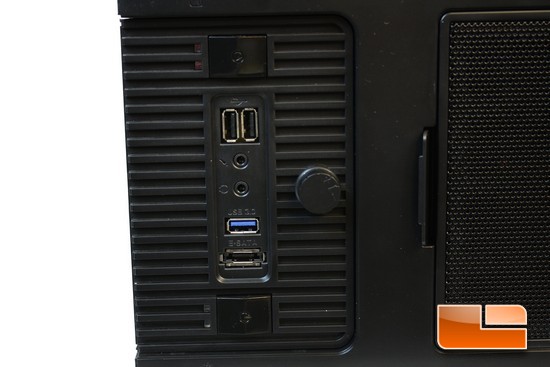
Looking at how Rosewill has the front IO ports on the R5 chassis. Right in the middle of the IO ports, are the (starting from the bottom and working upwards) is the E-SATA port, a single USB 3 port, the front headphone/mic jacks, and finally we have 2 USB 2 ports. Right behind the USB ports, is a single fan controller knob, this fan controller controls up to 4 fans. To the very edges of the R5 front IO ports are the on/off power buttons, and the reset buttons. On/off button is located at the bottom, reset is located towards the top in the picture.
What confuses me is why Rosewill only gives us 1 USB 3 front IO port, instead of 2.
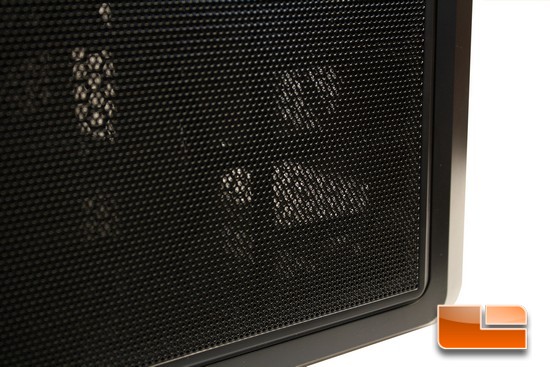
Looking at the rear mesh covered fan cover. Why would Rosewill use such small mesh for exhaust fans is beyond me.
In order to install fans up on the top of the R5 chassis, we first have to remove this rear fan cover, because the upper bezel is non-removable. Similar to the front fan filter holder there is a small clip that needs to be pushed back so we can lift the cover off the upper bezel.
With the rear fan cover removed, we can see that we can install 2 120mm fans up towards the top of the R5 chassis.
This is another area that has me baffled with the R5 chassis. We are looking at the inner portion of the upper rear fan cover, and Rosewill places a foam fan filter here. Which makes this upper portion of the chassis an air intake and not a exhaust. Just like the front fan filter, Rosewill does not make this foam filter removable either. I would have liked to have seen these fan filters removable as it would make servicing them a lot easier on us computer users.
I have heard computer users using the upper chassis fans as intakes, and have the air circulate from top to bottom. Which brings me to why there were no fan filters on the side panels, because these fans are the exhaust fans for the R5 chassis. But my confusion is that hot air rises, and cold air descends. It would only make logical sense to have the chassis follow this simple physics rule, have the top fans exhaust air out, bottom side fans blow air inwards. I am not going to gig the R5 chassis for this arrangement, but it is still rather perplexing to me.
Finishing up this exterior portion of the R5 review, I am going to give the bottom of the chassis a look through.
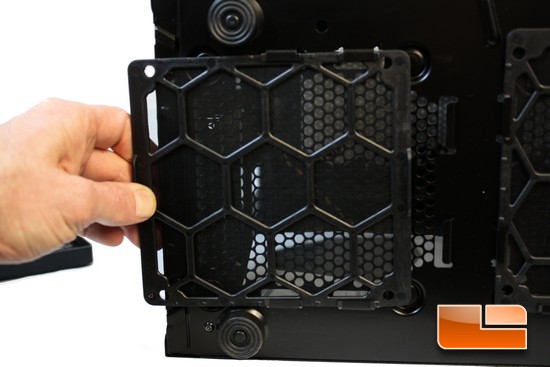
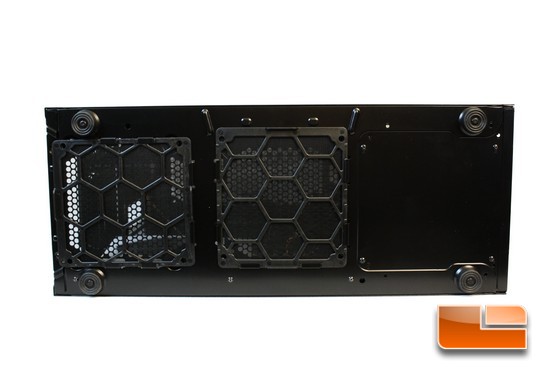
Now this is what I like to see, removable sliding bottom fan filters. Makes gaining access and cleaning these fan filters so much easier for us computer users. This filter is for the PSU.
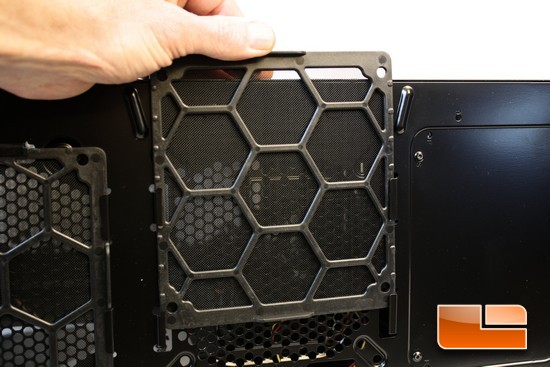
Rosewill also places a removable sliding fan filter for the optional bottom 120mm fan.
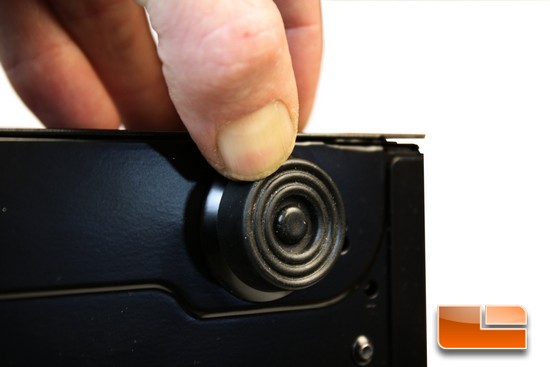
To round off the external portion of the R5 chassis, I am going to look at the feet. Now this is an area I think Rosewill could have done a bit better with. That being the feet of the R5 chassis, these are not made from a soft material, like rubber, these are instead made from a harder plastic. So we will need to be careful on what surface types we place this chassis up on.

Comments are closed.