Rosewill Armor Mid Tower PC Case Review
Installing Parts into the Rosewill Armor

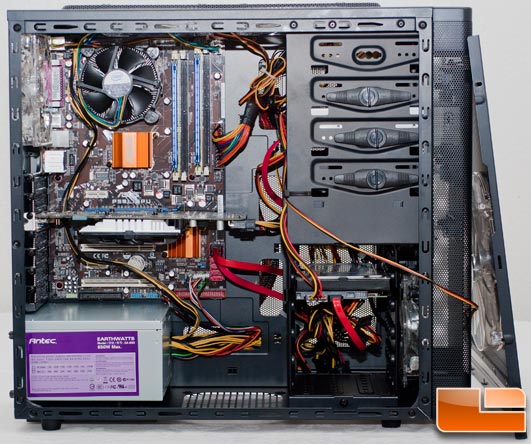
Installing hardware into the Rosewill Armor was an adventure, probably because I am used to bigger cases. The Asus 9600 GSO that is installed is nine inches in length, and it’s noticeable that there is not much more room beyond that for larger cards to fit. There are about ten inches of room to work with so a GTX 480 will more than likely not fit as it’s ten and a half inches long. Routing the cables was easy enough. You will probably also notice how the hard drive is mounted. I wanted it the other way around, but oddly, the rails did not fit the drive that way nor went into the cage through the other side. Not a big issue in my book.

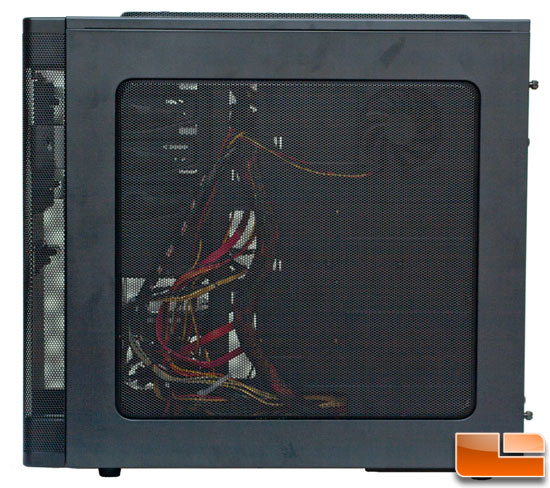
However, unless you have some flat cables or do a better routing job than I did, you may have to use some elbow grease to get the panel on. There is only about a half inch of room to work with. As mentioned earlier, hiding the cables out of plain sight will be next to futile due to the majority of the Rosewill Armor being mesh. Normally I shoot an image with the panel off, but even with zip ties in place, however, convincing the cables of the power supply to stay put was a bit of a challenge.
 !
!
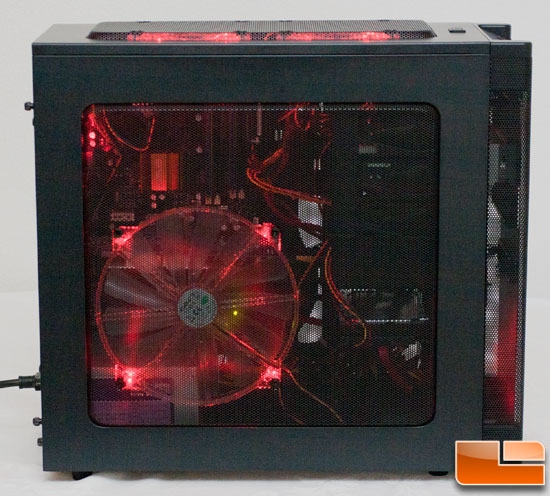
I mentioned on the previous page that the side fan should be connected to the fan hub inside the case. I believe the motherboard apparently doesn’t provide enough power to turn the LED’s on as they lit up, but they were barely even noticeable. I connected the fan to the hub, and the lights shone bright as seen above.

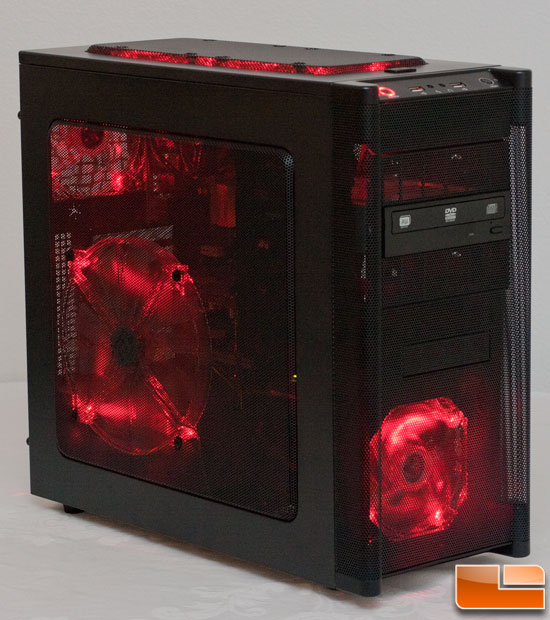
Another view with the lights on. There wasn’t much info on airflow but I can say that there is a good amount being moved so your hardware should stay nice and cool.

Comments are closed.