OCZ Vertex 120GB v1.10 MLC SSD Review
Updating The Firmware and Trim
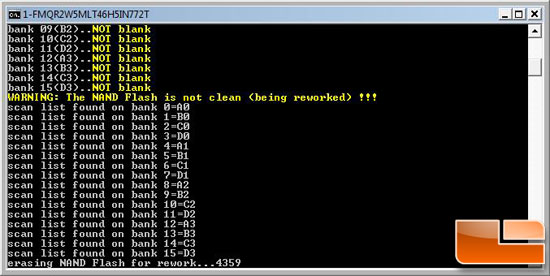
The OCZ Vertex SSD series is one of the few on the market that supports consumer firmware updates. Flashing the drive destroys all data on the drive, so this isn’t something you want to do often. Just to give you an idea the OCZ Vertex has not had one, but five firmware updates over the past couple months! Since we had to update the Vertex to firmware v1.10 we’ll walk you through the process.
In order to enter the firmware update mode you need to place a jumper on the two exposed jumper pins and off you go. This might be tricky for some as OCZ does not include the jumper needed to flash the drive. We happen to have hundreds of jumpers laying around, so it wasn’t a big deal for us. Remember to place the jumper on the drive before you boot up with no power on the drive. Once the jumper is on the drive like shown in the picture above, you can power up the PC. Once the PC boots enter the BIOS and make sure the SATA mode in BIOS is set to IDE (Native) not RAID.
Once the system boots to the desktop you can run the firmware application to update your SSD. On our Windows Vista 64-bit system the program worked perfectly, but it should be noted that the .exe had to be run as an admin in order for it to work.
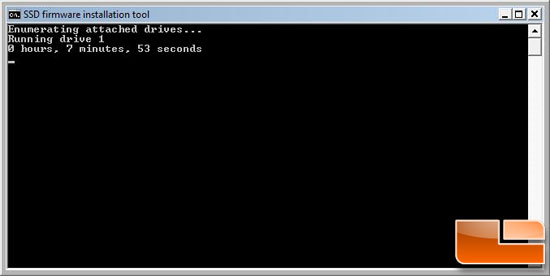
It took under 8 minutes for the flash to complete and it will then prompt you to remove the jumper on the hard drive for some strange reason. Do not remove it yet, rather hit ok and then cancel on the next option and the application will close. At this point in time you can power down the system and remove the firmware jumper. Change the settings back in the BIOS to how you want them and the flash is complete. If you have more than one drive you’ll have to do this process for each one. It isn’t bad and takes about 10-15 minutes per drive. OCZ is working on a firmware update utility that doesn’t erase al your data, but it is in the early beta stages right now with no known release date.
Using TRIM
A brand new feature that OCZ introduced with firmware v1.10 is TRIM. This is nothing more than an ATA command that resets blocks which have been marked as erased, allowing them to be written to without having to erase them first. This will obviously improve performance on SSDs as the drive can write data without having to erase anything. To better understand what TRIM does check out this Microsoft presentation, and if that doesn’t do the trick check out what Anand said in a recent article.
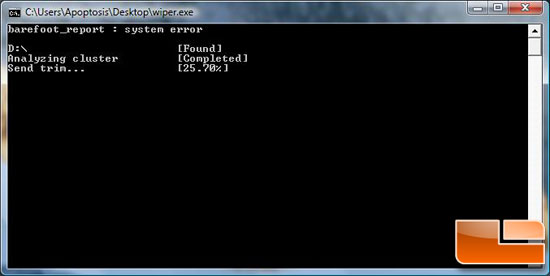
Since Windows 7 isn’t out yet, OCZ has produced a beta ‘TRIM’ utility called wiper.exe. Wiper basically does what TRIM does, but is a stand alone application that can be used on Windows and Linux operating systems that you have to manually run when you feel its needed to improve drive performance. There is a catch though as the application only works well with 32-bit operating systems and is not supported by Mac operating systems or on 64-bit versions of Windows. It seems that OCZ is seeing corruption with 64-bit Windows Vista and Windows 7, so they no longer have a beta version available online to try out for those of you running 64-bit. We were able to run this utility on and it does recover performance!
Comments are closed.