NZXT H440 Razer Edition Mid-Tower Case Review
H440 Razer Edition Hardware Installation
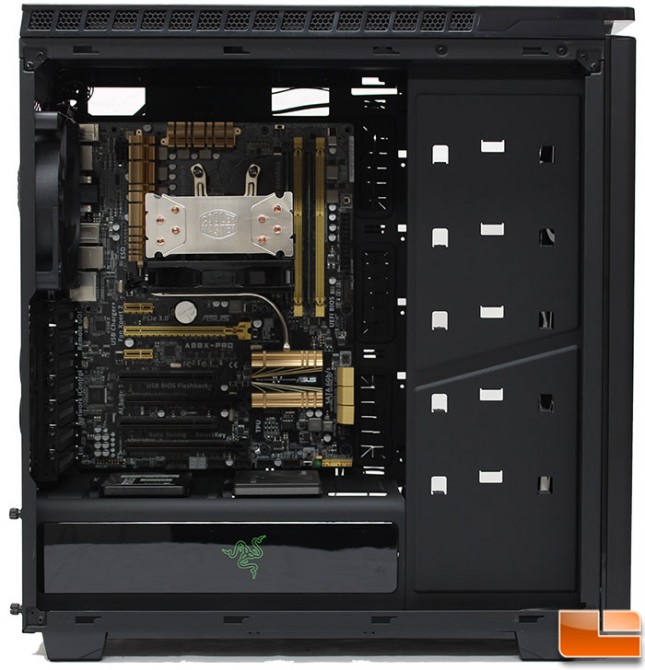
Before finishing the installation of the various cables, let’s take a quick look at the motherboard and 2.5″ SSD drives that are installed. Everything has gone according to plan at this point. One little thing to keep in mind with the SSD’s, they are nearly flush with the power supply cover, so you will want to make sure you have straight SATA cables and power cables. Thankfully, I had a long SATA power splitter that worked perfectly for this installation.
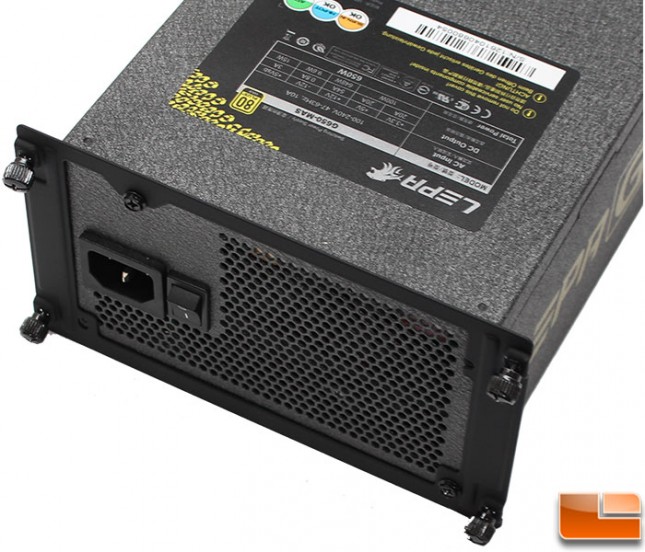
Installing the power supply through the back of the case requires attaching the power supply bracket to the unit first. It is removed from the case with four thumbscrews, and then attached to the power supply using the standard power supply hex screws. Then slide it into place and start routing the cables. With the Lepa G power supply, it is partially modular, the main 24-pin and 8-pin Aux power cables are attached, and when the power supply is slid into place, they are on the back side of the case, which makes it a little more difficult to attach the modular power cables, so it might be best to attach those first. I was able to attach the modular cables once the power supply was in place, it just took a little more time.
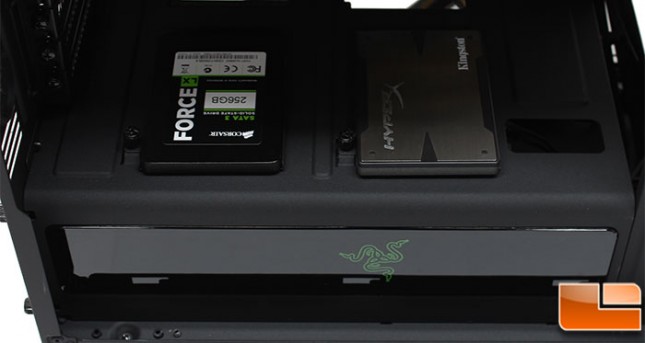
Attaching the two 2.5″ SSD’s to the trays was done easily enough. The only obstacle is that they are practically resting on the power supply cover, and right angle SATA cables will not work, you will want to make sure you have straight SATA cables. As for the power cables, you will run into the same obstacle, for that it is best to use the power connector at the end of the cable, but that will limit the connections that can be used. Simple Molex to SATA power adapters work great for this, I had one on hand that gave about eight inches of cable, so the power connection could be routed to the bottom of the power supply cover.
With all the cables in place, and the system fully connected, it’s time to take a look at the back side of the motherboard and the cable management options. Routing the cables was easy, most of the cables that are included with the H440 are already routed and tied in place making it easy to finish. While I didn’t spend any time on cable management, it all went pretty naturally in place. While running the cables was easy, and the side panel went back into place without any issues, a tiny bit more space would be nice so the cables could be cleaned up a little. The 8-pin motherboard Aux power cable was just long enough to reach the connector, if the cable had been a little longer, then I could’ve routed it along the back edge, at least it’s back here where it’s out of sight.
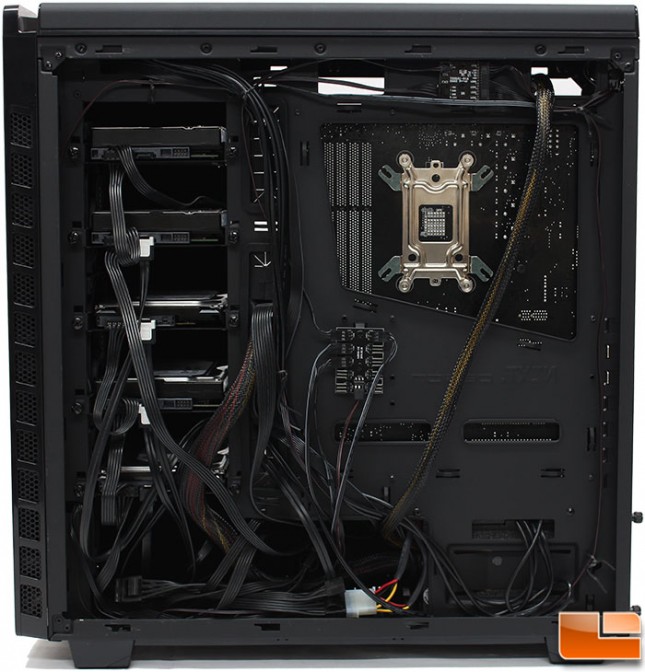
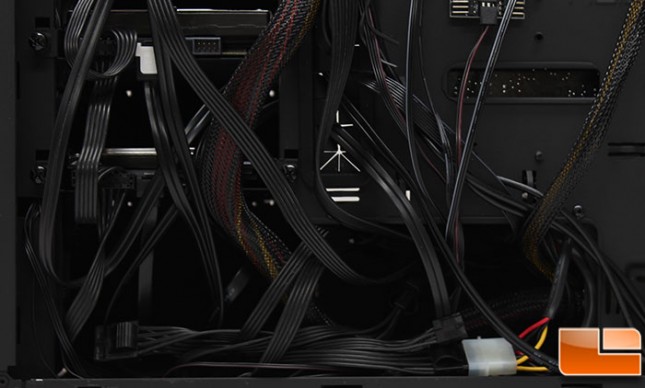
Looking at the big mess of cables that will be hidden beneath the power supply cover, you could spend a ton of time getting them organized and cleaned up. Really though, it doesn’t matter much, there is plenty of room to push the cables into the open space and keep them out of the way; just watch the front intake fans.
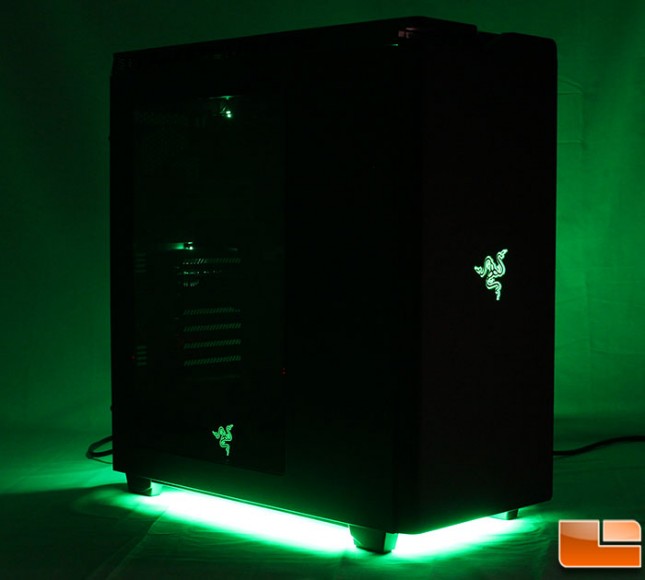
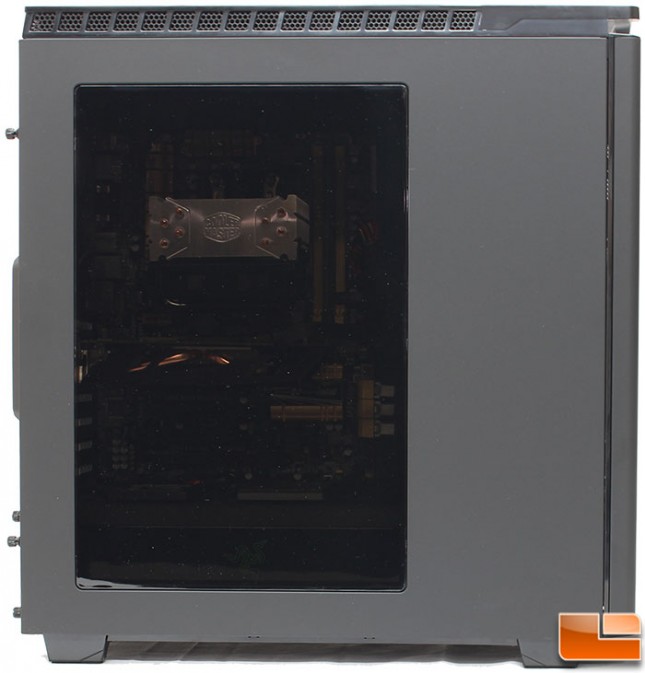
With the side panel on, I wanted to get a good view through the tinted window, however the only way I was able to do that was to turn up the flash, which made the case look grey rather than black; so ignore that part.
With the system turned on, I pressed the LED button in the back of the case, everything sudden lit up and I was amazed at the color and light provided by the various LED’s. While I’m not a fan of the green color, I have to admit it looks incredible. In person, it is much nicer than the picture shows. The two Razer logo’s light up, and the bottom LED strips light up and are pretty bright. While the green is Razer’s color, I personally would love an option to change the color of the LED’s on the bottom.