NZXT H230 Silent Mid-Tower Case Review
H230 Hardware Installation
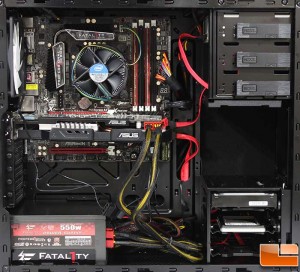
Installing a system in the H230 is a breeze, for the most part there were no surprises during the build process. The middle hard drive cage is removable to allow for extremely long video cards, to remove it when installing hard drives, there are two thumb screws and the chassis slides out the back. With the chassis removed, you might be able to fit a 120mm radiator in there. Since I don’t have one to verify, it’s only an assumption.
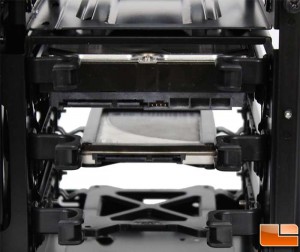
Once the hard drives are secured to the trays they slide into place and lock in. Its pretty simple, at least until you go to attach cables. If all the drives are the same size, it probably won’t be a big deal. However, if you install an SSD as a boot drive and a 3.5″ standard drive for data and try to place them on top of each other, the connectors do not line up. It takes a little more to connect the cables but it is still pretty easy to do.
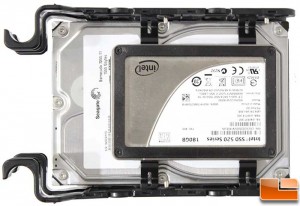
Stacking the drives on top of each other you can see why the connectors do not line up when installed in the system. This is the only orientation for the drives, if you flip the drives around the holes do not line up correctly. Slight change to the manufacturing of the trays and it would be perfect. Definitely nothing to get upset over, just something that I would like to see changed on future implementations.
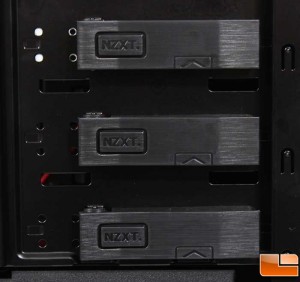
Most 5.25″ tool-less bays use either a slide, spring loaded release, or a knob to release the locking mechanism. On the H230 it’s a snap in type lock, simply squeezing the top and bottom of the latch (in the right spot) and it’ll release the latch. Putting it back in place took a little more effort than I expected, but went into place securely.
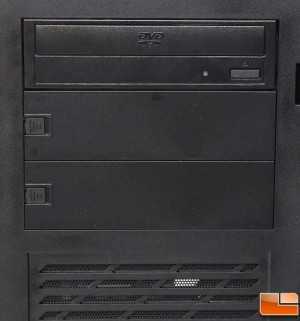
Installing a 5.25″ device is done very easily, as there are no internal drive bay covers to remove, the external covers can be removed without the need to have access to the inside. The slide latch moves easily and provides quick and easy removal. Once it is off, a device can slide into the bay very easily, then it is secured with the tool-less clips internally.
Once everything was in place, it was time to put the side panels back on. The back side panel was rather difficult to get back in place. There is only 14mm (0.5inches) of space for cable management. Unless the power supply happens to have a flat 24-pin power cable, it will be rather thick and with all the other cables back there, there simply isn’t a lot of space.