Gigabyte X48-DS5 Motherboard Review
Bundle and BIOS
Gigabyte has always been one of my favorites when it came to the design of their boxes. I love the bright coloring and the graphics. Clean and neat, which is so like every other area of my life! (JK) Anyway, they do a great job with it.

Gigabyte provides a decent bundle with their GA-X48-DS5 board. It is getting harder and harder for companies to separate themselves from one another, so the bundle is becoming more and more important to the consumer as they make their pick.
Gigabyte includes a multitude of cables for your setup, including SATA, IDE, floppy and SATA power adaptor cables. Gigabyte also provides plenty of documentation that is well thought out and written in a simple and concise manner. The quick start guide is handy to have, and the included CDs are all you need to get started as far as drivers and apps go. You also get your backplate and a sticker!
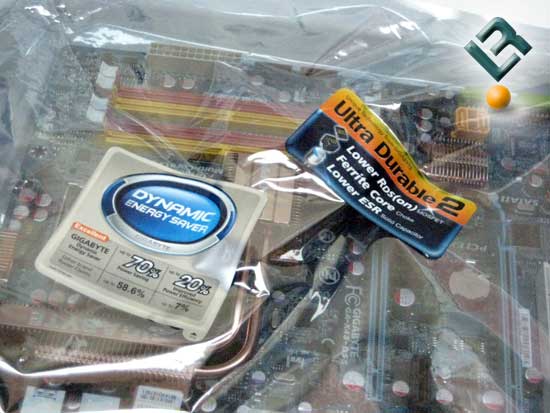
As you open up the box, you are greeted with a couple of stickers on the static bag advertising the Ultra Durable 2 and DES (Dynamic Energy Saver) features on the board.
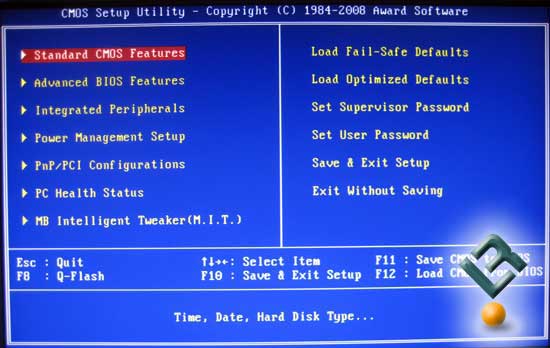
Gigabyte chose to go with a customized AWARD BIOS for their Ga-X48-DS5 motherboard. And as always, the MIT is the place to be when it comes to tweaking the board. Also, as they usually do (blah!), they still have their exclusive Control-F1 trick to get to some advanced settings for the board, although there were not as many hidden settings as we have seen on previous boards.
There are a few pages that we will not really comment too much on, but we wanted you to be able to see them. We will look the closest at the MIT page, since it has most of what we are looking for when it comes to tweaking, overclocking and such.
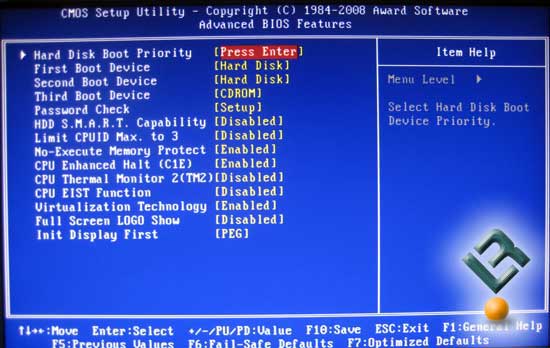
The Advanced page. Here we have our Boot device order and other settings you can adjust for the boot process.
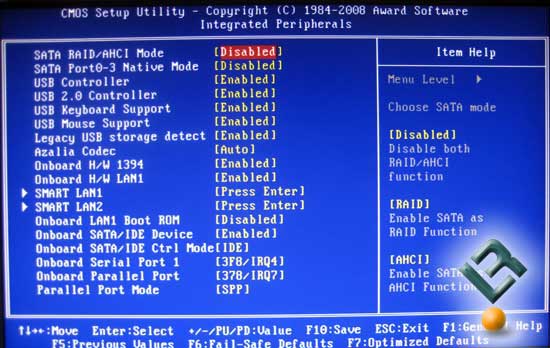
Integrated Peripherals page…
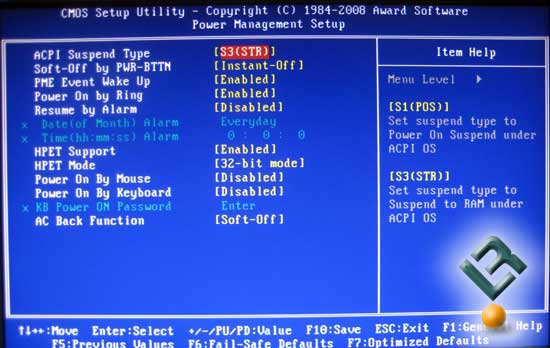
Power management setup…
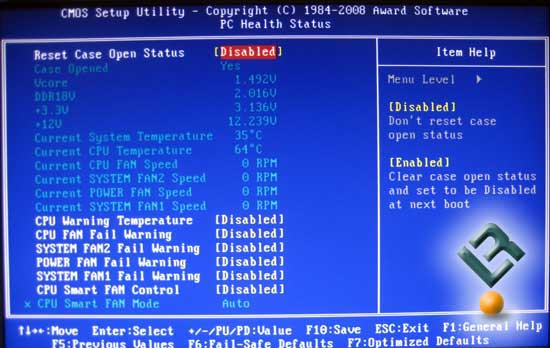
The Health page has plenty of information and settings about your rig to help you keep it safe.
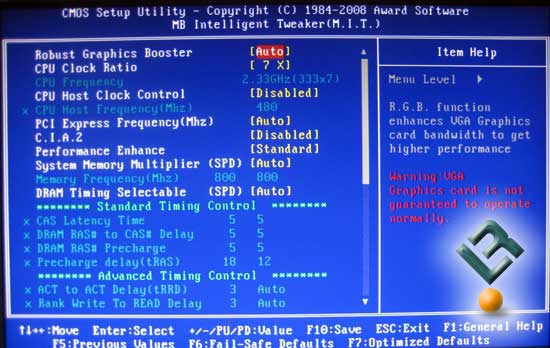
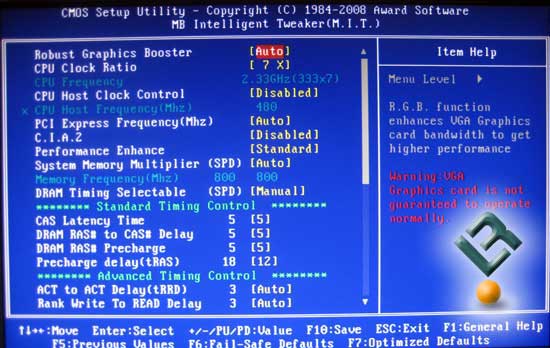
As I stated earlier, the MIT page is where you find most of the settings you will need. This first picture is with everything pretty much set at Auto. Now, lets switch the settings and look and see what we have…
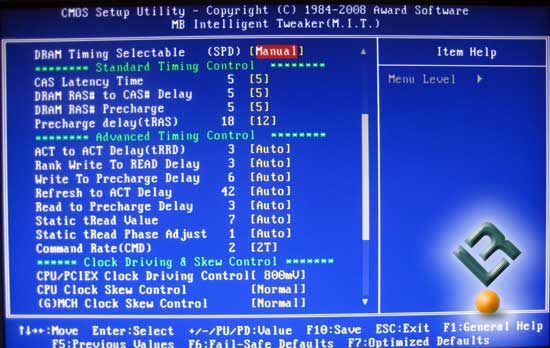
Once we set it to manual and already hit the secret Control-F1, we get the option to set things like the DRAM timings, and a few other things we will not look closer at. First, lets look at the full length of the MIT page…
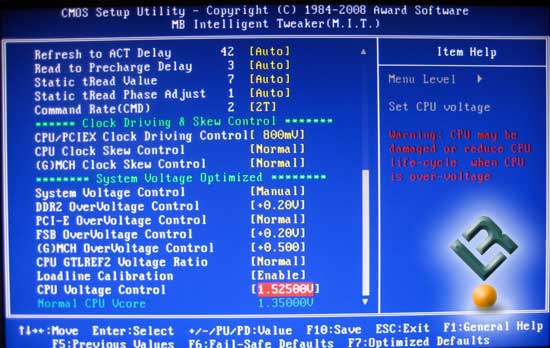
Ok, so now lets look at some of the specific settings that every enthusiast wants to see:
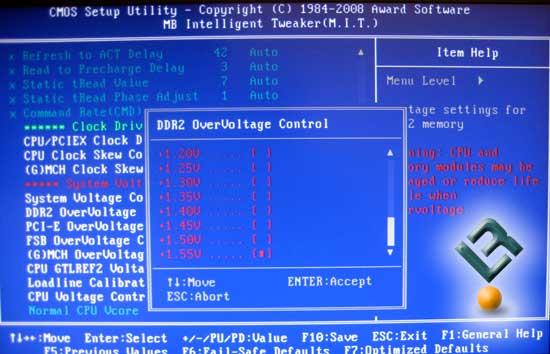
Vdimm is able to be set to an incredible 1.55v over the default value of 1.8v. That is an insane amount of voltage, and is certainly not recommended by anyone!
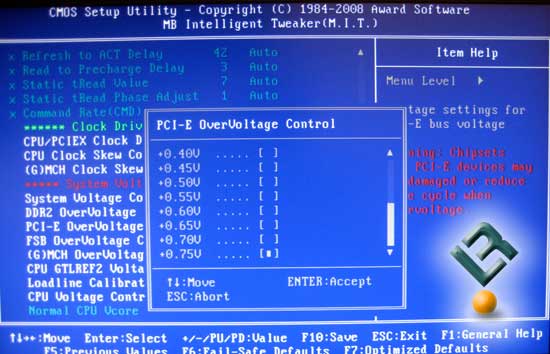
PCI-E voltage can be set to .75v over the default.
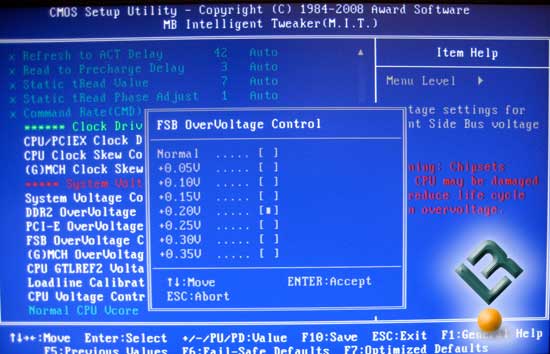
FSB overvoltage gives us an extra .35v to use.

MCH voltage can be set up to .775v over default.
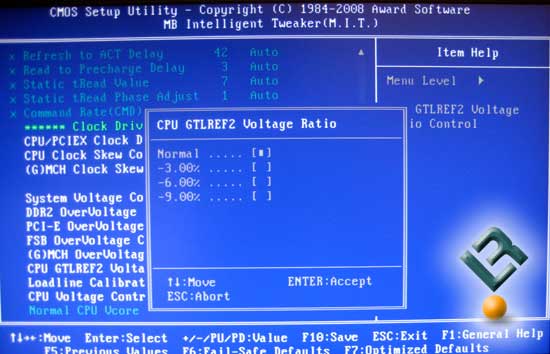
GTL ref voltage settings…
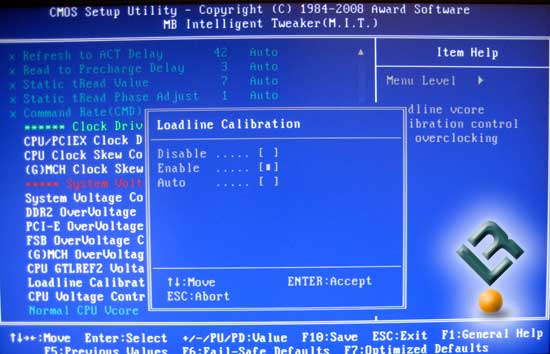
Loadline Calibration…
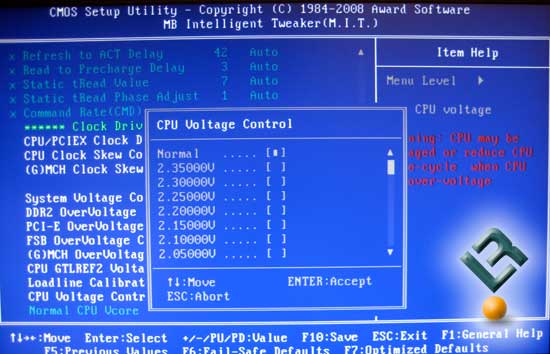
Gigabyte gives us the option to set the vcore to an astounding 2.35v. This is also not a recommended setting for daily use!
Lets move on.
Comments are closed.