Gigabyte GA-965P-DQ6 Motherboard Review
Bundle and BIOS
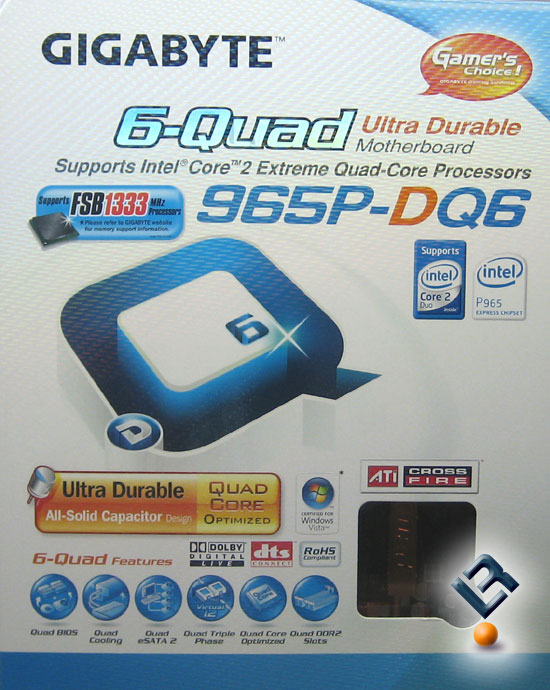
The board comes boxed in a pretty snazzy fashion. Its outer box is colorful and includes…
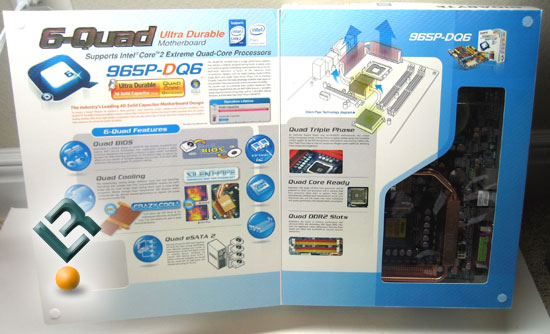
a flap to open and read more about the board. Though not necessary, it is a pretty attractive setup nonetheless.

The bundle we had included several SATA cables a floppy and IDE cable, our back I/O plate, some esata cables, a couple of SATA power adapters and colorful as well as very informative literature along with a driver and apps cd.
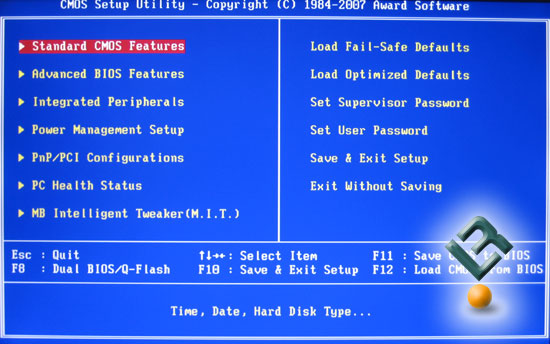
Gigabyte chose the AWARD bios for the GA-965O-DQ6 motherboard. This bios is so popular, and like many others, they customized it for their use.
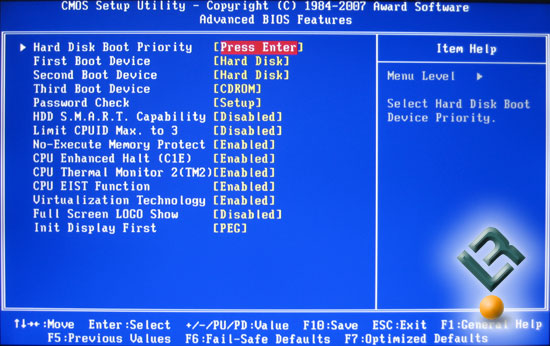
Advanced BIOS page is the same as always.
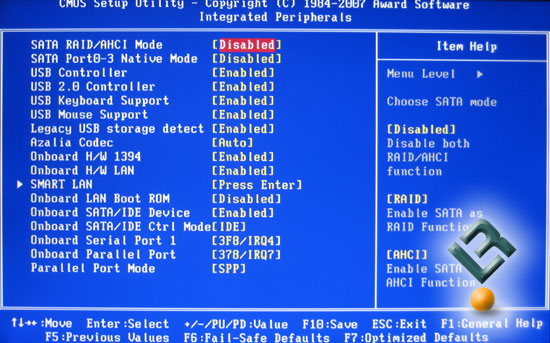
Nothing really too interesting on the Integrated Peripherals page either.
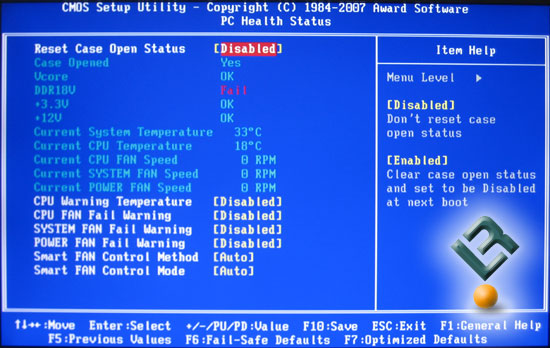
The Health page doesn’t really give us too much information on how things are looking on the board. There are some fan settings on this page that will be helpful for those needing the control they offer.
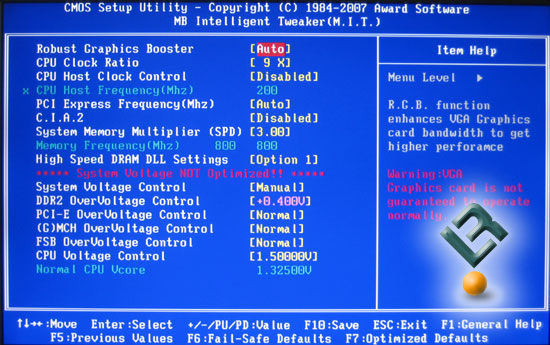
The M.I.T. page is where the tweaking will happen. All of your important settings and controls are here. Gigabyte continues to make you enter a “secret” code to get to the memory settings – Control and f1 (You have to enter the code on the Main page to get this). Once the code is entered, this M.I.T. page is transformed into this…
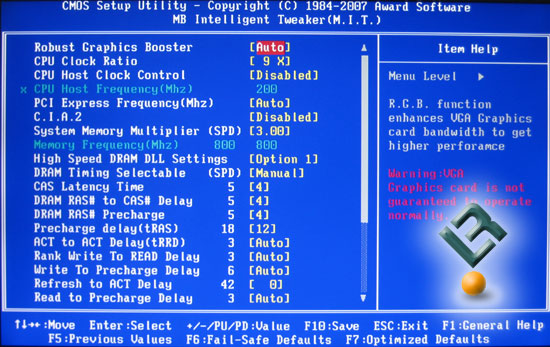
Abra Cadabra! Memory settings! I am no too sure why Gigabyte still chooses to make you take another step to get to these settings, it is more annoying than it is a problem, so no big deal… But why Gigabyte? Why?
Anyways, on to the fun stuff!
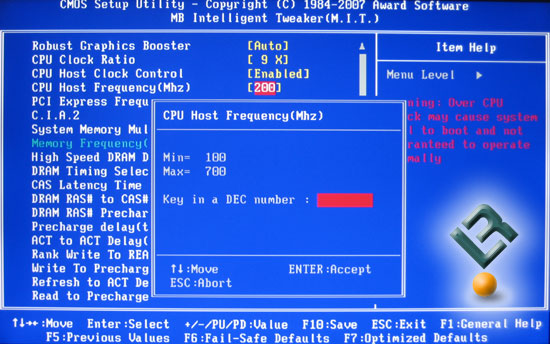
FSB goes up to 700 (4×700=2800), which is plenty, unless you are running a multiplier of 2x!

Gigabyte, just like everyone else has a built in overclocking setting that uses labels named after a race car theme.
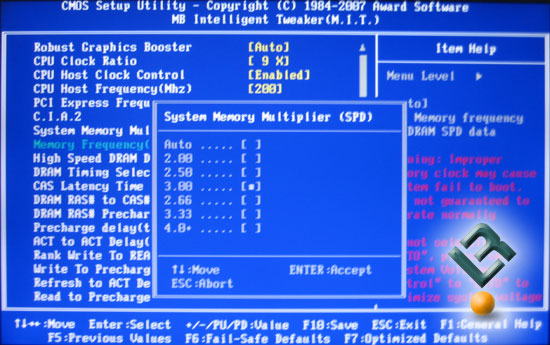
Memory multipliers on the board are a little different, and a tad more confusing than most. Normally we would see numbers like 400, 533, 667 and 800. But Gigabyte uses the actual multiplier number itself, so you have to either no the numbers or do the math. Or, you could simply read my review every time you need to change the multipliers. Here is what they are:
2 = 400
2.5 = 500
3 = 600
2.66 = 533
3.33 = 667
4 = 800
There, not print that out and set it next to your rig for future reference.
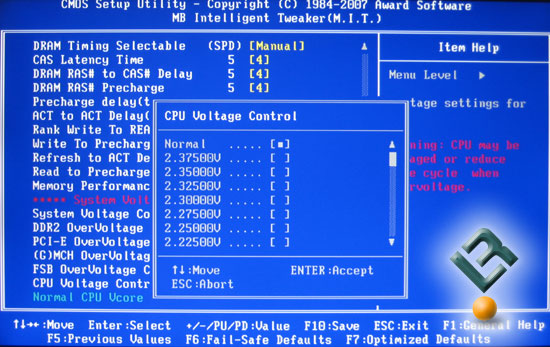
Vcore options are just excellent on this board. WAY more than as necessary as it goes up to 2.375v!
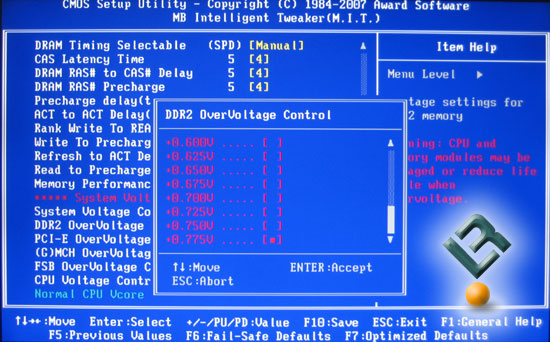
Vdimm is also very good as it goes to 2.575v. Bravo Gigabyte for the voltage options!
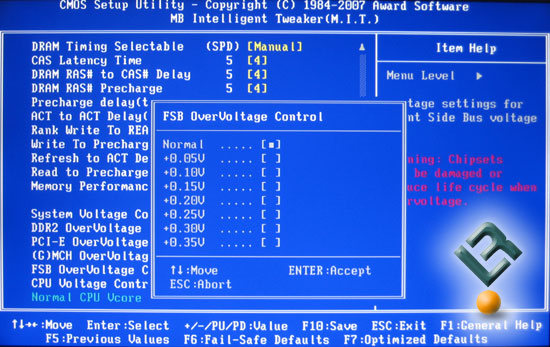
FSB Overvoltage control allows you to set an extra .35v.
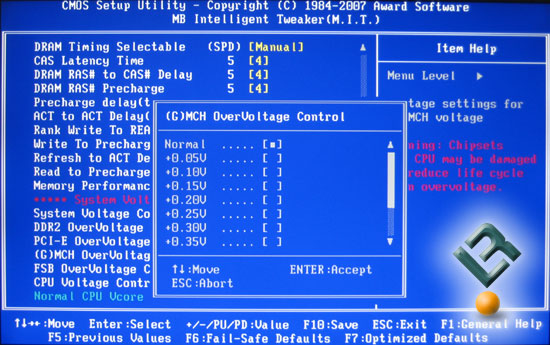
Chipset voltage also is good by allowing and increase of .35v.
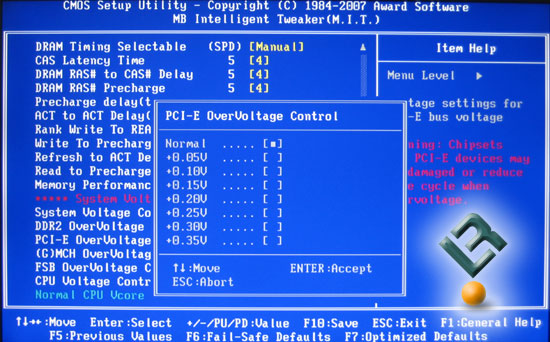
Lastly, pci-e is also able to be increased by .35v.
Let’s move on!
Comments are closed.