Corsair Obsidian 500D Premium Mid-Tower Case Review
Obsidian 500D Interior
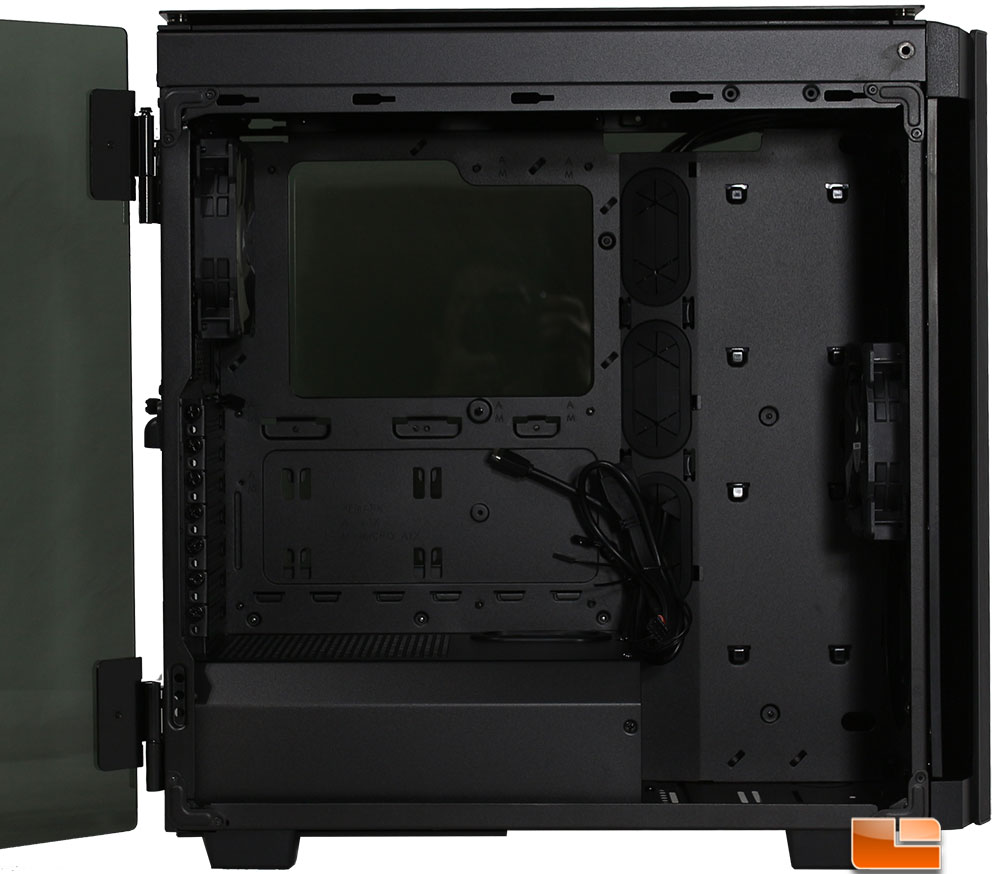
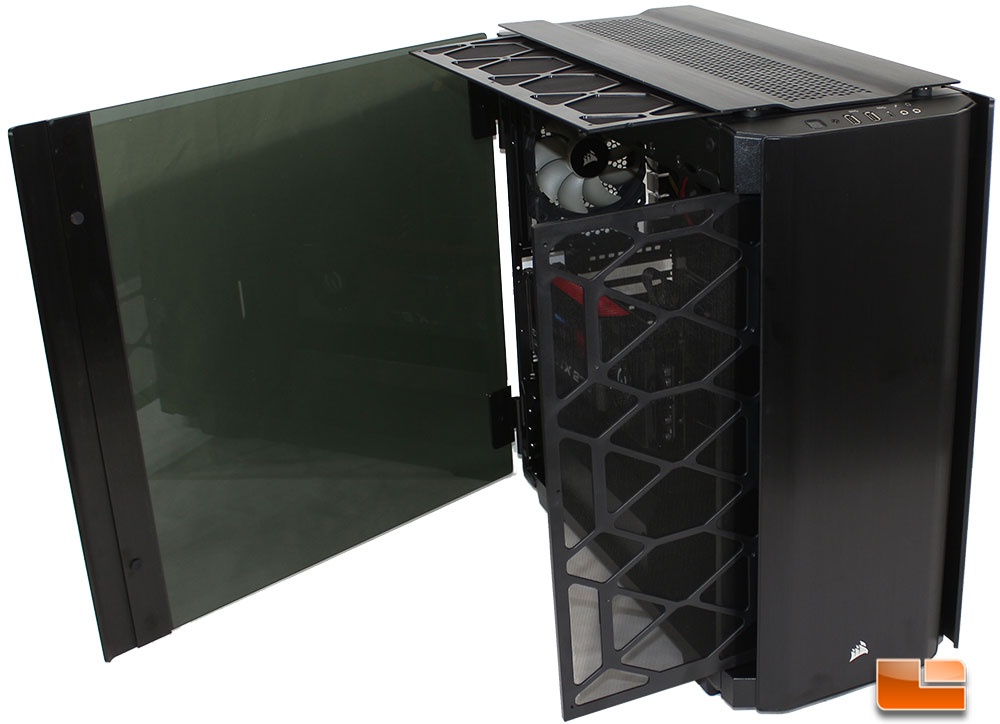
With the side panel open, we can see that the interior is a uniform black, matching the exterior of the case. There are a few features that immediately grab our attention. First, at the bottom, there is a 3/4 power supply cover that is plain, there are no logo or LED’s like we have seen on other cases. Next, the front section is slightly raised, which places the three vertical cable management holes at a slight angle; these cable management holes have rubber cable guides to keep things looking organized. There are also three horizontal cable management holes along the top edge of the motherboard tray, which do not have rubber cable guides these just have rolled steel edges.
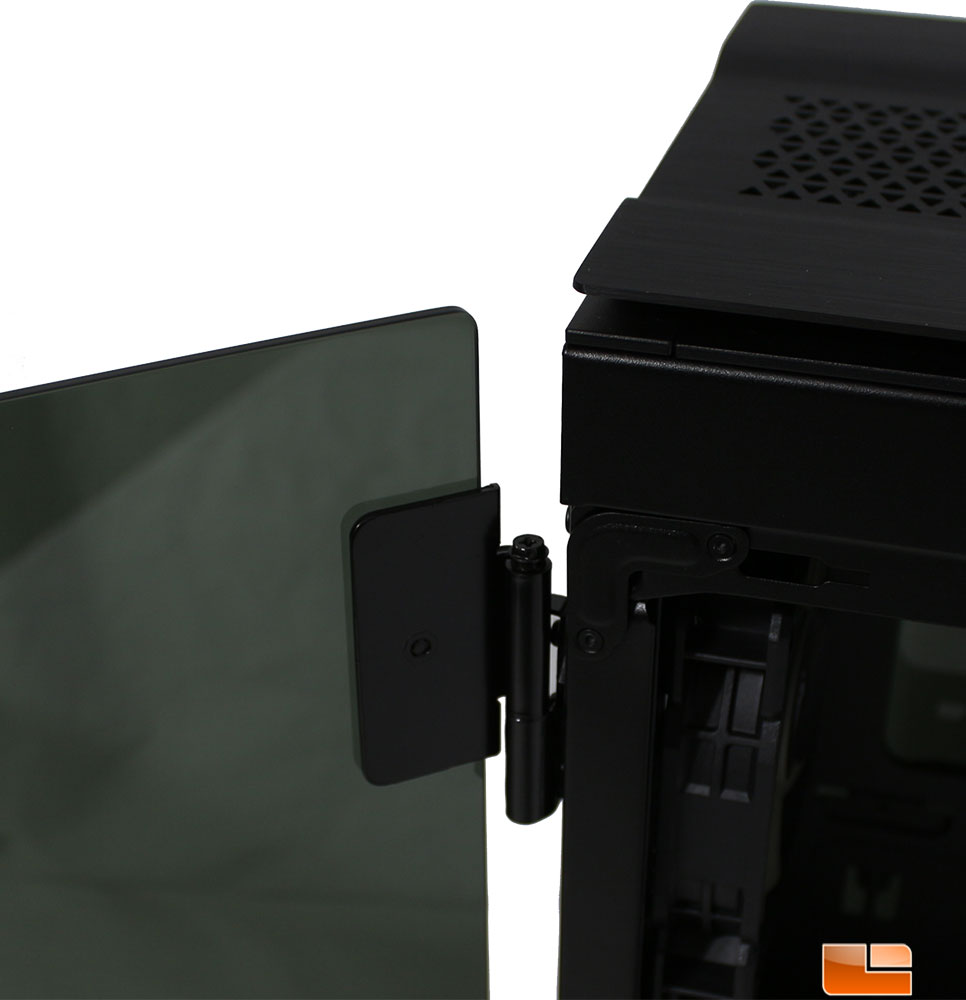
Both of the two Tempered Glass side panels can be removed, at the top of the panel, there is a screw holding it in place. Remove the screw, and you can lift the panel off the two posts.
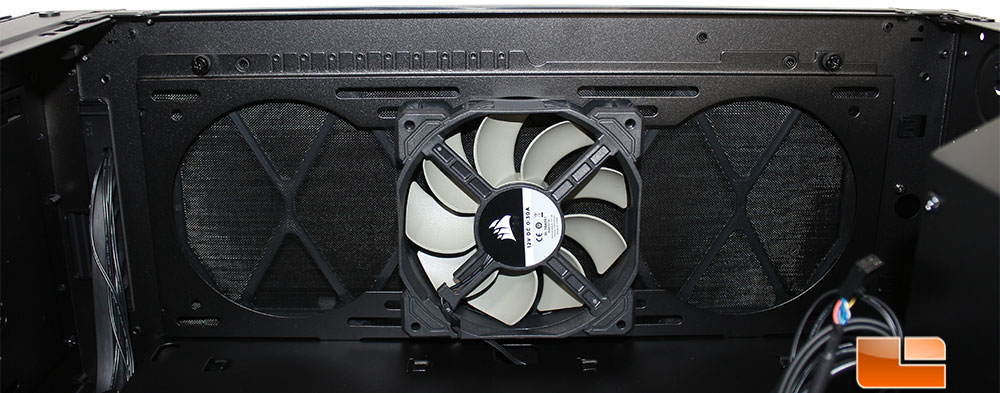
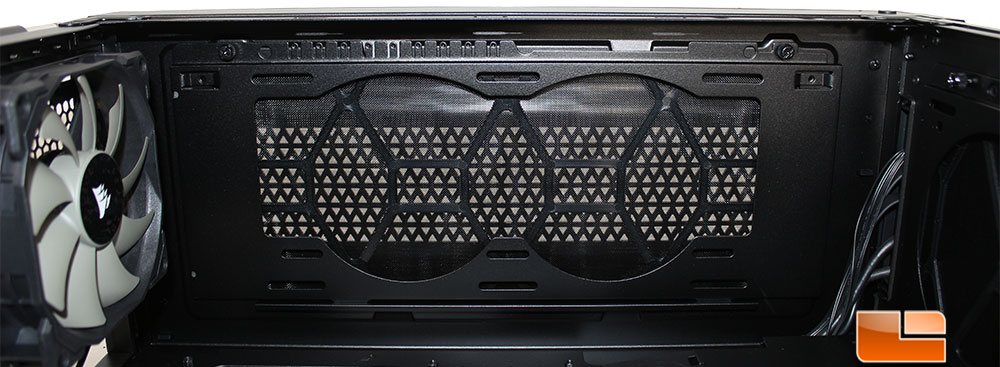
At the front of the case, Corsair has pre-installed a 120mm fan, there is no model specifically listed on the fan. There is room for two additional 120mm fans, or you can remove the included 120mm and replace it with two 140mm fans. Fans are installed on a bracket, which is removable making installation very easy.
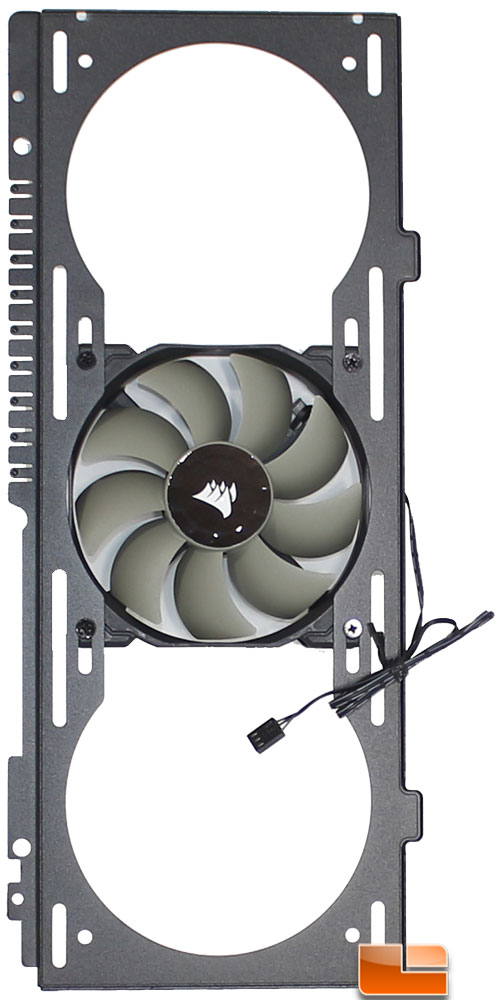
The front bracket is removed from the case which makes it extremely easy installation of fans or liquid cooler radiators. There are three cut-outs for fans, which it will support up to three 120mm fans, or two 140mm fans.
The other removable fan bracket is at the top of the case, this bracket is capable of only holding two fans, either 120mm or 140mm. The other option is to install an AIO liquid cooler at the top, which you will be limited to up to a 280mm radiator.
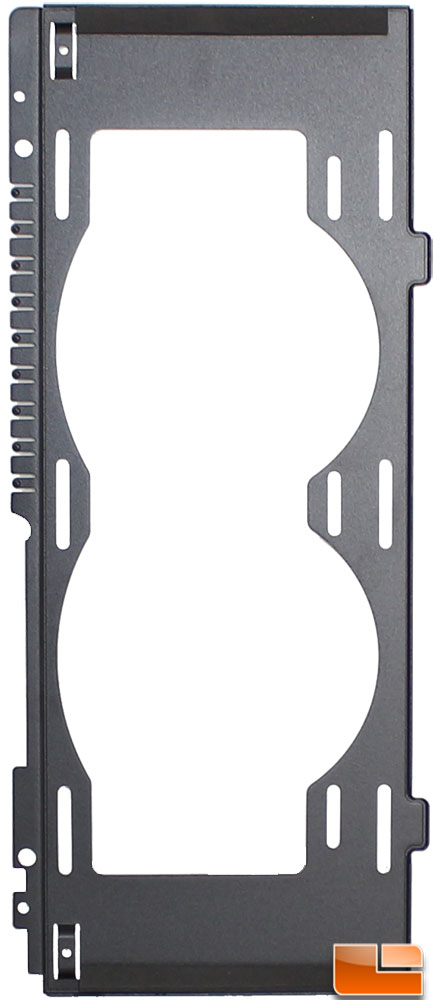
Like the front fan bracket, the top fan bracket is easily removed by removing two thumbscrews. Where the front bracket allowed for up to three 120mm fans to be installed, the top only permits up to two 140mm fans.
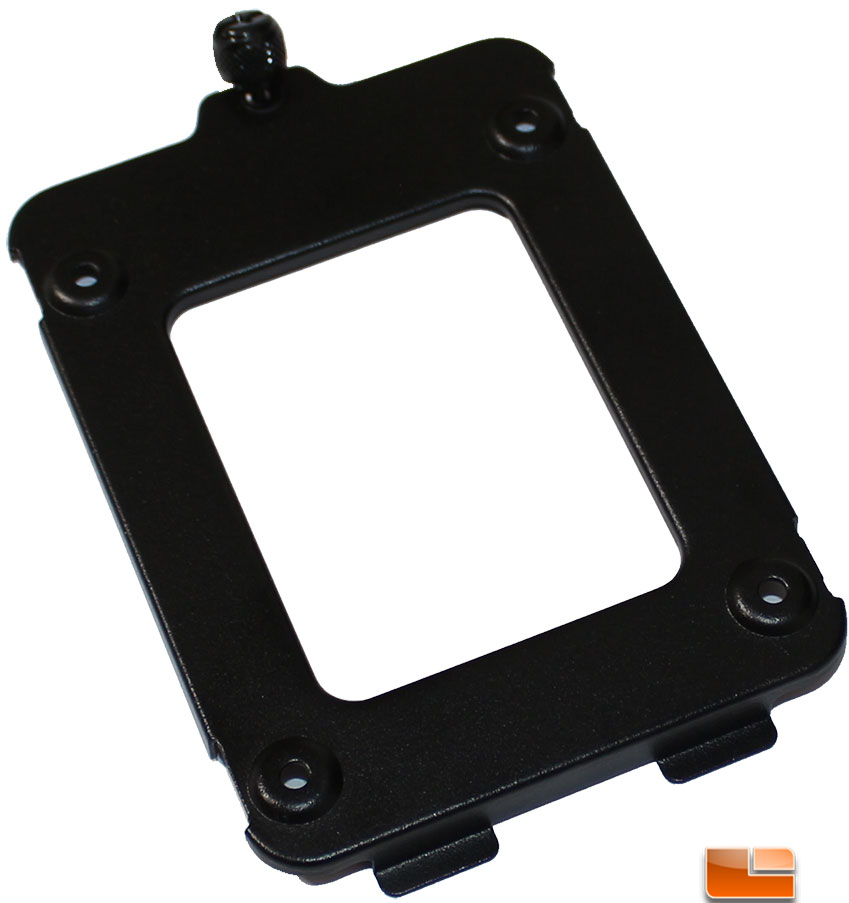
For those that want to keep their cables neat and tidy, the Corsair Obsidian 500D does a great job at making it easy. There is the vertical cable channel that should be capable of hiding the bulk of the cables. For those that can’t go under the cover, there are a total of 11 tie down locations, 3 of these are on the very bottom panel, and 2 directly under the bottom 3.5″ hard drive tray. The other six tie down locations surround the extra large CPU support bracket hole.
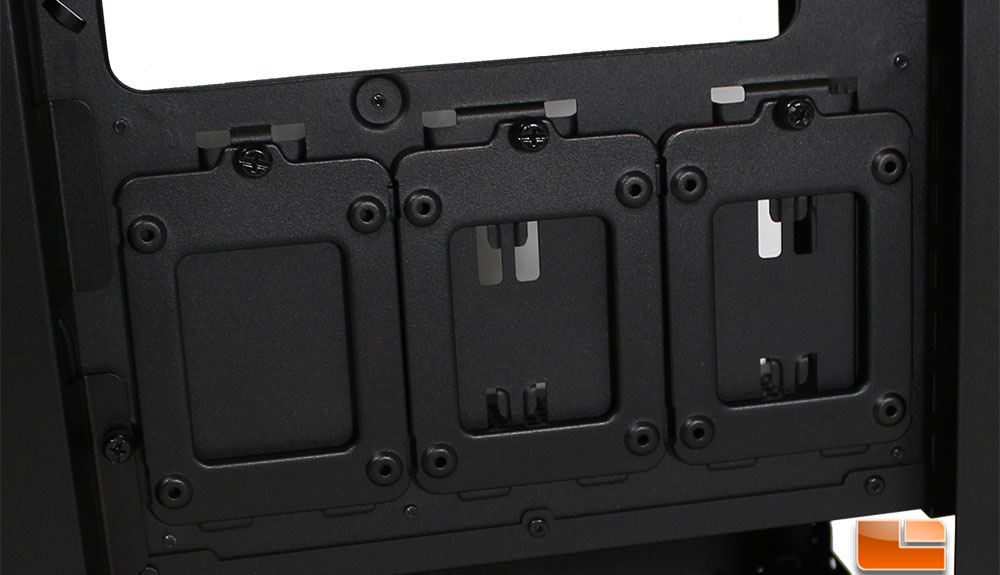
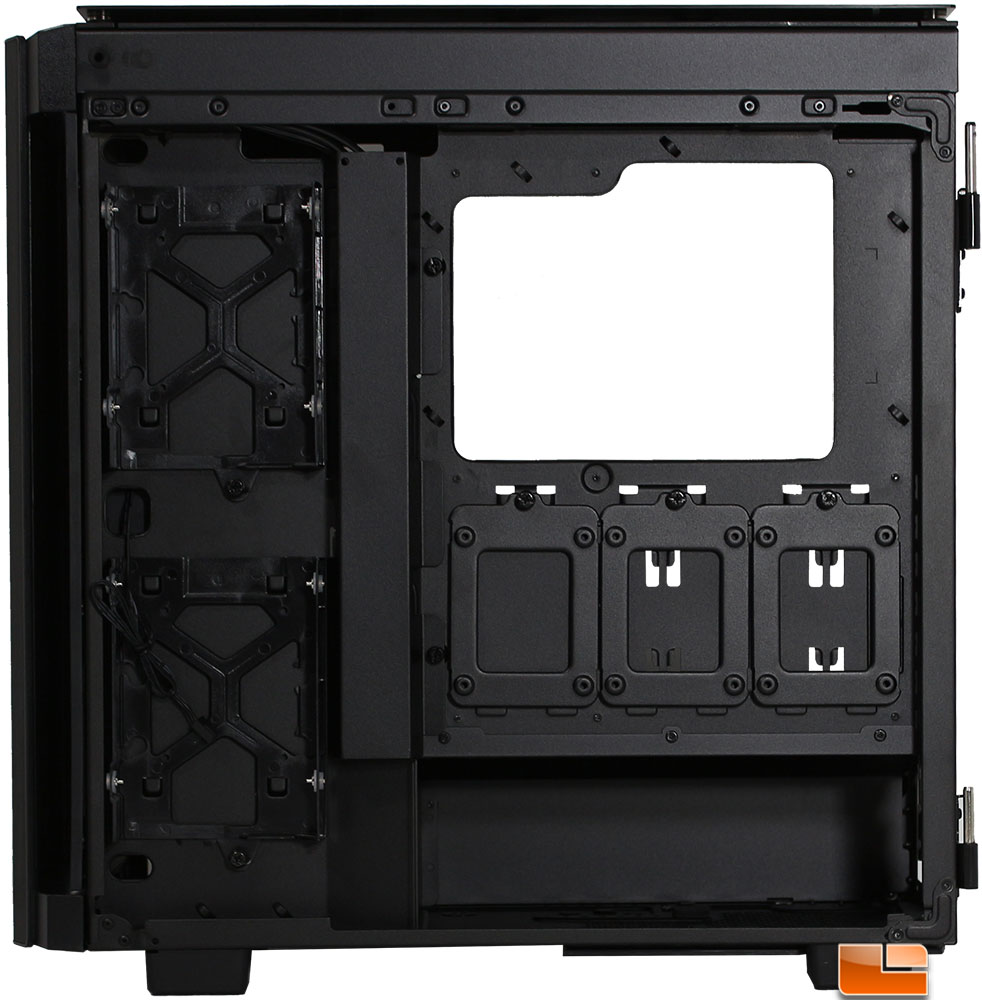
Corsair has opted to place all 2.5″ drive trays on the back of the motherboard tray. This allows them to be hidden from view, and uses the space extremely well. There are three trays specifically designed for 2.5″ SSD’s. There are no rubber pads to reduce vibration noise, since SSD’s have no moving parts. Technically, you could install a standard 2.5″ hard drive here, but be aware there might be vibration noise.

The 3.5″ hard drive trays are mounted vertically along the section of the back panel. These are pretty standard 3.5″ hard drive trays, your drives will pop into the trays, being held in place with the metal pins. Corsair recognizes that you might want to use screws to secure your drives, so they have provided those in the accessory pack. The cover for the cable management channel is held in place with two thumbscrews and clips that go under the 3.5″ trays. There are a few holes on the side of the cover for cables to come though to the drives.
Removing the front panel is a bit time consuming as there are multiple screws to removed. On the outside of the case, there are two on the bottom, and two at the top (right under the front I/O). Internally, there is one screw at the bottom of the panel (almost right in the center). After these five screws are removed, the panel drops down a little to drop of a couple of internal clips. It was nice to see that Corsair included a layer of sound insulation on the back of the panel, anything that can help reduce noise is welcomed.
On the back of the motherboard tray there are two plastic 3.5″ hard drive trays (which can also be used for 2.5″ drives), and three metal 2.5″ drive trays. All five of the trays are held in place with thumbscrews, and tongue and groove clips.
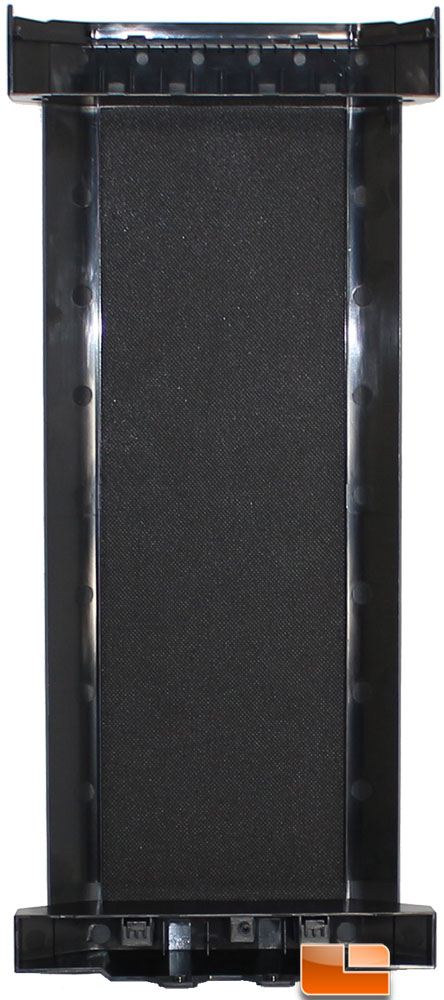
Under the top aluminum panel, and behind the front aluminum panel are a couple of hidden filters that are easily removed. We have seen removable filters before, however Corsair has made these extremely easy to remove. Open the side pane, and then you can pull out the filter you want to clean; there are no finger holds on either filter however they are easy to lift and pull. Each of the filters are held in place with small magnets.
Now that we have seen the exterior and interior of the Corsair Obsidian 500D, let’s build a quick system inside to see how it all comes together.