Corsair iCUE H150i Elite Capellix CPU Cooler Review
H150i ELITE CAPELLIX: Corsair iCUE Software
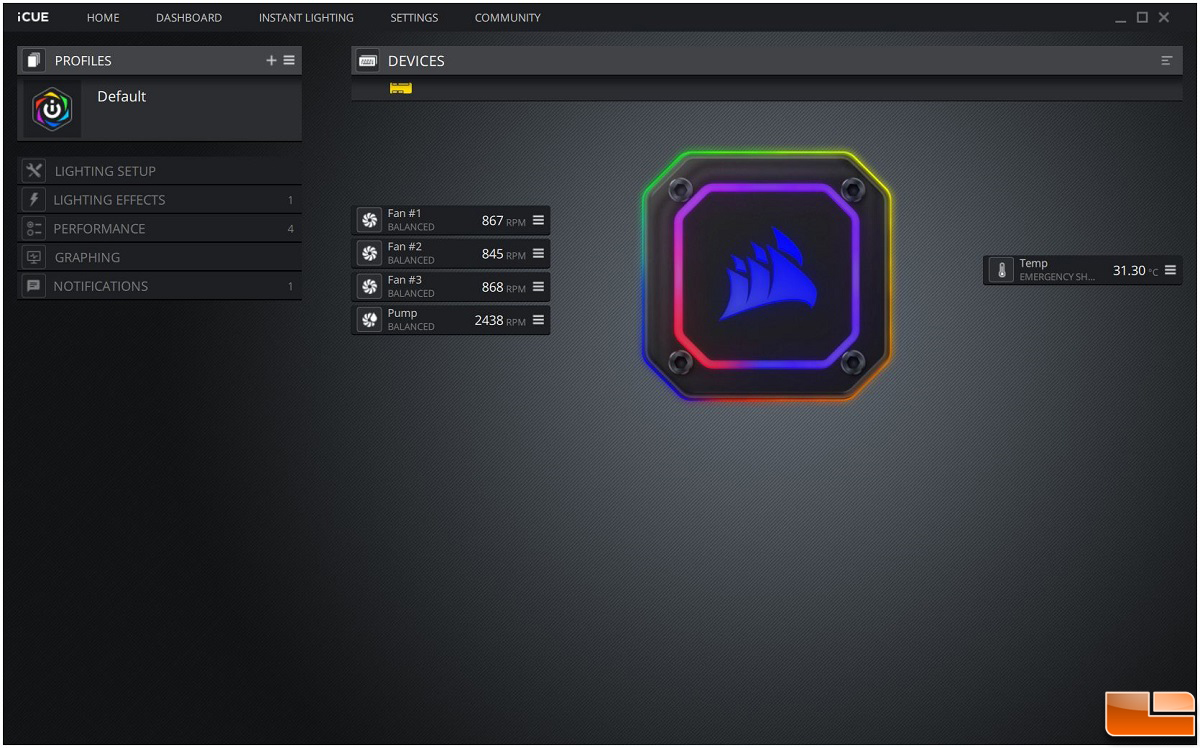
At the time of this review, I am using version 3.33.246 of the Corsair iCUE software. With the software installed and running, we can assign a color to the cooler and its fans via Instant Lighting, or pick and customize a more advanced lighting effect using a preset lighting effect or design a custom effect.
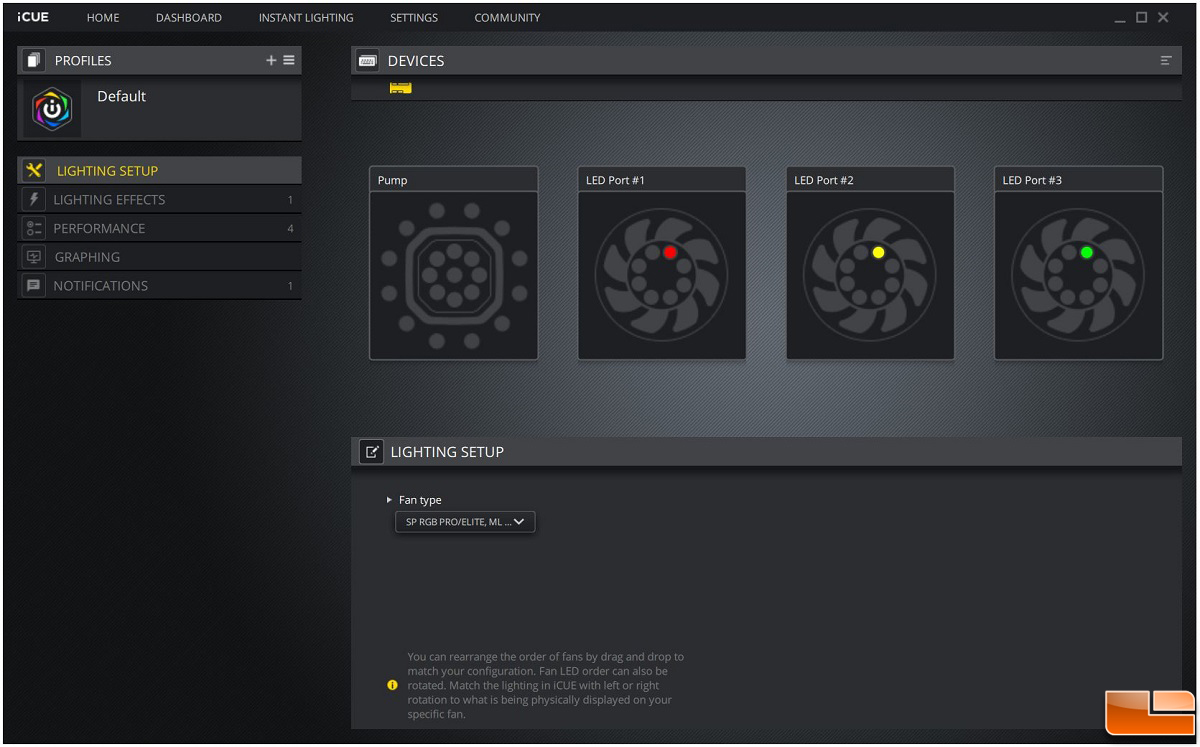
Inside Lighting Setup, we can select the type of fans connected to the iCUE Commander CORE. We selected the ML RGB option, since those are the fans that come with the H150i Elite Capellix. Selecting the wrong fans will result in poor lighting effects as different Corsair fans come with a different number of LEDs. Now we are ready to configure the lighting effects in the Lighting Effects tab.
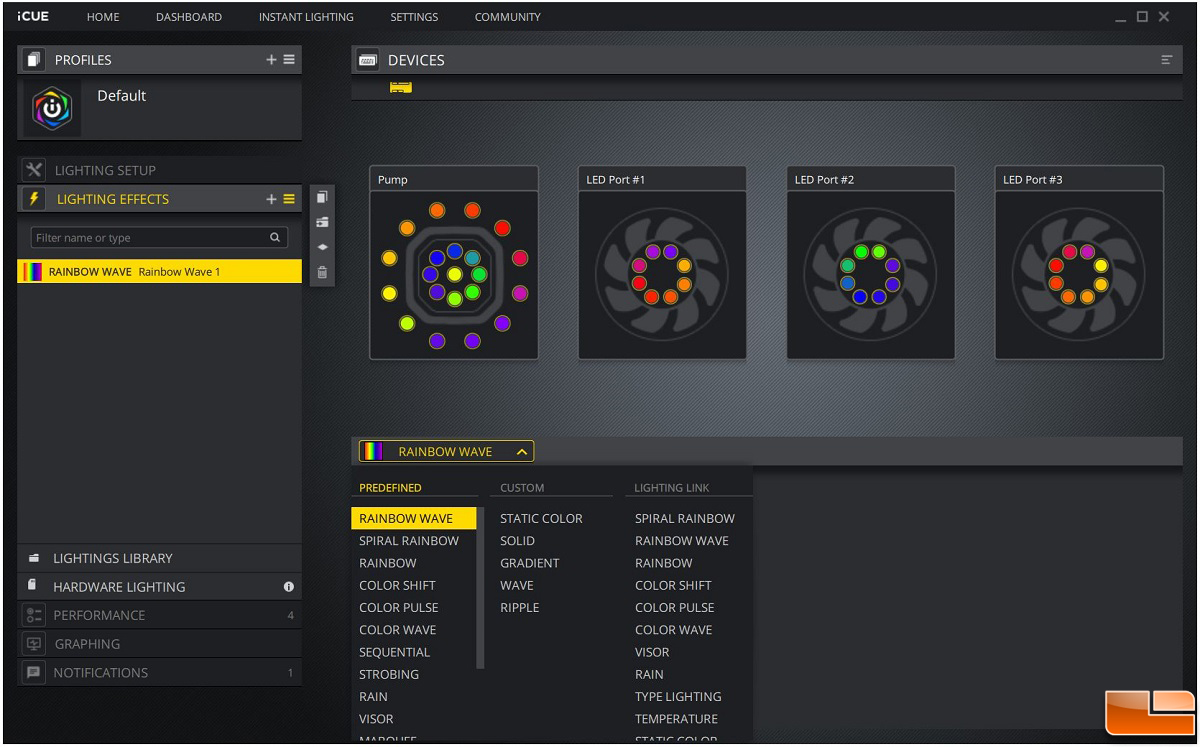
In the Lighting Effects tab, we can select from many lighting effects in the dropdown menu. Each effect will have different variables to fine-tune the look and feel. We can change the directions and speeds to certain lighting effects. Other lighting effects allow changing from random colors to specific colors and so on.
iCUE also comes with Lighting Link modes that synchronize Corsair components and peripherals. This allows for a dazzling display of RGB that flows effortlessly from device to device. Some specific lighting effects are available in Lighting Link only. The software also allows for layer effects and the ability to design custom profiles to sync across multiple devices. After designing a custom lighting profile, we can save it under Lightings Library for reference later by clicking copy to library.
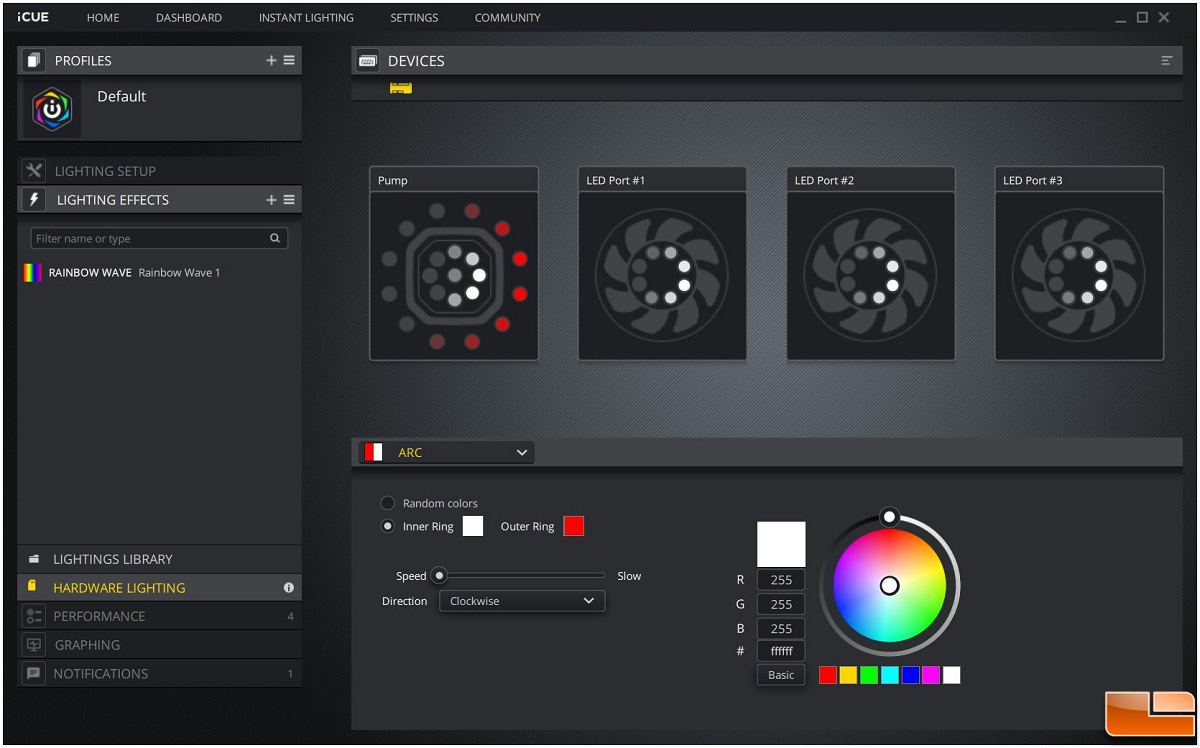
Hardware Lighting allows the iCUE Lighting Node CORE to run lighting effects without the Corsair iCUE software running. This prevents the lighting effect from defaulting to Rainbow Wave every time we boot up or restart. Although the choices are limited compared to software lighting effects, there is still a good number to choose from.
Lighting effects in Hardware Lighting mode are limited due to product storage and the computation power of the MCU. Certain modes, such as Rain, require processing to randomize the LED animation, so these types of effects are not possible in Hardware Lighting mode.
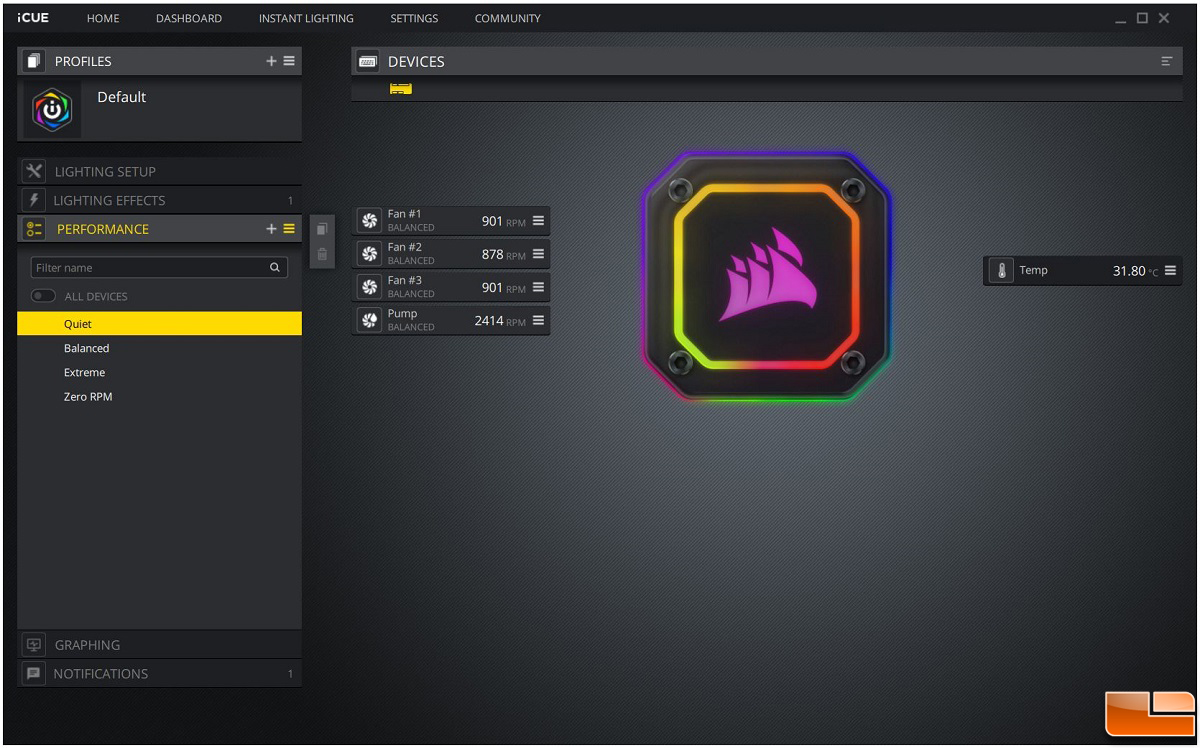
In the Performance tab, we can control each of the three fans individually along with how fast the water pump spins. The Temp indicator monitors the coolant temperature of the AIO. There are four fan settings to choose from: Quiet, Balanced, Extreme, and Zero RPM mode. Each setting has their own fan profiles, which determines how fast the fans and water pump should run at a certain temperature. Out of the box, the pump is set to Balanced mode, offering a middle ground between performance and noise. To prevent overheating, the pump does not support Zero RPM mode.
The Graphing tab shows the RPM of a specific fan or the water pump during a chosen length of time. This allows us to see the minimum and maximum values of fan/water pump speeds during a chosen duration. If we run into problems, we can always use the iCUE logging tool to pinpoint errors and troubleshoot. This is accessed from the settings and can be configured to log multiple data points at the same time and export to a file.

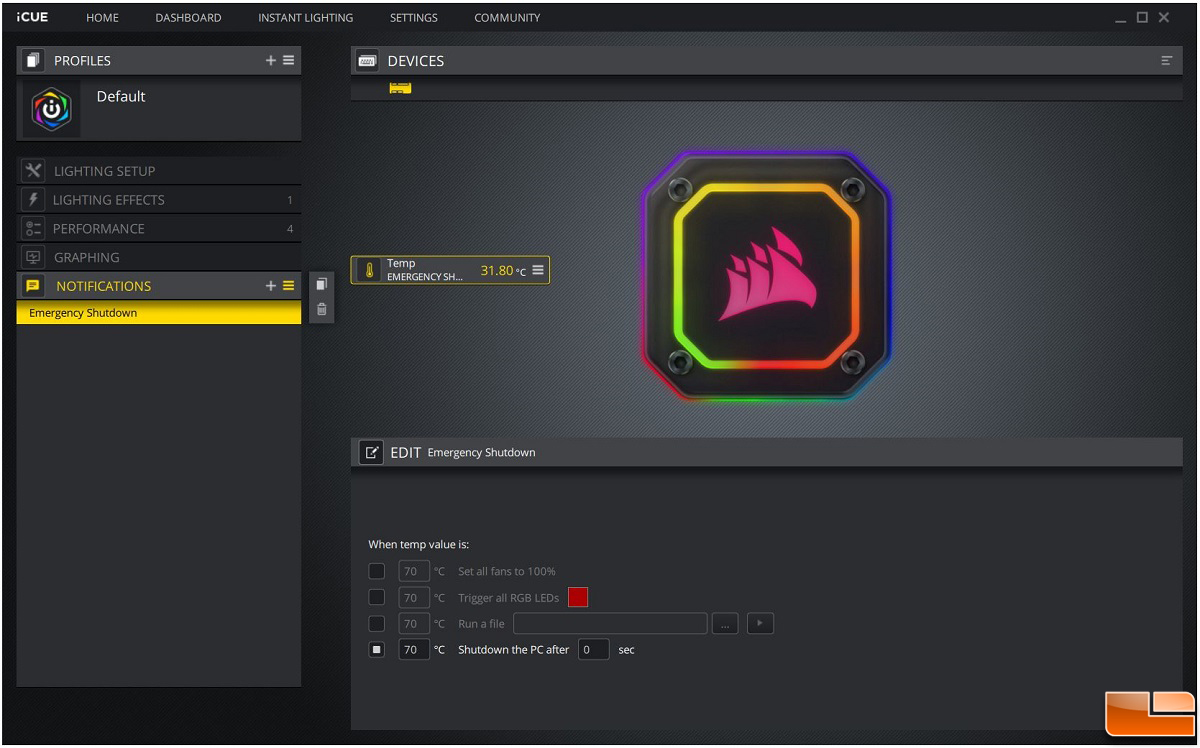
iCUE can dynamically monitor the PC and alert us if we have a problem with our loop or if the CPU temperature begins to uncharacteristically spike. We can have it run a program, flash LEDs, or even shut down the PC to avoid damage to components. Each cooler also has a built-in failsafe fan curve that will turn the fans on minimum speed at 40C liquid temp and ramp them linearly until 50C where the fans will be at 100% duty cycle to prevent any damage to the system. This failsafe curve is not user configurable.
In the next section, we will benchmark the H150i Elite Capellix and compare the cooling performance towards other AIO liquid coolers.