Corsair Hydro Series H50 CPU Water Cooling Kit Review
Installing the H50
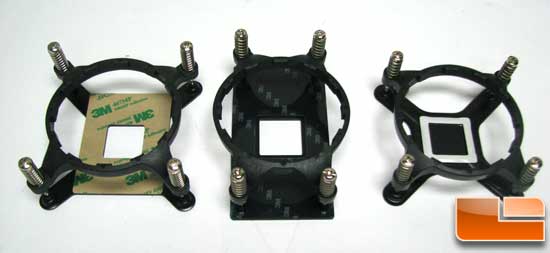
The mounting hardware for the H50 will allow it to be mounted up to LGA775 and LGA1366 CPUs. Now, even though our review kit came with the mounting hardware for an AMD system, the instructions state, For AMD mounting system, please visit Technical Support Express and www.corsair.com to order. So, that leads me to think that the retail kit will not have the AMD hardware in it.
To install the H50 you first have to install the right CPU bracket, but loosely, as the CPU block has to be able to turn just slightly so the tabs on the CPU block can mate up to the tabs on the mounting ring. Now mount your motherboard into the case.
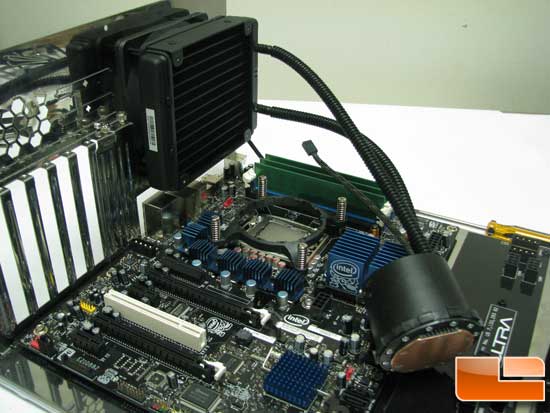
Next comes the fan/radiator mounting. This is easily enough done, just be mindful of the CPU block flopping around in the case.
Now what is truly funky about this is that the instructions state that the fan should be blowing air INTO the case, not out like an exhaust fan. To me this doesnt seem right as it would be blowing hot air into the case and across the CPU block introducing more heat into the loop. We will see soon enough how the system performs with this setup. Dont for get to turn your other case fans around as well, if not all the hot air will stay in the case.
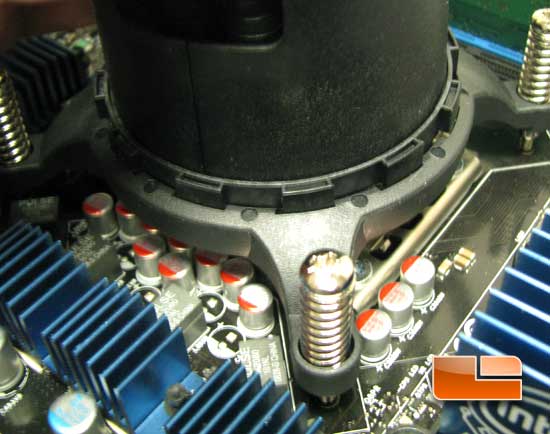
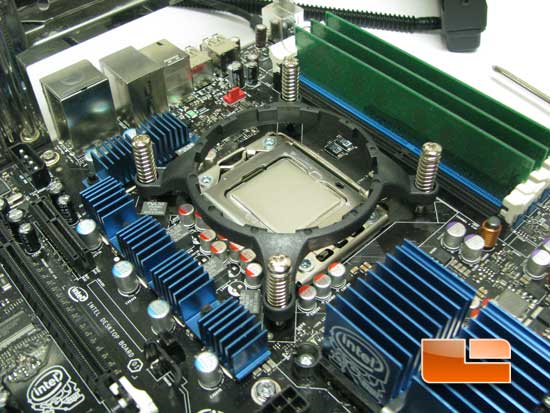
Now we need to seat the CPU block. The block slips in and then needs to rotate slightly to line up with the mount so it can be tightened down. In a tight case this could be a real trip.
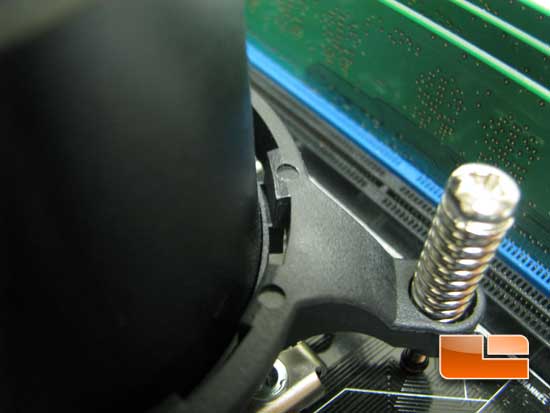
When tightening everything up hold it so it’s flat and tighten the mounting screws 2-3 turns at a time in an X pattern. In the above image you can see how the mount holds the CPU block in place.
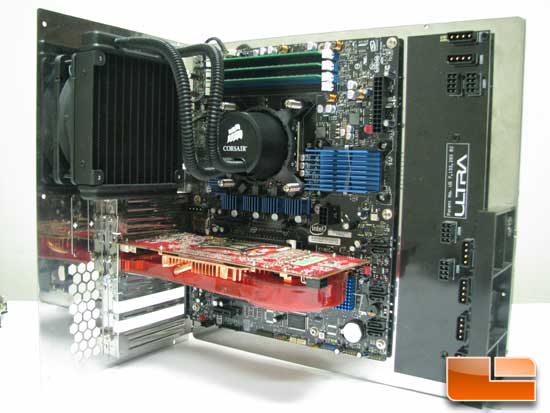
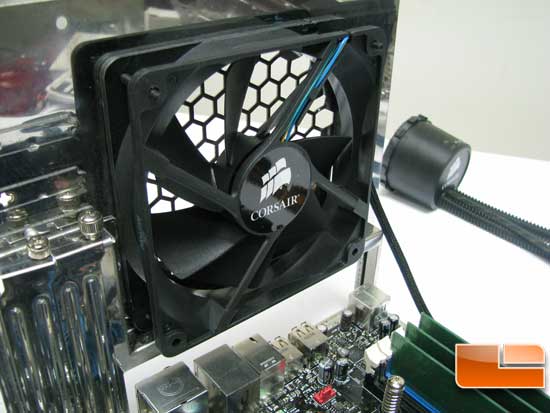
The final step is to connect the fan power lead to the motherboard’s CPU_FAN header. This is important, as the motherboard’s BIOS will vary the fan speed for optimal cooling potential. The power cable from the CPU cooler/pump assembly can be connected to any other fan power connector on the motherboard as you will want to run this at 100%. With the rest of the parts installed, let’s move on to the testing.
Comments are closed.