Corsair Carbide Series 400R Case Review
Parts Installation
Installing Main Components
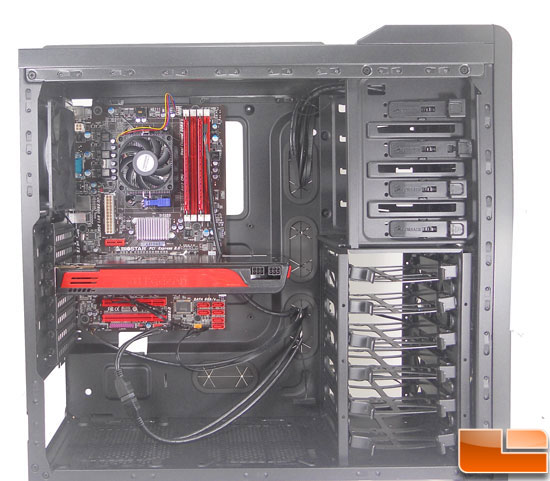
Installation of the mother board was a breeze. The pre-installed motherboard screw-ins were set perfectly for the board I was installing. After the the motherboard was installed in the Corsair Carbide Series 400R, the graphics card was installed. The graphics card had plenty of length left over after being installed. This case would have no problem supporting longer higher end graphics cards. The eight Expansion slots could be easily filled for a builder who is ready for some hard core gaming.

Fully Installed
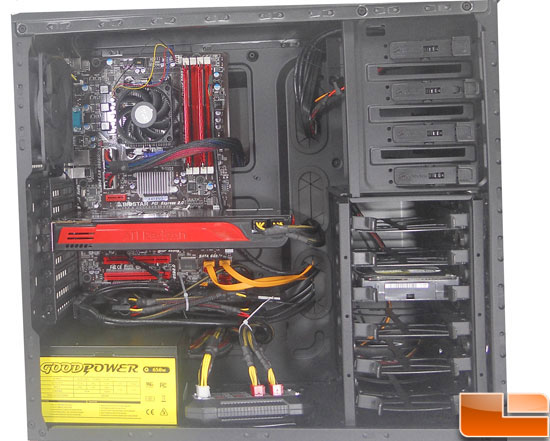
All components for the mid-tower were easily connect to the motherboard and power sources. As mentioned this case has a lot of room. The cable management is very well placed. Setting up a modular power supply was very easy. Routing the power cables through the available wire management makes for a very clean install for any PC builder. After all components were installed and cabling was ran behind the main board, there was plenty of room to close the secondary door. The power and connectivity for the hard drive must be fed through the back as well.

Case Lighting
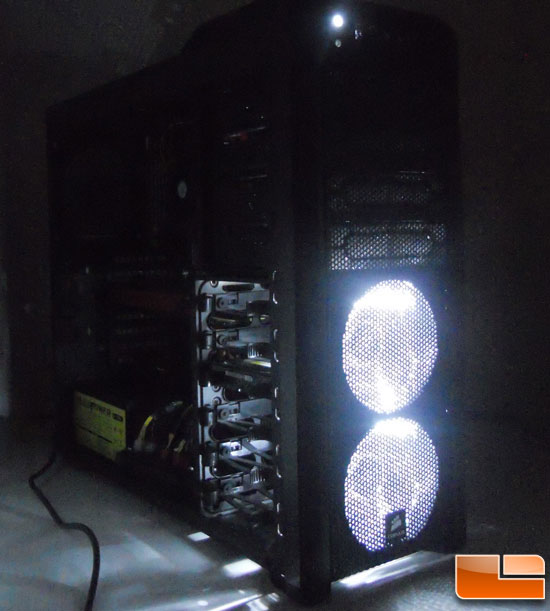
Out of the box this case only has three installed fans, with two having white LED lighting. The LED lighting is bright from the front side of the mid-tower case. The power and HDD activity lights are also white. This gives the case a nice bright beacon from the front side. The HDD activity light is like it’s own little start burst as it flashes. The rest of the case is relatively dark in comparison.


Comments are closed.