Corsair Carbide 275R Mid-Tower Case Review
Corsair 275R Build Process
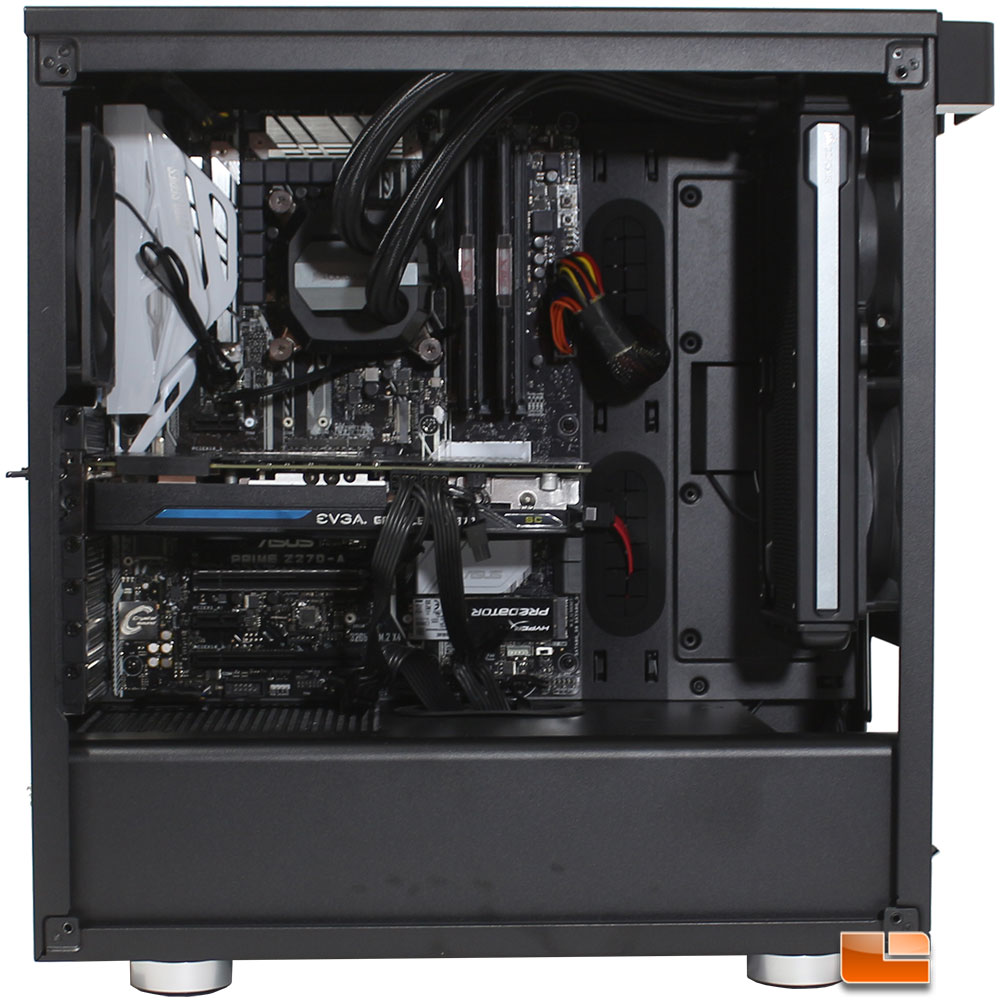
Installing everything within the Corsair 275R was extremely easy thanks to the number of cable management holes, and the well thought out design. If air cooling is your preferred method of cooling your CPU, you can install up to a 170mm tall CPU cooler, however for liquid coolers you can install everything from a small 120mm radiator up to a 360mm radiator at the front of the case. With a Tempered Glass side panel, you might want to show off your components, so adding a few lights or LED fans isn’t a bad idea. Also, the Corsair Carbide 275R supports installing your graphics card vertically, with two additional expansion ports on the back of the case. However, Corsair does not include the adapter to mount your graphics card vertically, so you’ll need to provide that yourself.
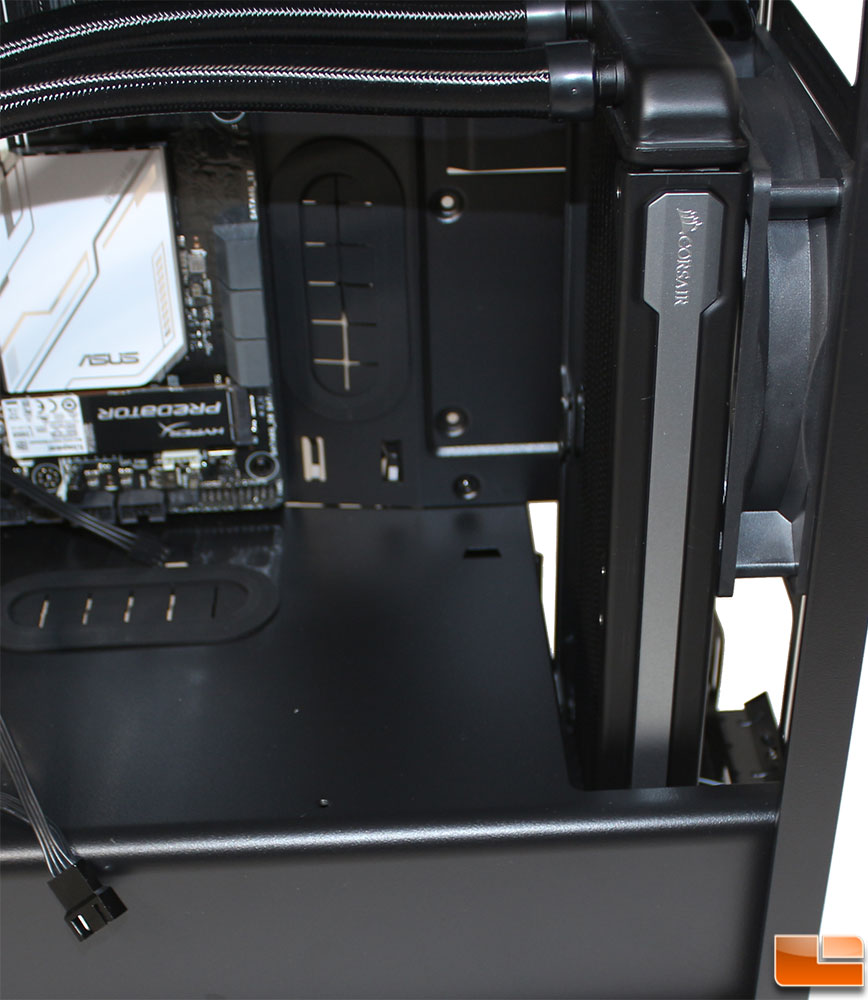
While some cases might have issues with mounting liquid cooling radiators at the front of the case, Corsair did a great job at making sure there was plenty of space to mount up to a 360mm radiator at the front. Mounting the Corsair H100i V2, a 240mm radiator, still left enough room that the radiator and fan didn’t need to be squeezed into place. Even trying the older Corsair H105, which has a slightly thicker radiator, there was still enough space for an easy install.
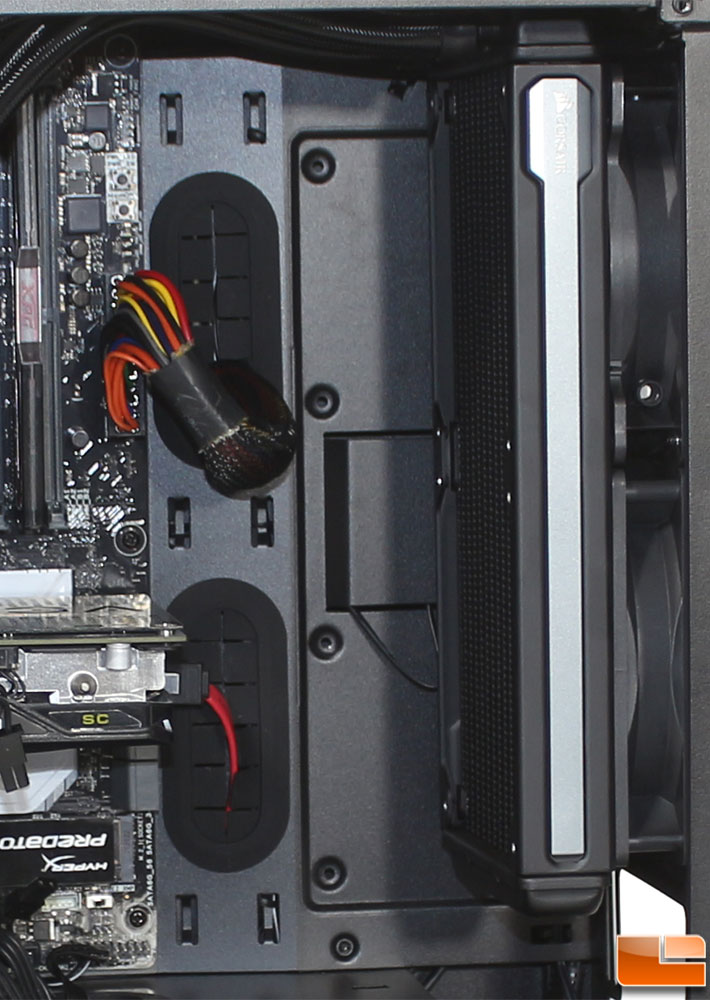
If you are going to use the two vertical SSD spots on the back of the motherboard tray and a front mounted radiator, you might run into a small issue. The radiator and fans cover up half of the SSD mounting screw holes. While it’s not the end of the world, I prefer to install drives with all four screws; two screws for an SSD is more than sufficient though.
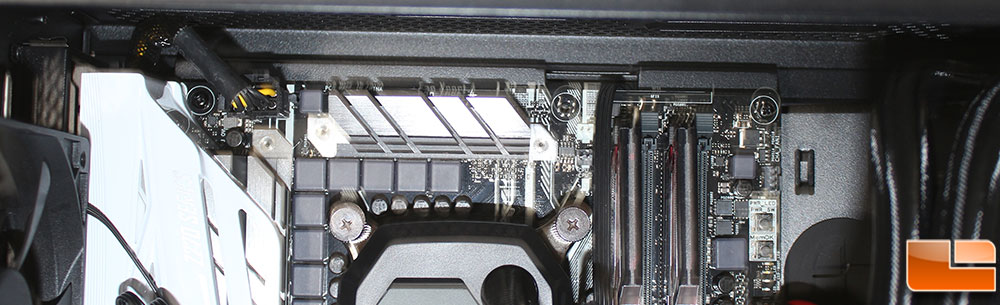
The holes at the top of the motherboard tray, are designed to make routing your cables extremely easy, even after the motherboard is installed. They are cut into the edge allowing space both horizontally and vertically to route the cables, even after the motherboard is installed.
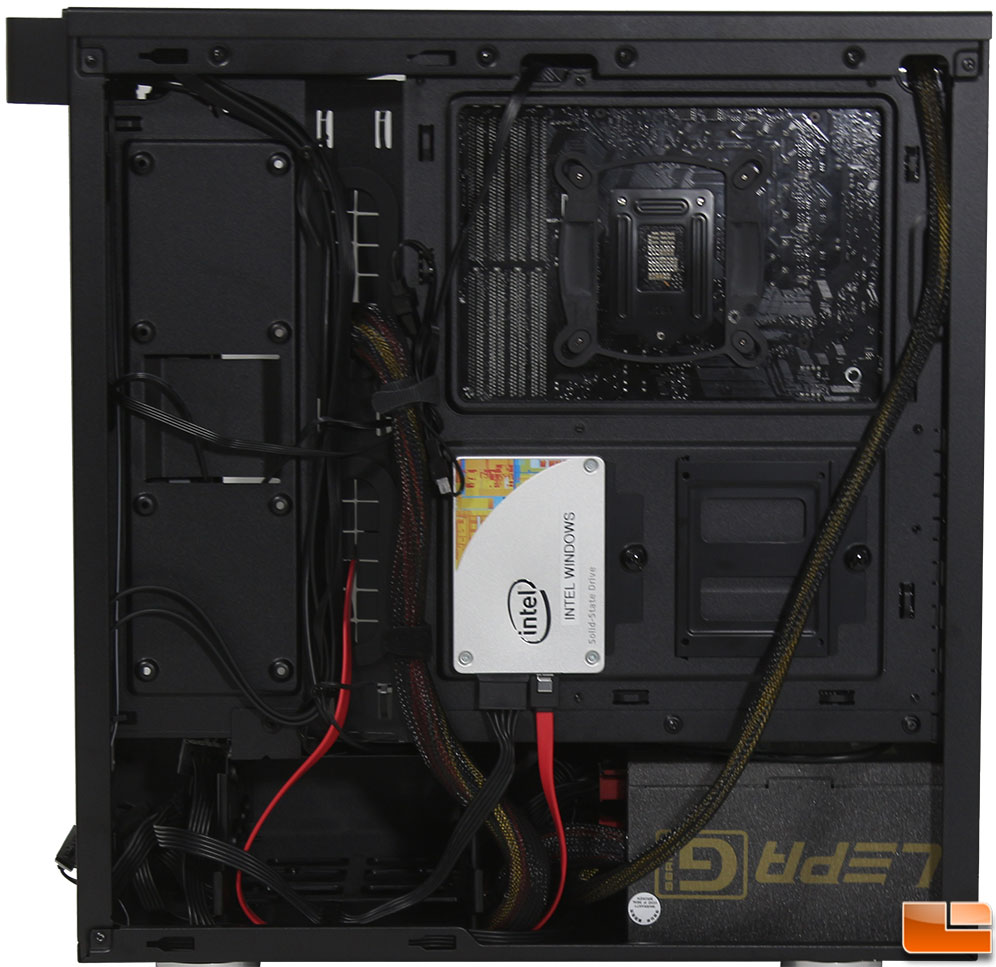
With everything installed, we can move cables around to route them out of the way and keep them nice and tidy. The front section is lowered (from this perspective) allowing space for cabling. We opted to not install any 3.5inch hard drives in this build, which would allow that space to be used for additional cables. However we really don’t need to conserve the space. By installing the 240mm radiator at the top of the front panel, it leaves a large amount of space at the front where we could store any extra unused cables. The space around the CPU bracket is rather large, and shouldn’t run into any issues if you want to install a different CPU cooler in the future.
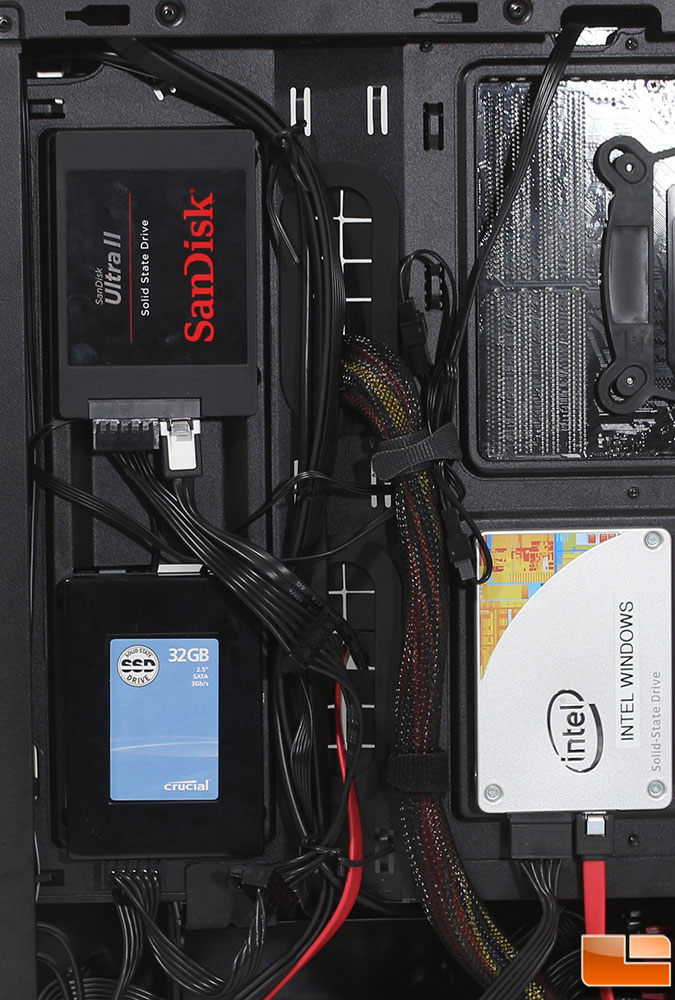
In the past when case manufacturers have placed SSD mounts directly on the motherboard tray, I have had issues connecting the cables to the drives, as the connectors are so close to the tray. Corsair has done a great job at making sure they are raised enough with the little feet, but also with the added space from the cutout. Cable routing was extremely easy with the large number and intelligent placement of the cable tie locations. Everything was able to be secured very easily, allowing the back panel to slide into place with ease.
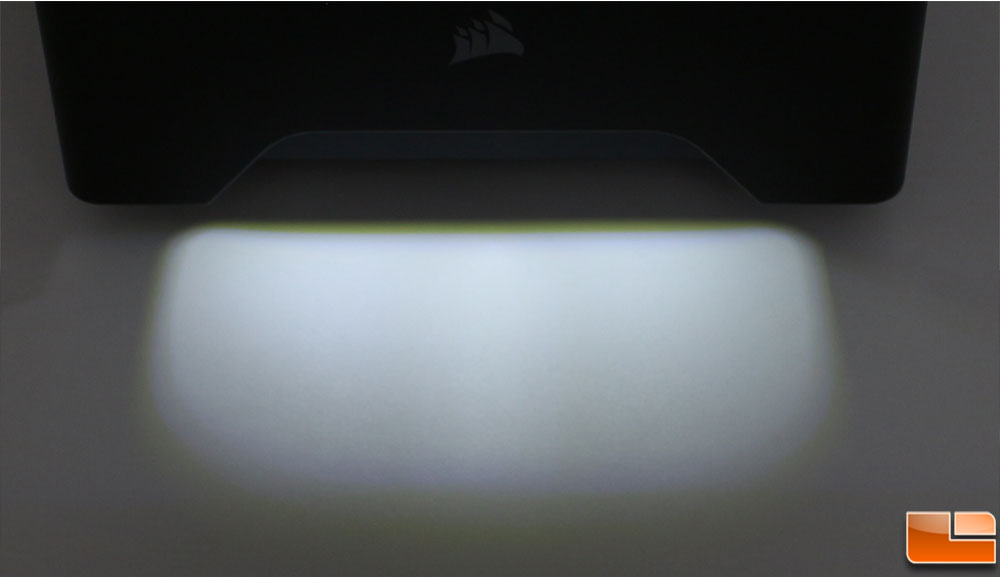
That little front LED accent bar, when you power on the system it provides just a little light. It’s not obnoxiously bright, giving off just a slight glow from the bottom of the front panel. As you can see, the LED’s provide a white light, of course for those that want customization an RGB option would be great! The accent bar is powered by the motherboard, using the Power LED header.