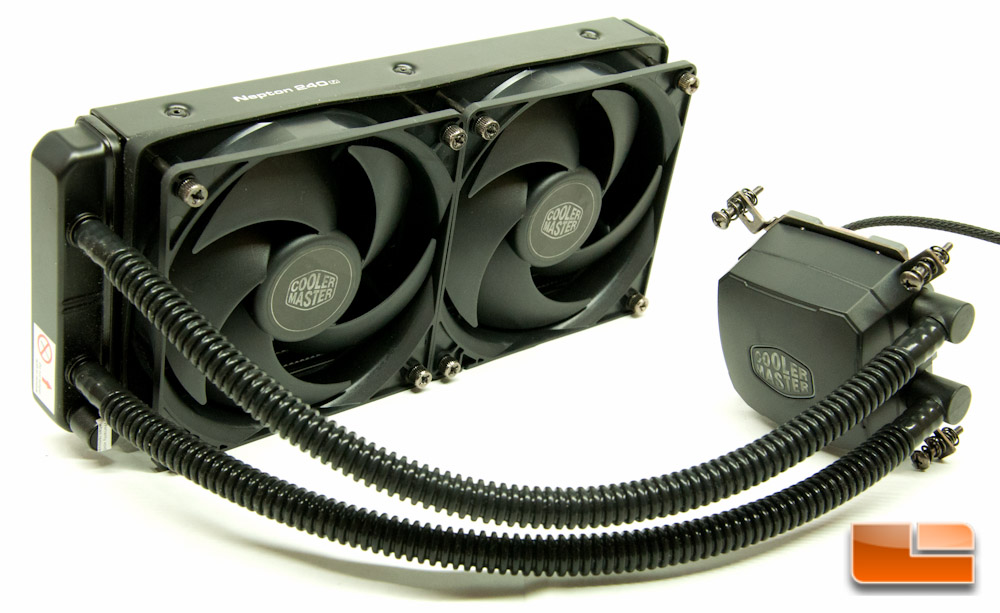
Cooler Master Nepton 240M AIO CPU Cooler Review
Installing the Nepton 240M AIO Liquid CPU Cooler
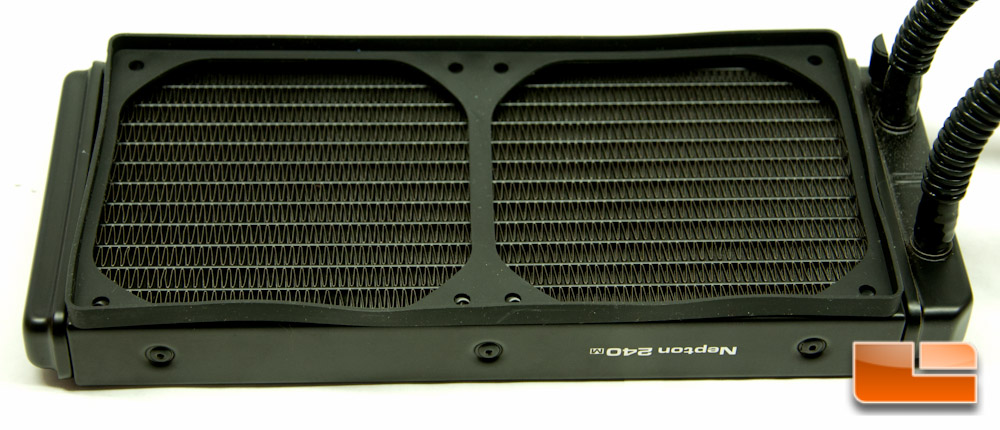
240mm radiators generally don’t have an issue fitting in most cases made today. It’s the big 280mm radiators that tend to have troubles, just simply because they’re bigger and many cases aren’t able to accommodate them. This simple fact allows the Nepton 240M to fall into the searches of more people than a 280mm cooler would.
Prior to starting any work, I would recommend prepping the cooler and your system. I started off by installing the required Intel mounting bracket to the CPU block. It’s four small screws and the plate is attached.
Next up, I installed the fans. As previously mentioned, there is a gasket that will go between the fan and the cooler.
You will just set the fan in-between and then drop your thumb screws into place.
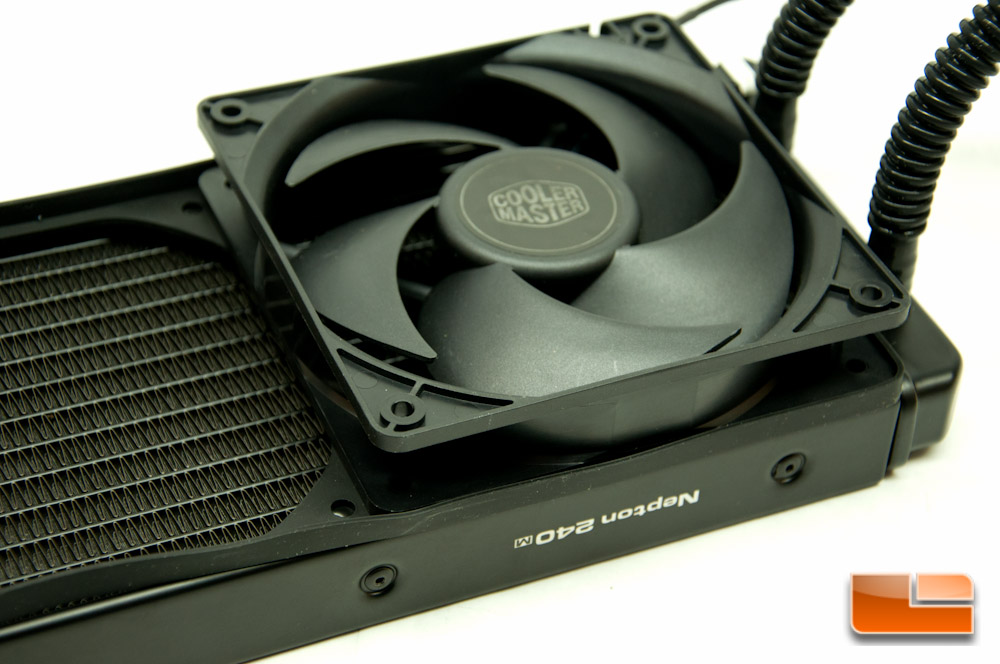
Once you get the one fan installed with the included thumb screws, the second fan will be a breeze. Note that the first time that you install the screws, there is a chance that you won’t be able to twist them in with just your thumbs. I ended up having to whip out my screw driver to get past a couple tough points. I find this the case on all coolers, so this is nothing new or unique to Cooler Master.
One more view showing the fans installed.

Getting the back plate assembled is quite simple. There are pins that will go in each corner for your respective socket, which will be covered by a plastic cap.
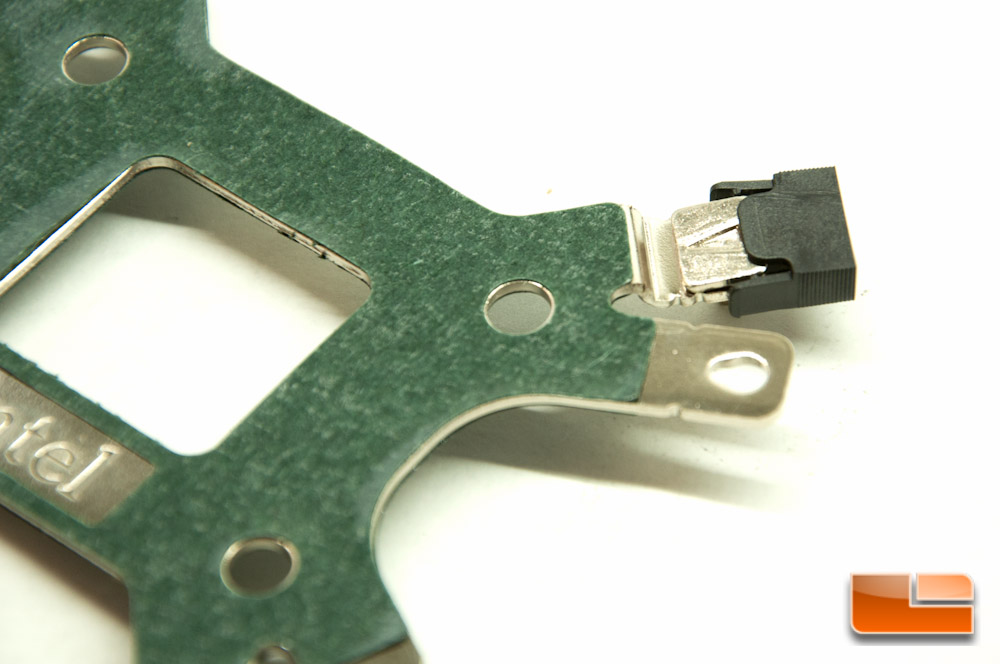
You’ll simply slide it over the top and there are several notches for various CPU sockets.
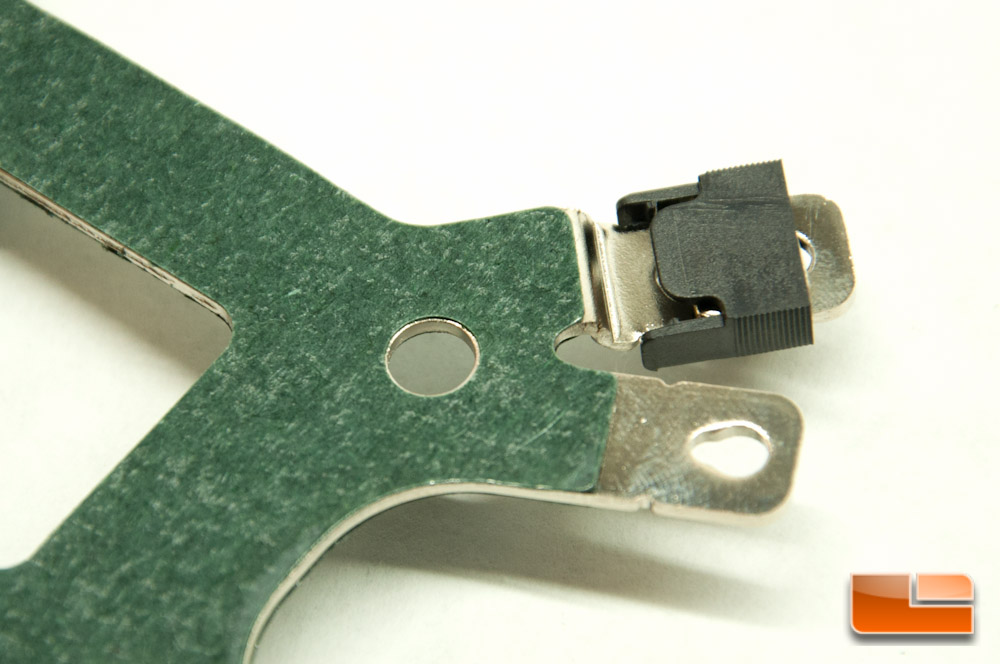
The pins will actually slip into the plastic cap to hold them in place.
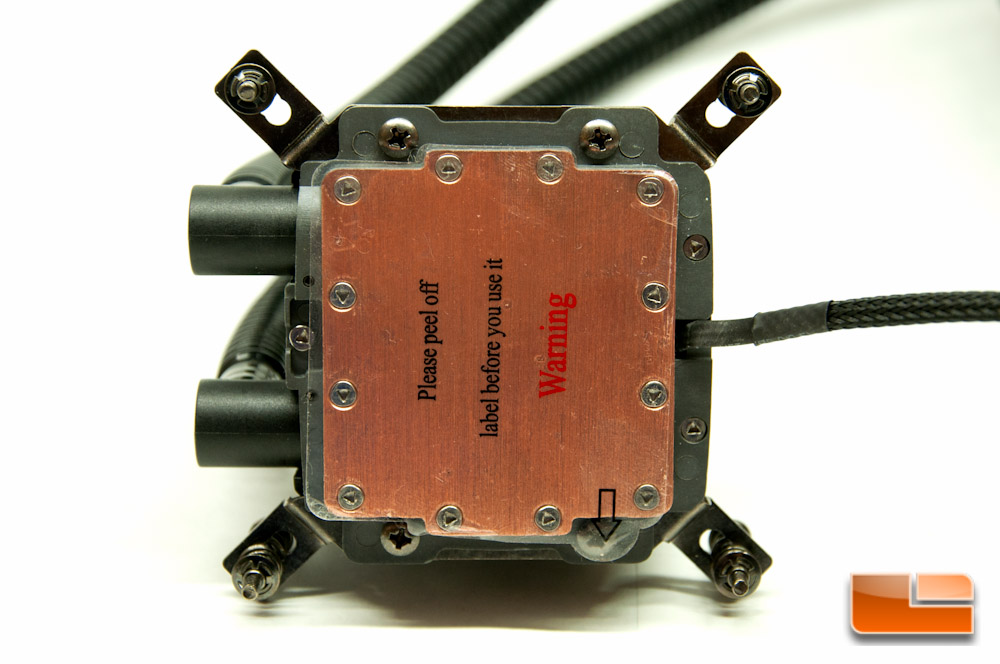
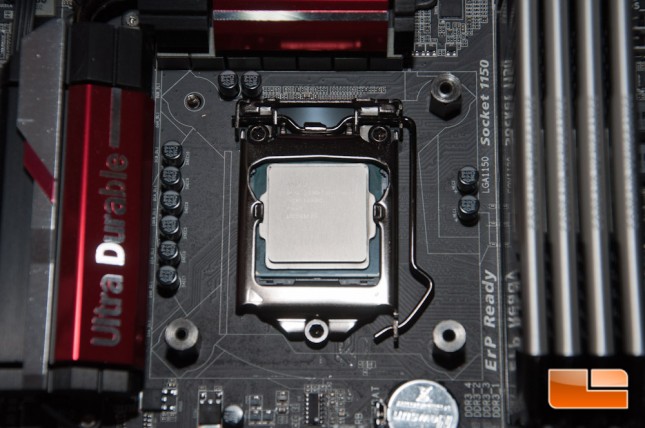
Finally, the last cooler prep work that I did was to clean both my CPU and the copper base with rubbing alcohol. I want to ensure a purely clean surface for the thermal past to have contact with, which is why this is important to do both components. This is my clean slate.
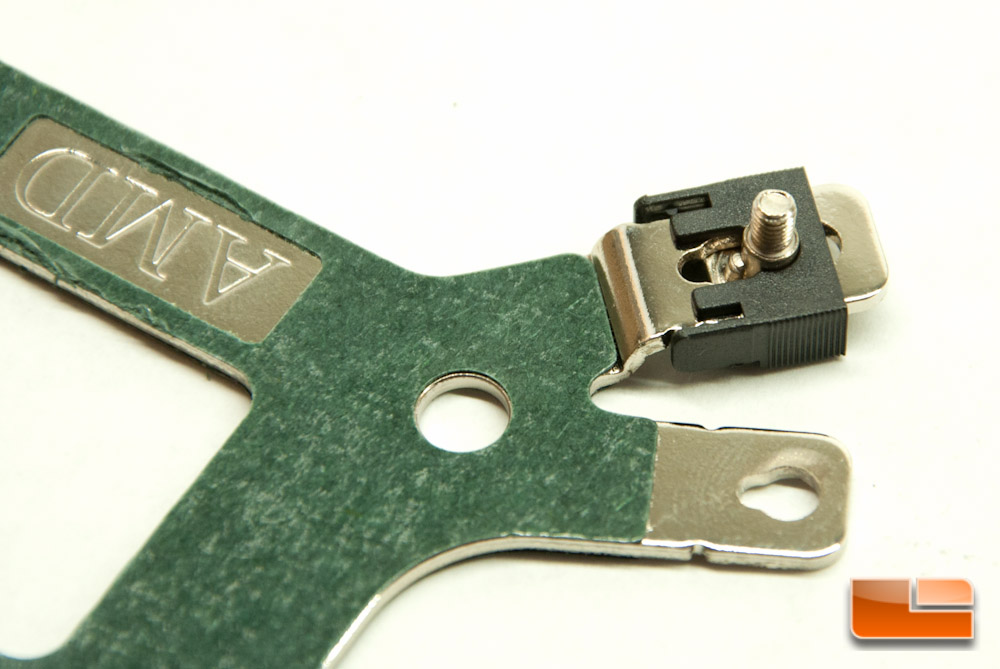
From what I’ve already begun noticing at this point, is this cooler is going to be much easier to work with. Cooler Master has changed up how the back plate holds in place and a few other minor items.
Slip your back plate in from the rear, being careful to keep the screws from the CPU socket inside the holes on the bracket.
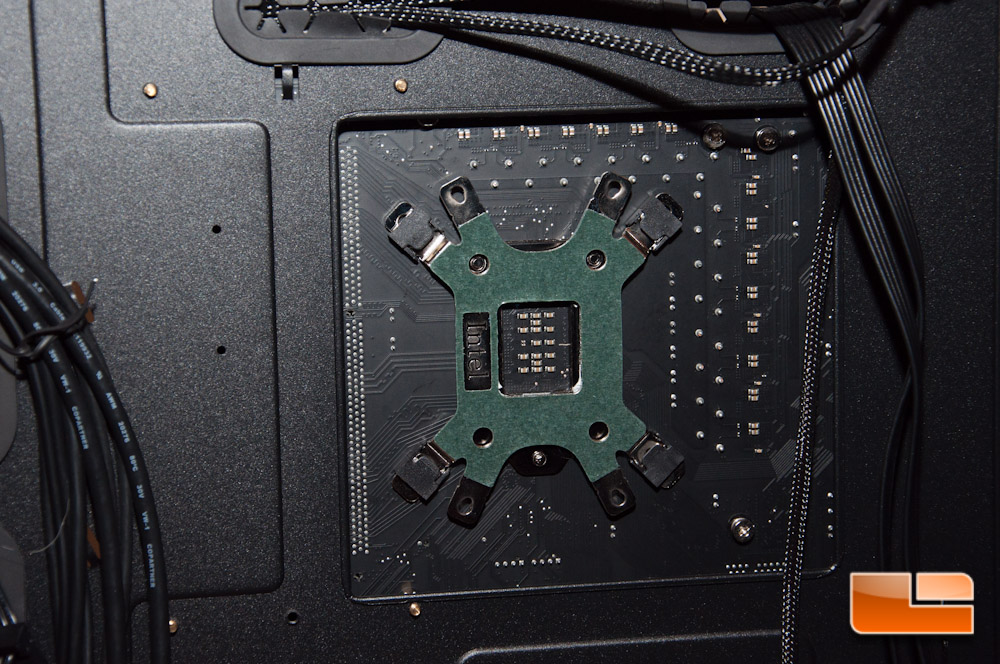
While holding the back plate in place with your hands, you can now screw on the giant standoffs. In the below photo I have three of four installed so you can get an ideas of what it looks like.
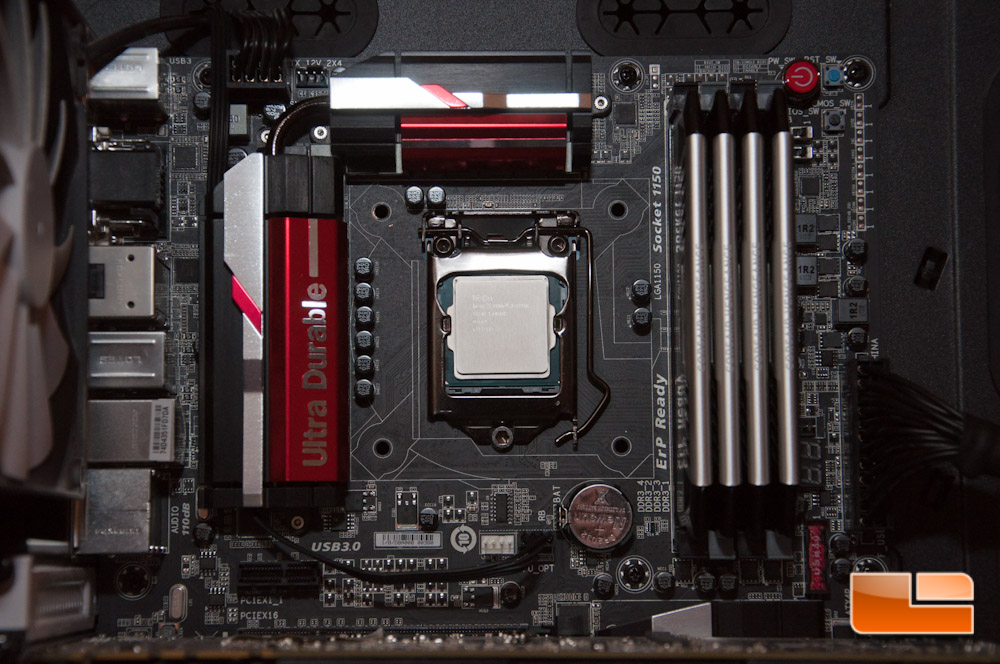
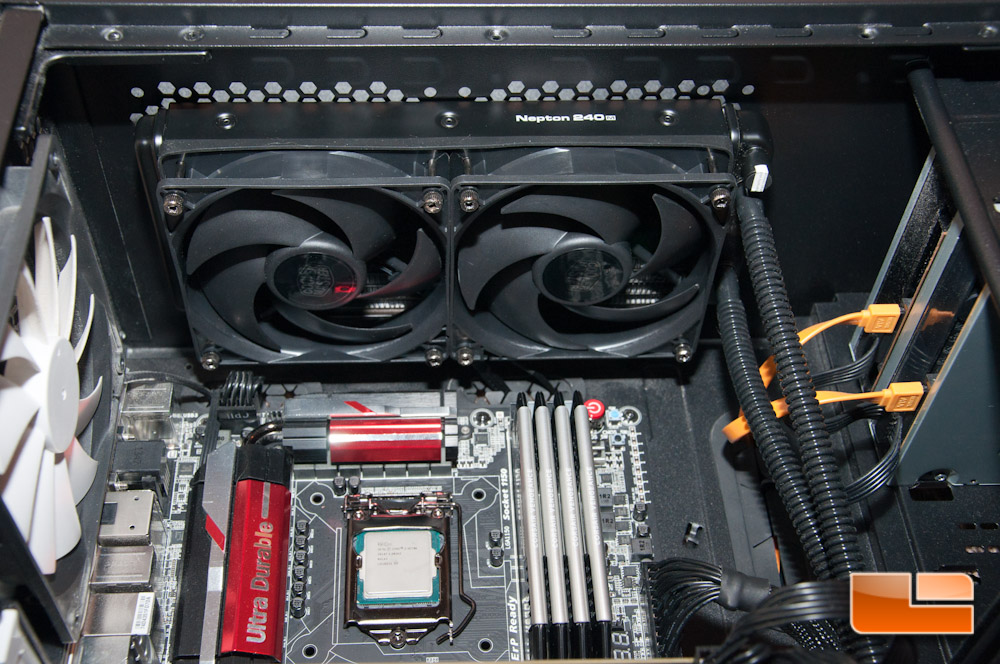
Now that the back plate is in place, it is time to mount the radiator to the chassis. I am able to mount this to the top of my Fractal Design Define XL R2.
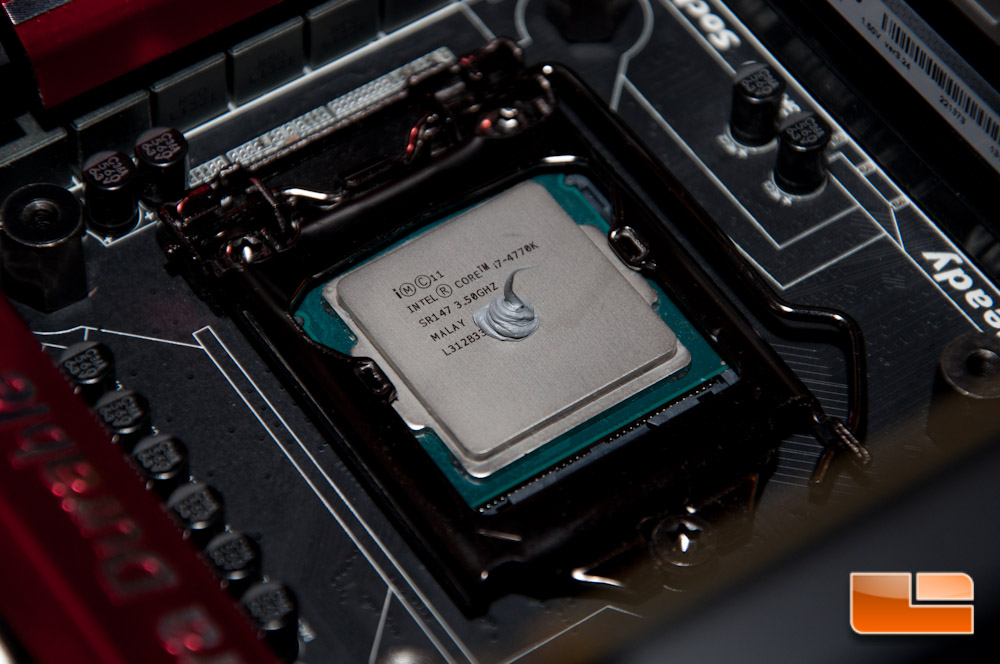
Next up, drop a pea sized amount of the included thermal paste on your processors IHS. This paste is far from runny and you can probably tell this from the following picture. If this were mistakenly done earlier on with your install process, it wouldn’t have been too big of a deal this time around.
All that you have to do now is screw down the CPU block. This was a little trickier than the Nepton 280L, as the screws aren’t thumb screws. Here you’re required to have a screw driver in hand. I lightly tightened all four screws just to begin threading them, and then proceeded to secure them in a crisscross pattern to ensure even thermal paste distribution.
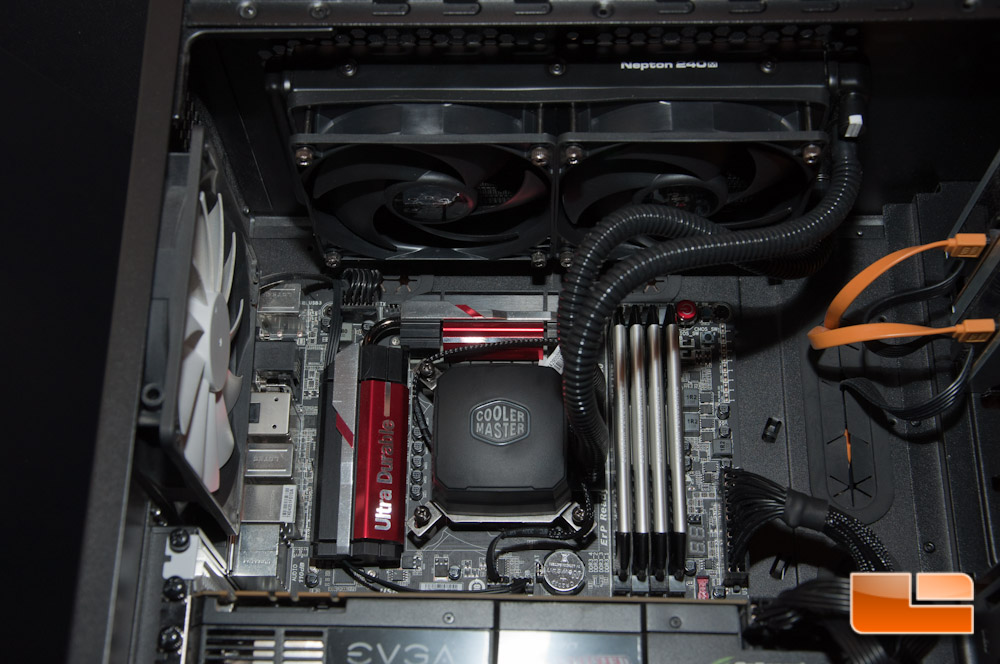
Don’t forget to connect power to your fans and pump. My pump will be connected to the CPU header, while the fans are connected to the single CPU_OPT header. Cooler Master does include a cable so both fans only require a single header.
When you power up the system, you might be wondering if you actually plugged in your fans. Don’t be alarmed, because they’re actually just that quiet! I honestly had to double check that they were actually ramping up under load, because they’re so quiet. I also did not notice any extra noise from the pump, and with a 15 dBA or less rating, I most certainly didn’t expect to hear anything.
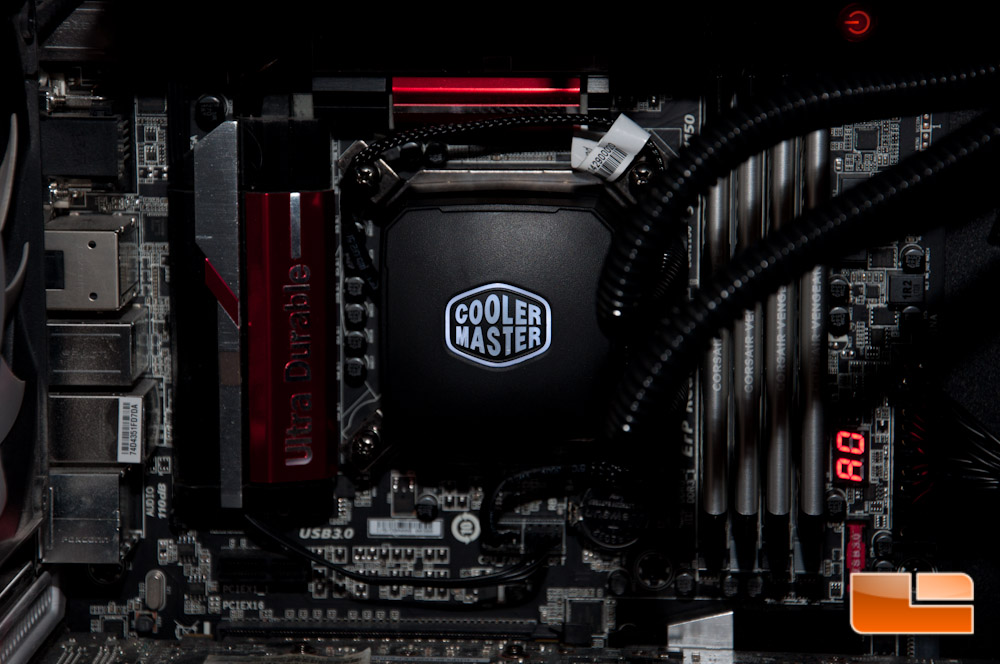
The Cooler Master logo on the front of the CPU block lights up a pleasant white and will accent your case well, should you have a window.
 One more shot:

Since we’re all here to find out how well this cooler performs, let’s move onto that section of this review. Before we make that jump, let’s take a look at what’s inside our system.