Cooler Master MasterAir Pro 3 & Pro 4 CPU Cooler Review
Installing the MasterAir Pro 3 & Pro 4 Coolers
Since the MasterAir 3 and 4 have completely identical mounting systems, most pictures will only be shown for the installation of the MasterAir 3 cooler.
You will have two options to install this cooler: Push-pin or mounting bracket with back plate. The push-pin fittings are just like what youd find on the stock Intel cooler. This will likely be best utilized if you want to use one of these coolers as a passive cooler and not an active cooler. My fear is that all of the weight resting on push pins may not be a great thing, so with fans attached, Id recommend using the brackets and back plate.
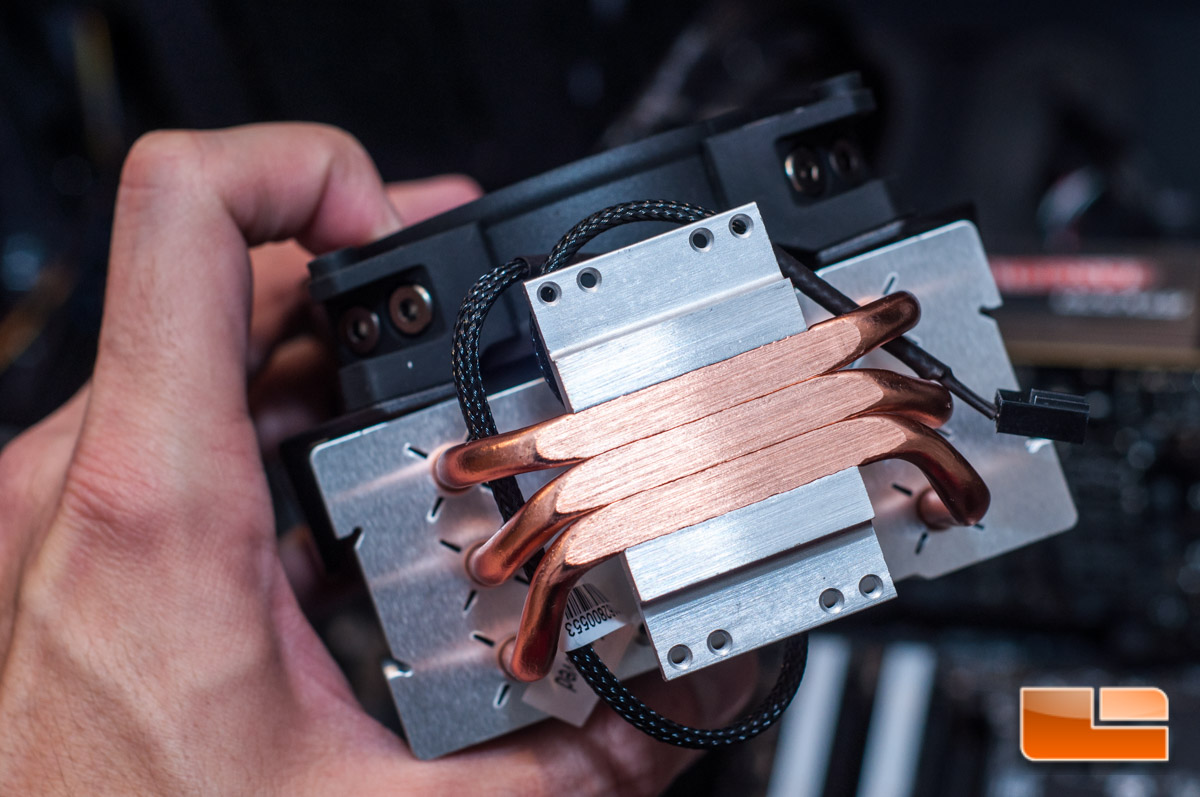
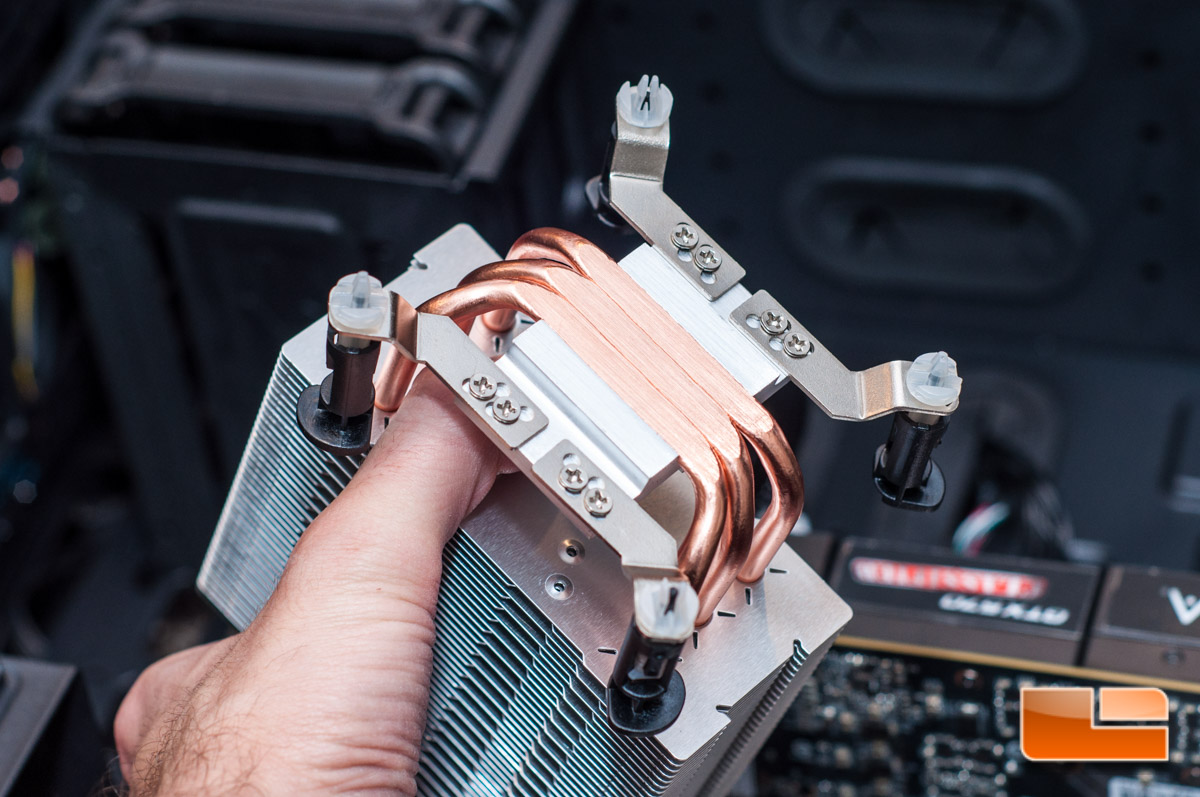
I always start with a clean system, cleaning the CPU with rubbing alcohol to remove any contaminants. I also cleaned up the bottom and removed the sticker. Here you can cleanly see how the heat pipes are placed.
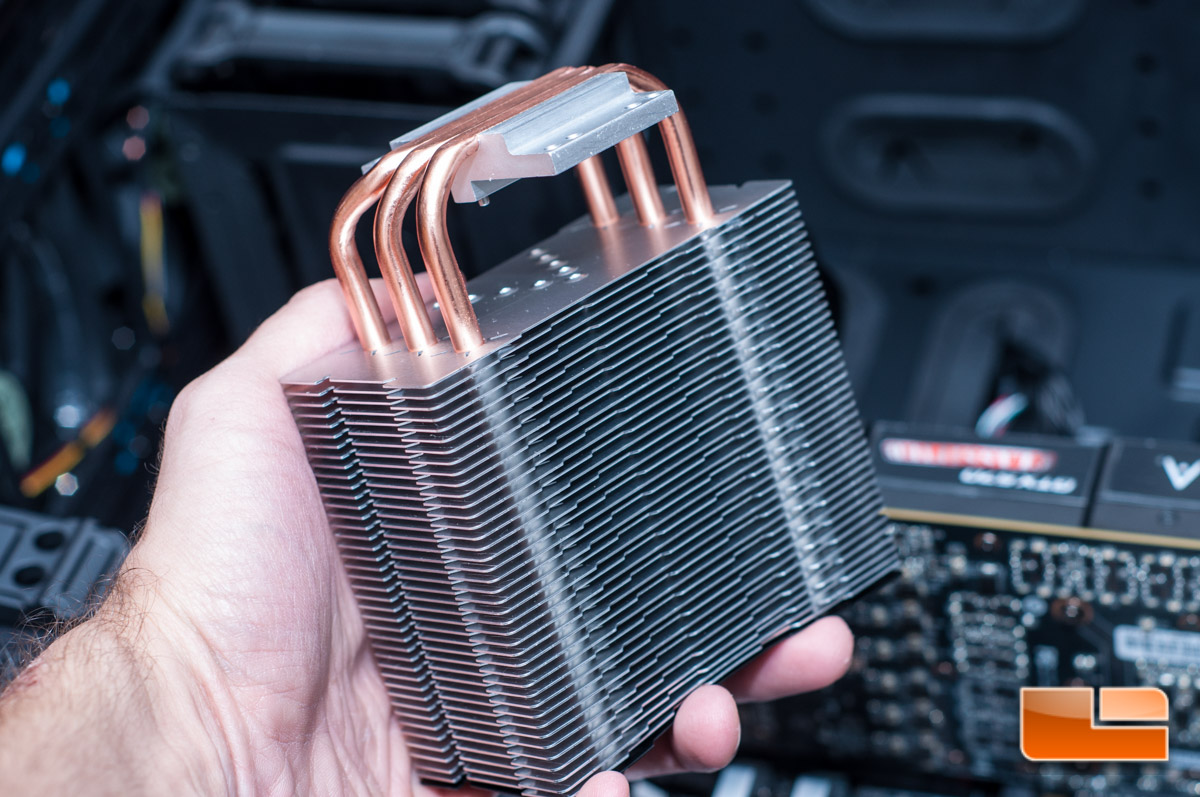
Next up youll need to remove the fan, as with the fan installed, youll for sure have a difficult time installing the cooler.
Should you be interested in doing a passive setup with the push-pins, you will need to attach them to the aluminum base. These were a little annoying to install, considering it is four parts and eight screws, but it went relatively smooth.
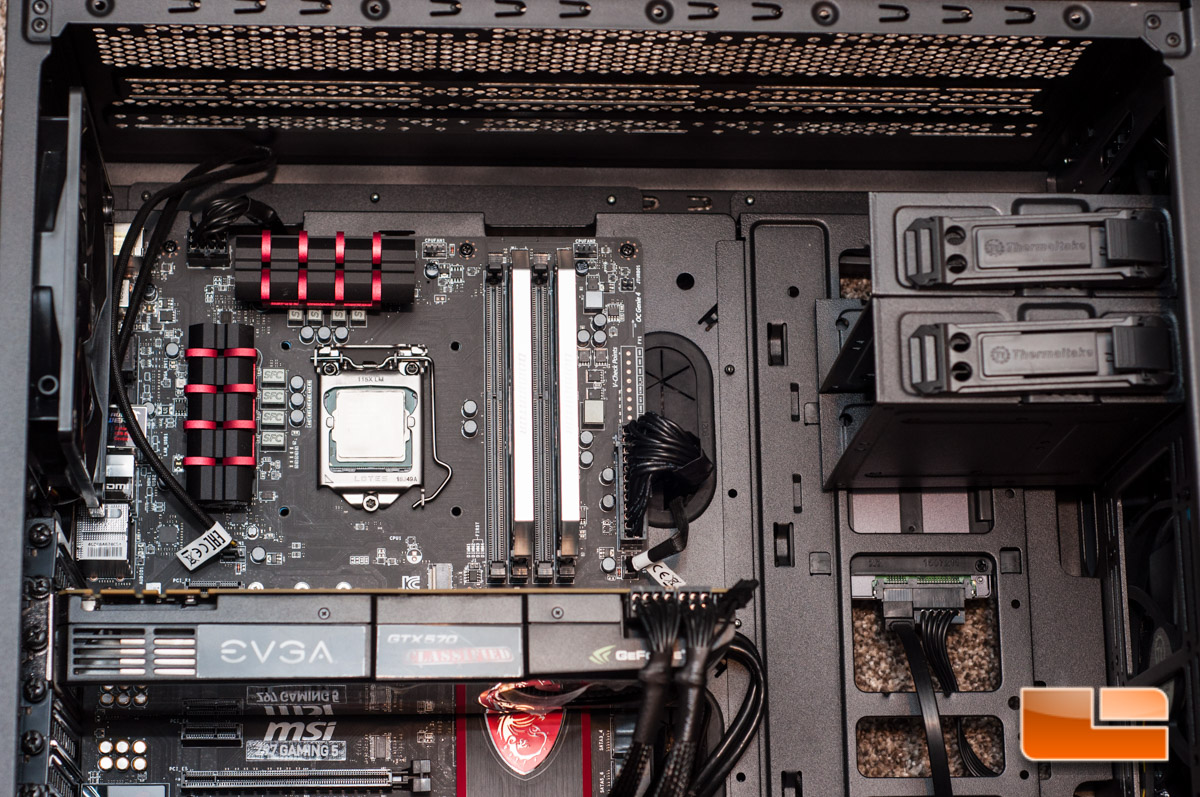
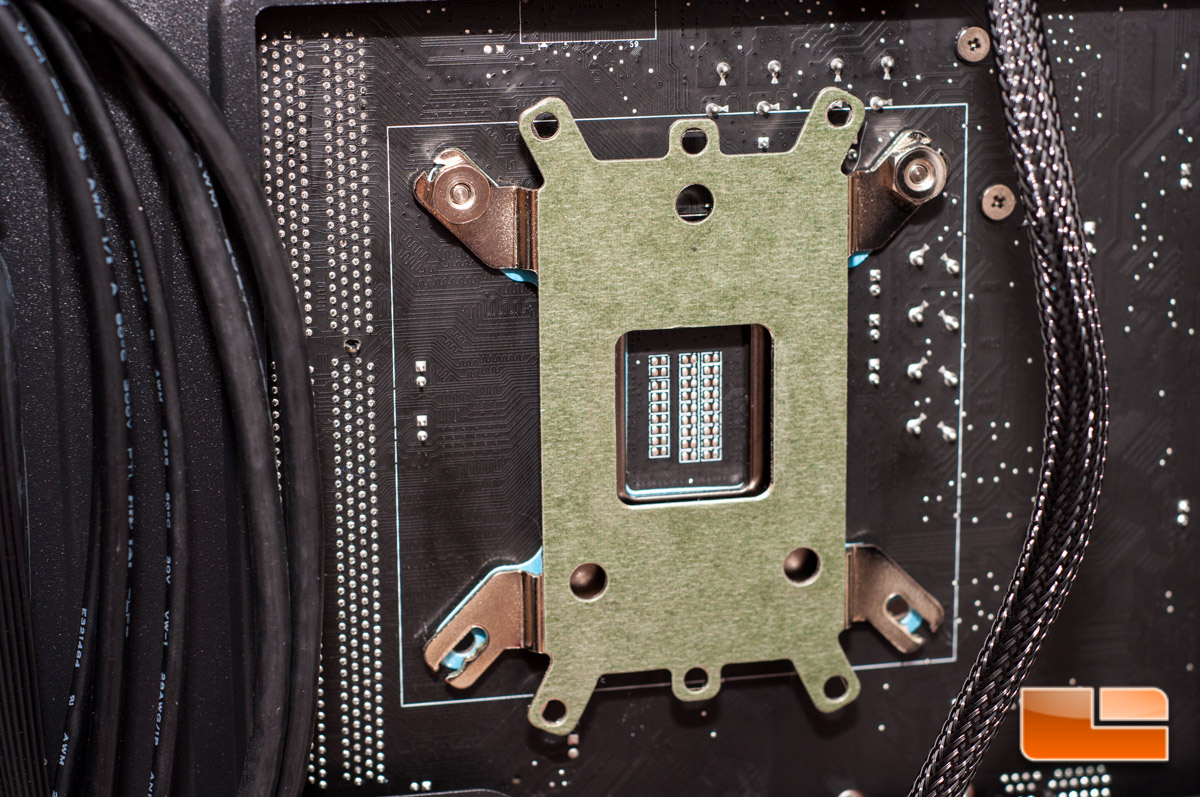
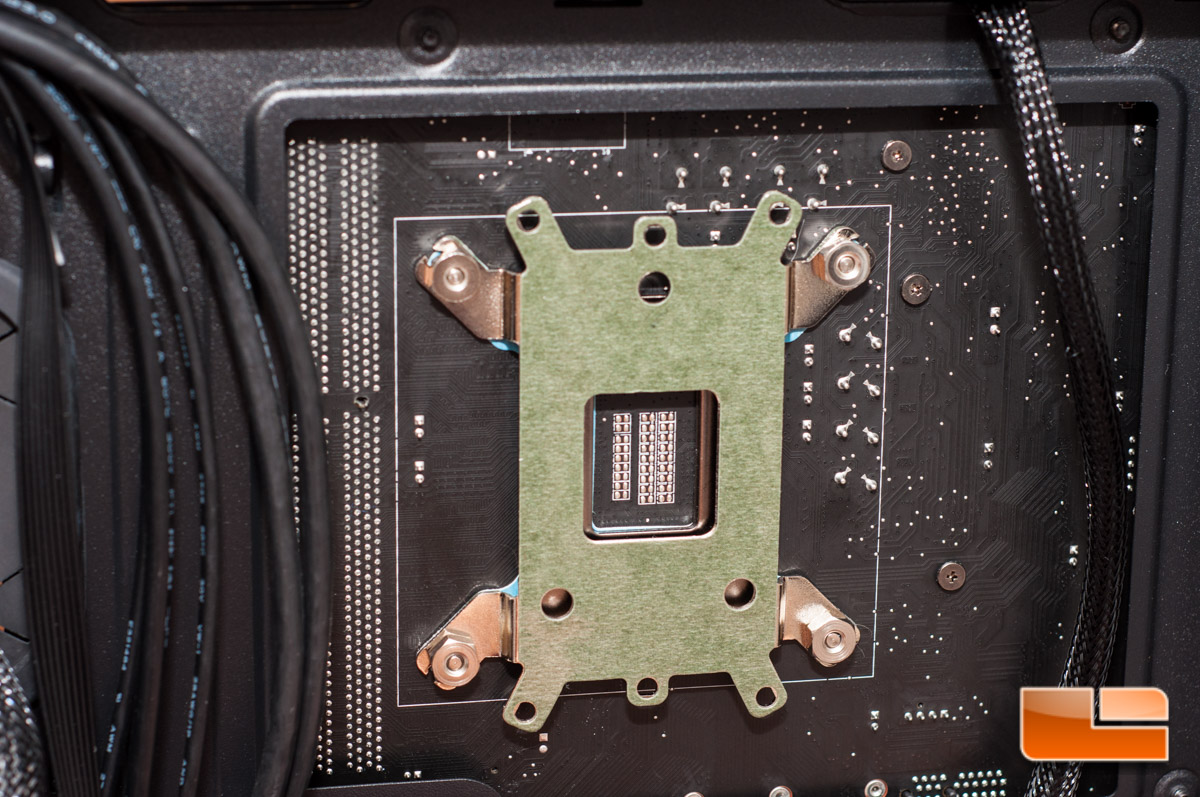
The other method is with the back plate, and this is definitely going to be the way to go. In the below photos I did mistakenly place the back plate on upside down, however this didnt matter because not only did I correct this before I fully installed the cooler, the plate doesnt touch the sockets back plate or interfere whatsoever.
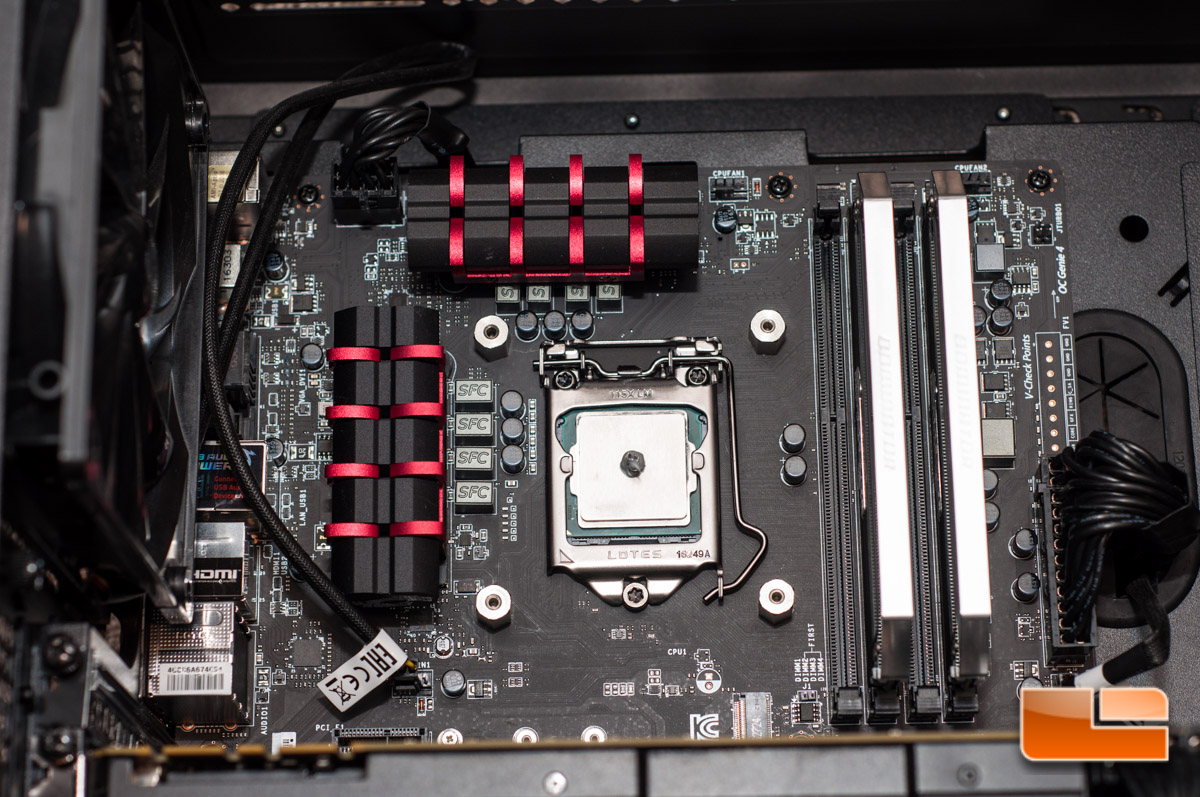
I tightened everything down with a screw driver and the included nut socket and a wrench. Honestly, I found this system extremely tedious and more complicated than it needed to be. Cooler Master could have likely refined this mounting system a little more to make it easier on the end user. I then placed a pea-sized dab of the Noctua NT-H1 thermal paste on the CPU.
You will slide the X-bracket between the cooler and mount away. This again was a little annoying, because there appears to be no way to permanently fix the X-bracket in place so it doesnt move to the next socket configuration. Youre faced with holding the cooler steady on the CPU, as to not mush around the paste, and get the bracket to screw down. Again, this was more complicated than it needed, however I do like the versatility of this mounting system.
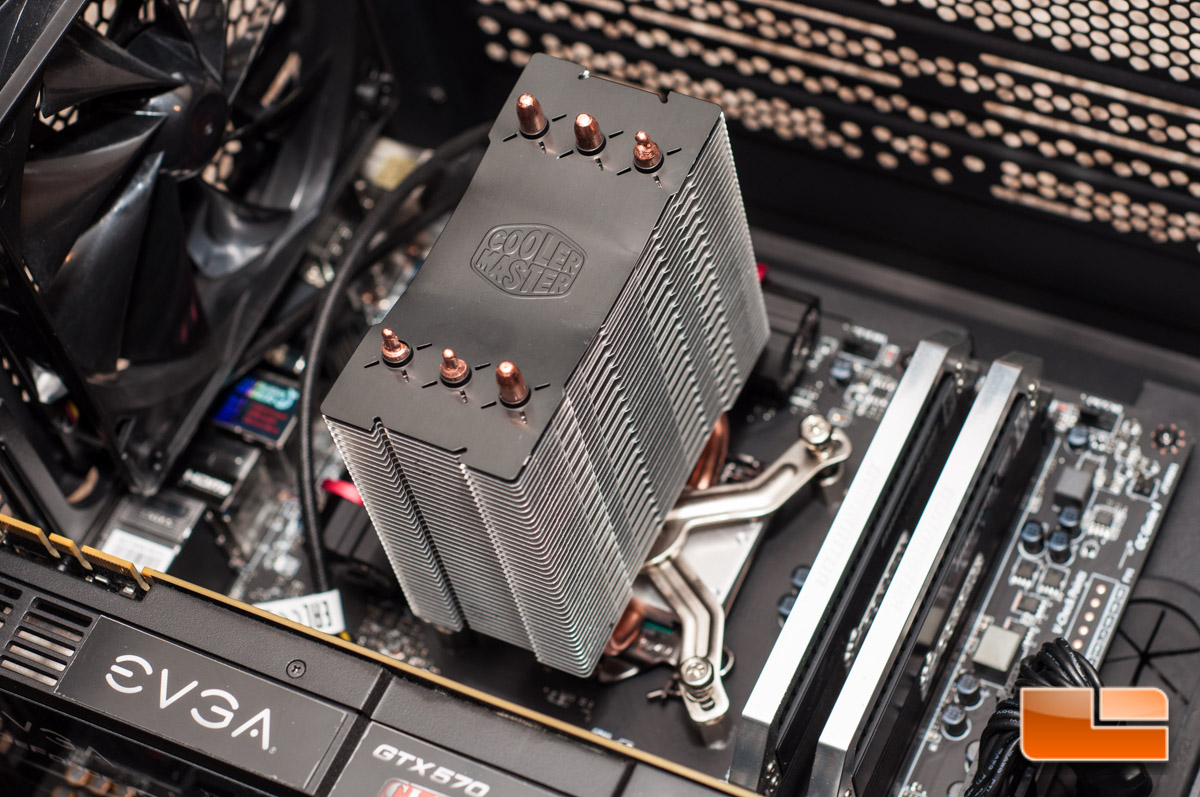
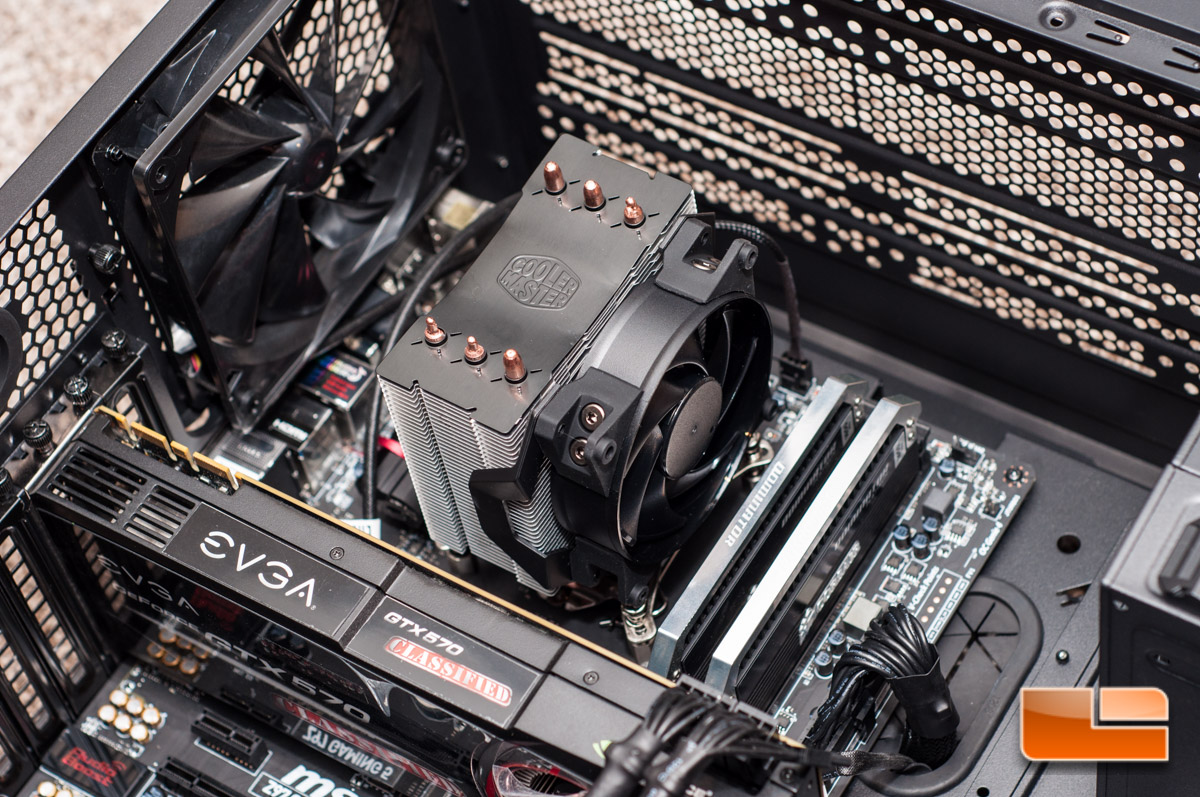
Lastly, I mounted the fan back on and fired it up. From my ears, I can barely hear the fan spin at idle. In the coming pages, we will take a look at exactly how quiet and loud these fans are at idle and under the load of Prime95 respectively.