Cooler Master Hyper 612 Version 2 CPU Cooler Review
Installing the CM Hyper 612 V2 CPU Cooler
Installing the Hyper 612 V2 isn’t going to be as simple as installing the stock HSF, however Cooler Master did want to make it as easy as possible, so don’t be intimidated by its sheer size and number of parts that come with the kit.
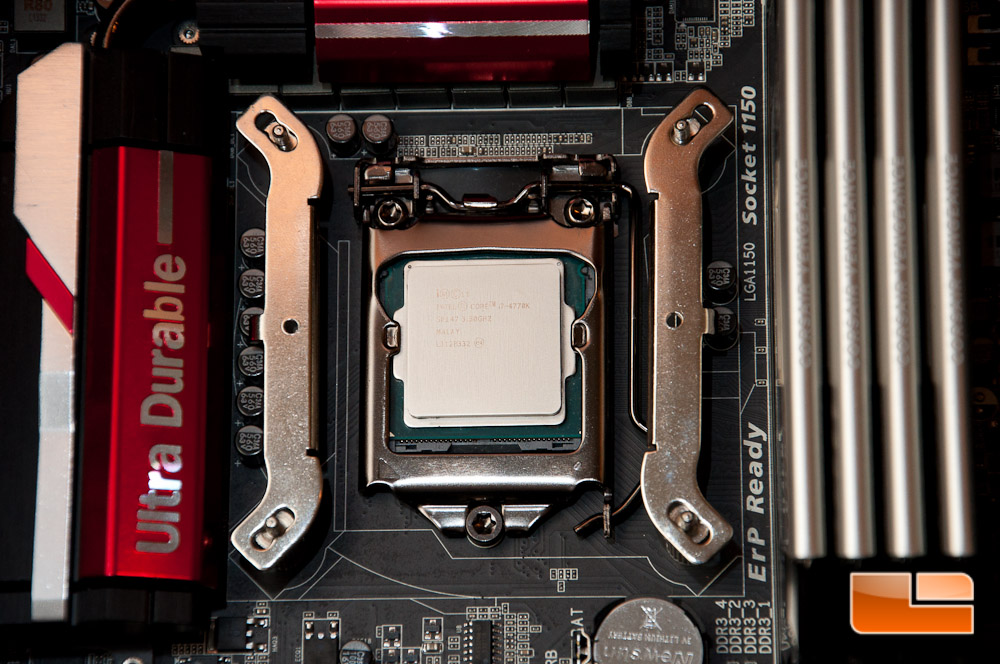
Before we get started, it’s always best to clean off the CPU with rubbing alcohol for the best results.
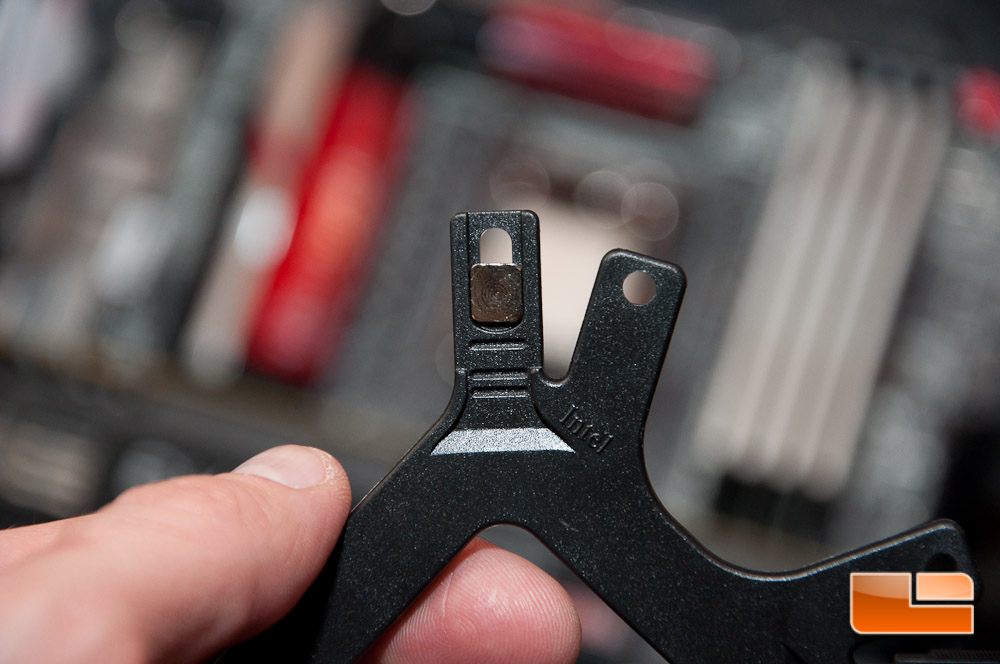
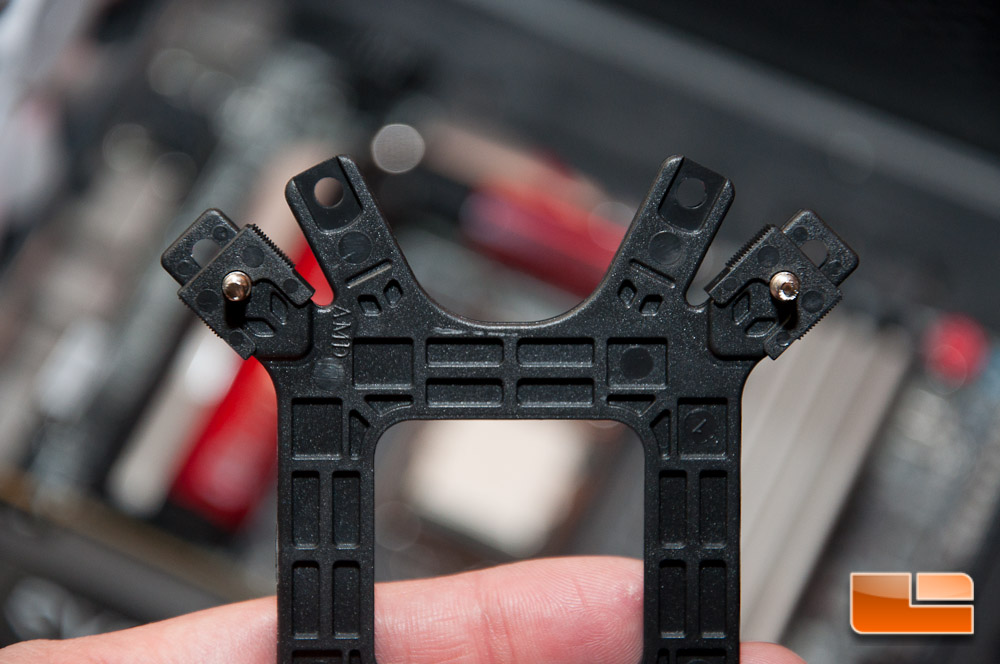
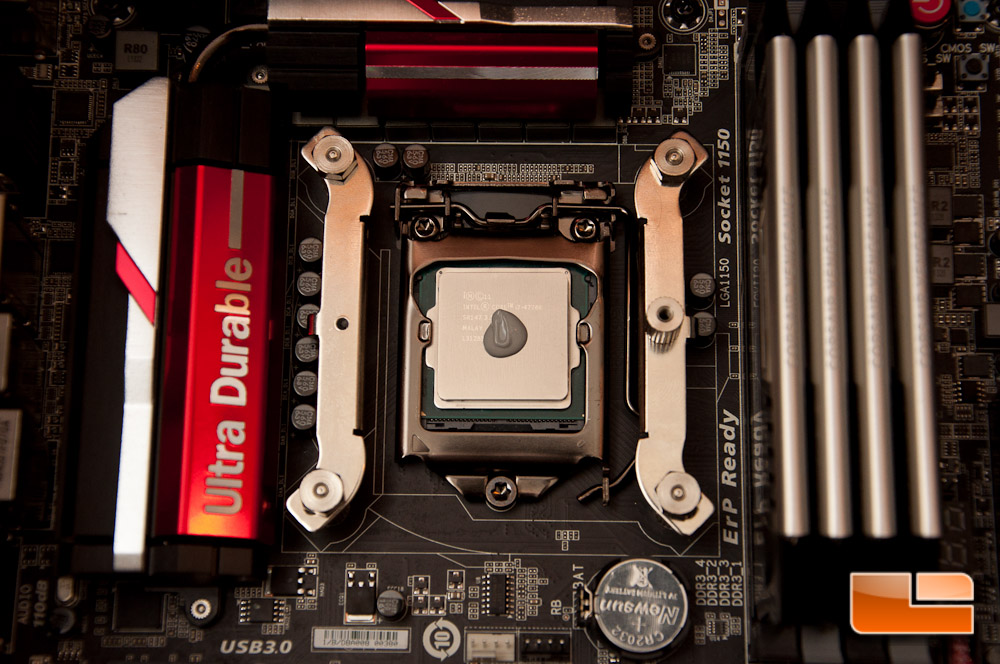
First off I put together the backplate, which as expected is quite easy. There are four standoffs that you will push through a hole on the arm of the backplate, followed by a cap that holds them in place. When the standoffs are held in place with the cap, you can then slide them to the socket that you’re working with; in this case the 1150 for our review today.

Cooler Master’s instructions ask you to put your TIM on first thing, but I would strongly advise against that, as this paste is somewhat runny; make this your last step prior to installing the block and save yourself some grief. I can only imagine the paste sliding down the IHS and onto other components, making a giant mess. Yuck!
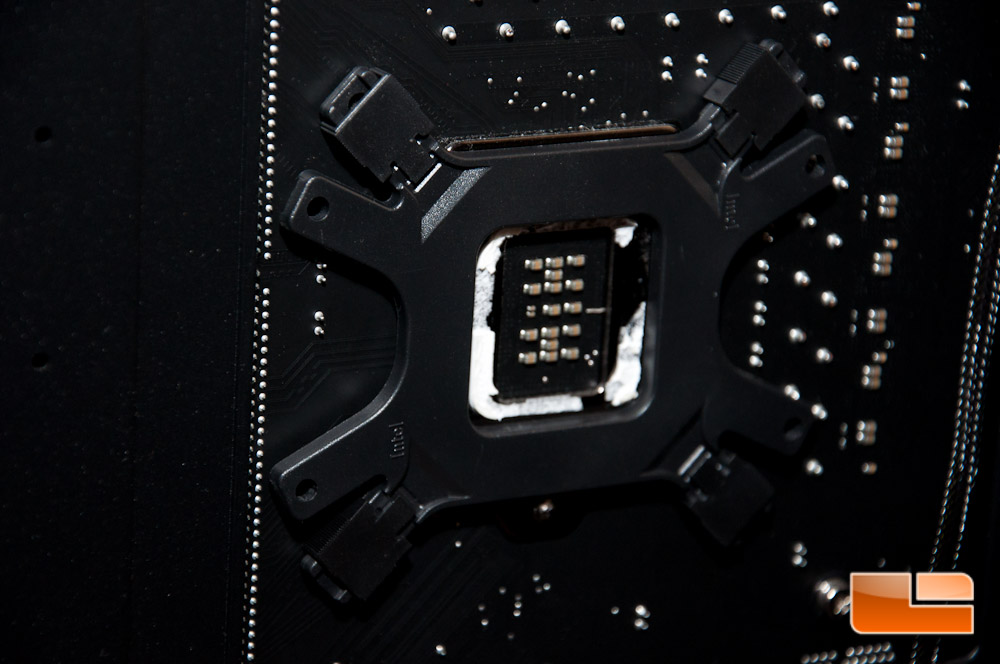
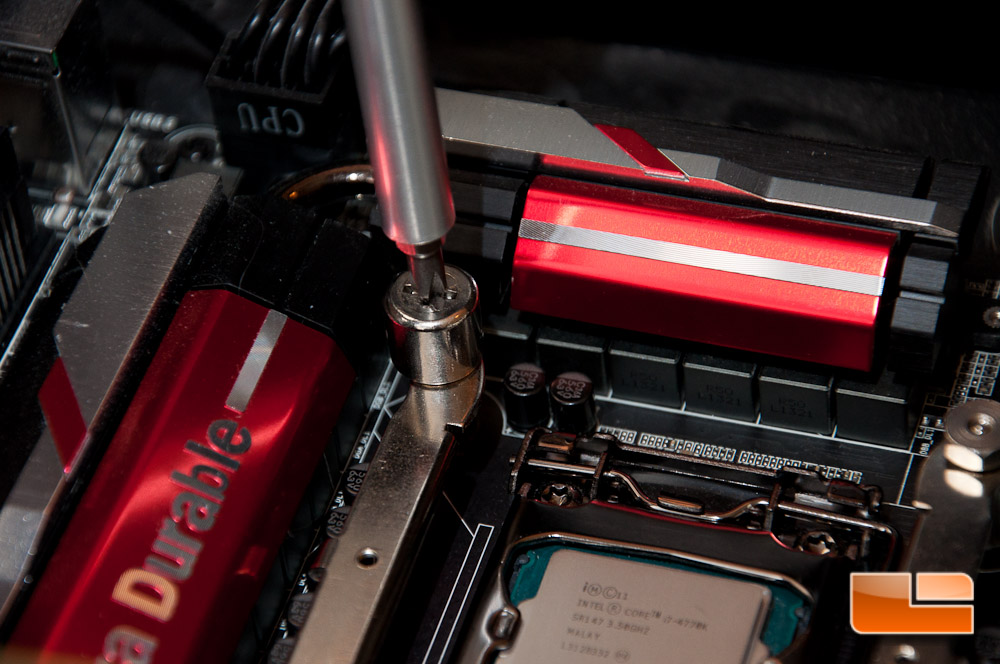
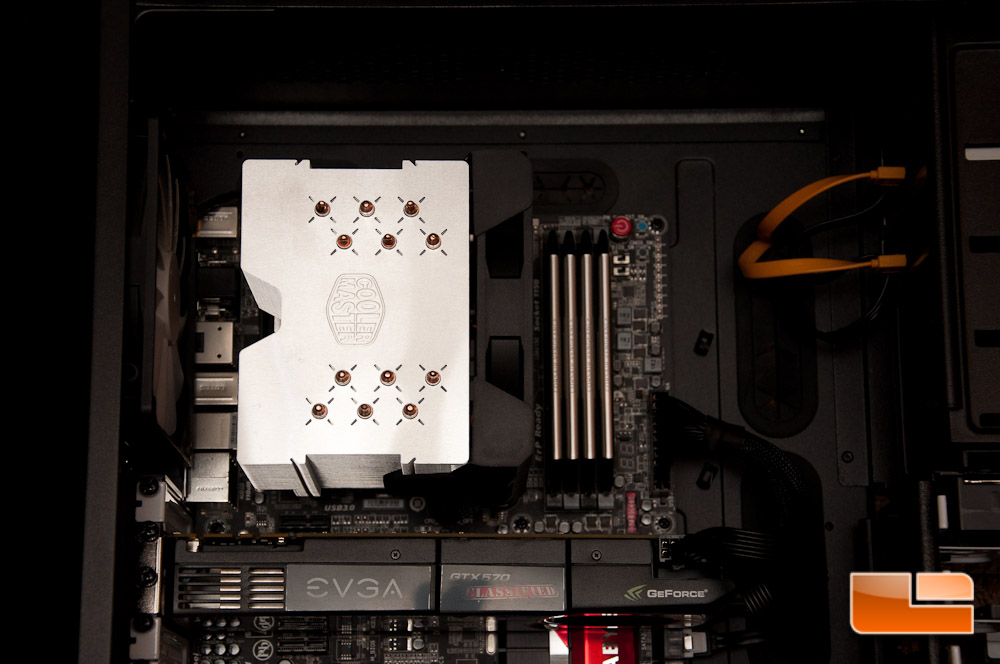
I started off by screwing in the standoffs to the backplate, which in turn holds the backplate in place.
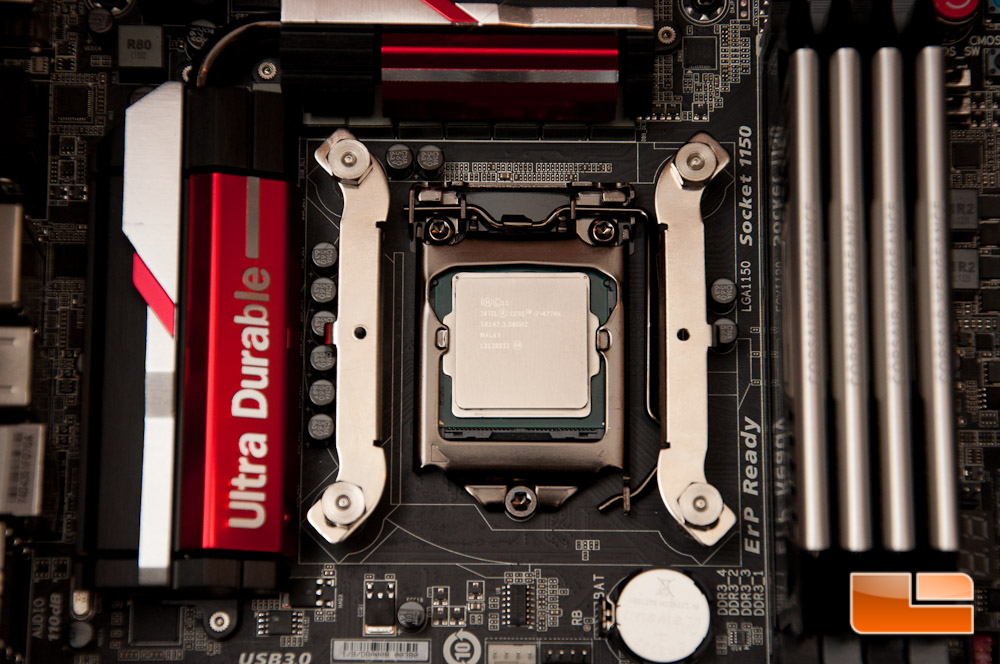
After the standoffs are all in place, you will use the brackets that are designed for your socket CPU. I found that gently pulling them to the outside (in effort to keep them center) worked best. Otherwise, when you tried putting the nuts in place, the brackets would move, making everything off center.
Nuts are installed with the included tool so you can simply screw them down with a driver.
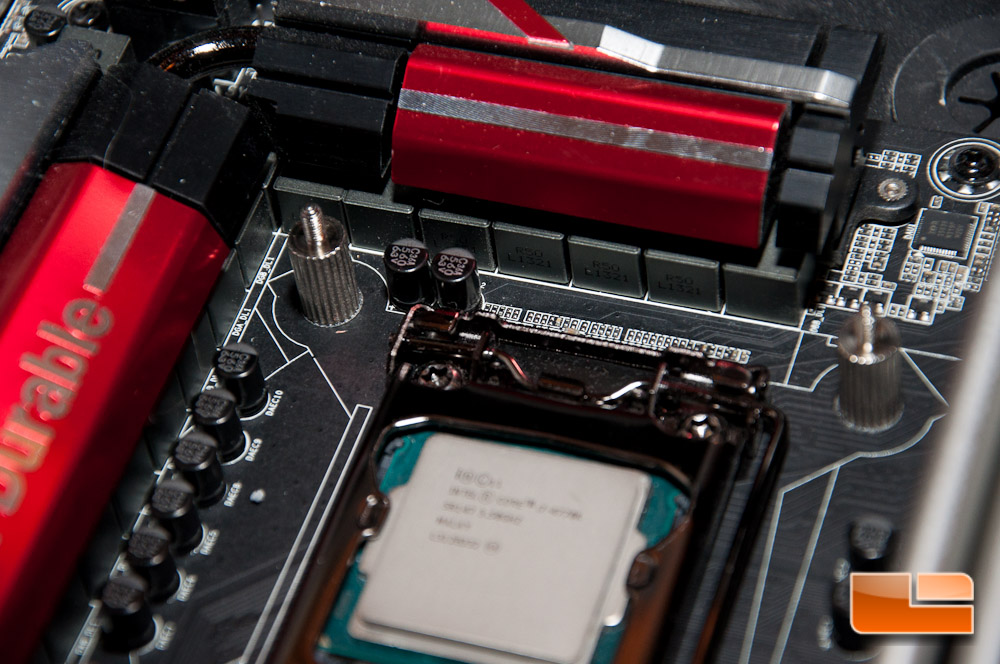
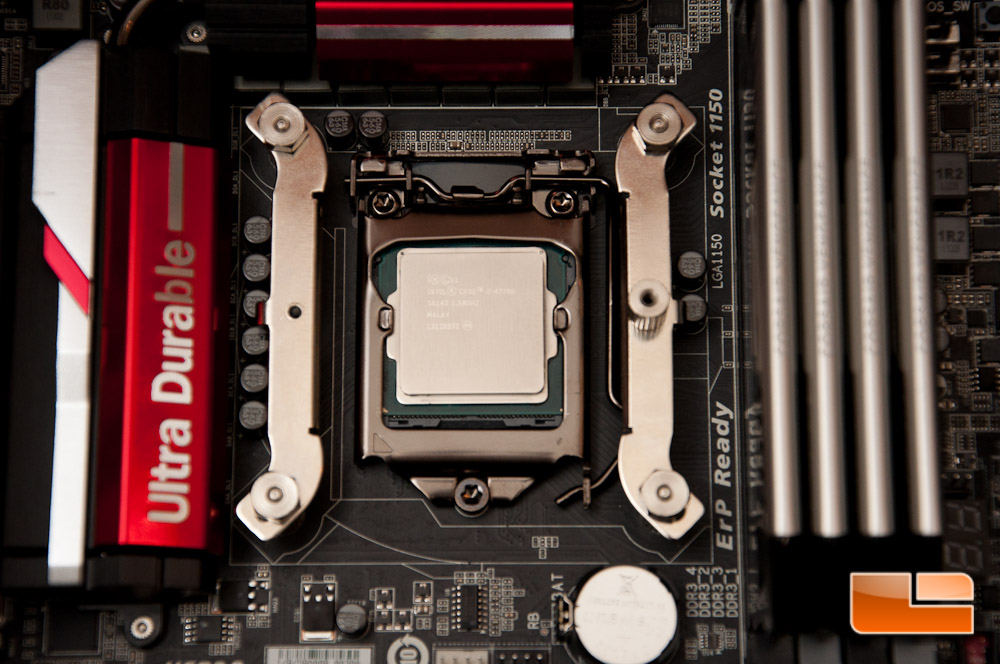
Next you need to install the standoff in which the cooler with screw down to on the one end.
I put down a pea-sized dab of thermal paste, as this is a tried and true method to cover the IHS completely and evenly.
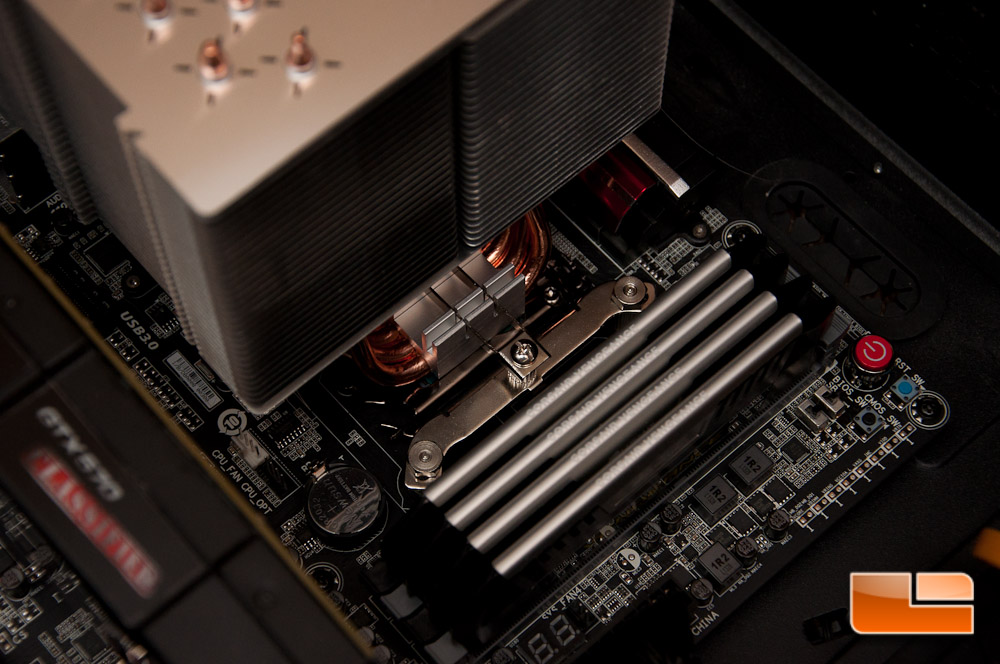
I chose to mount the cooler with it pulling air from the front of the chassis and exhausting to the rear, as every other fan in the case does this. Should you want or need to, you can also choose to have the fan exhaust to the top of your case. You will hook one end of the bottom cooler bracket to a hook on the CPU socket brackets, then screw in the other end. I found this to be extremely simple.
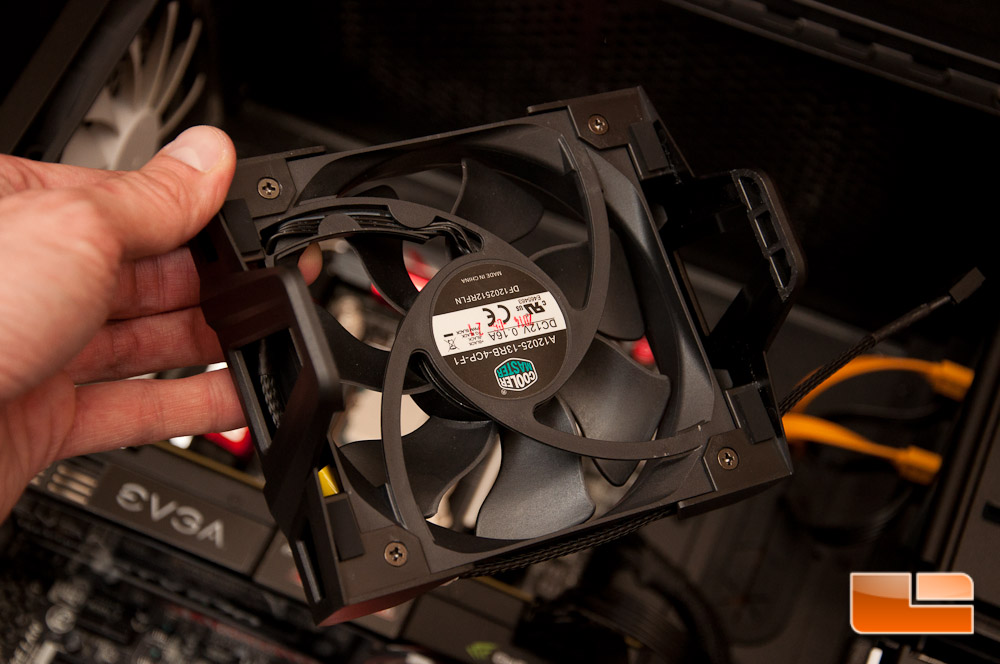
Finally I attached the fan to the cooler using the included plastic fan brackets. These brackets worked like a champ and I’m quite digging them! If you choose to use them, it definitely gives the cooler a very sleek look. It’s a bit tricky to get the fan on, and the best method to make sure it got center, you will gently spread the bracket apart to slide it down the cooler. I had to watch my fingers as to not tear them up while sliding down the fins. There are rubber bumpers that I had to attach to the fan which will help squeeze it in place. Without these bumpers, the fan would simply slide down when put in final position.
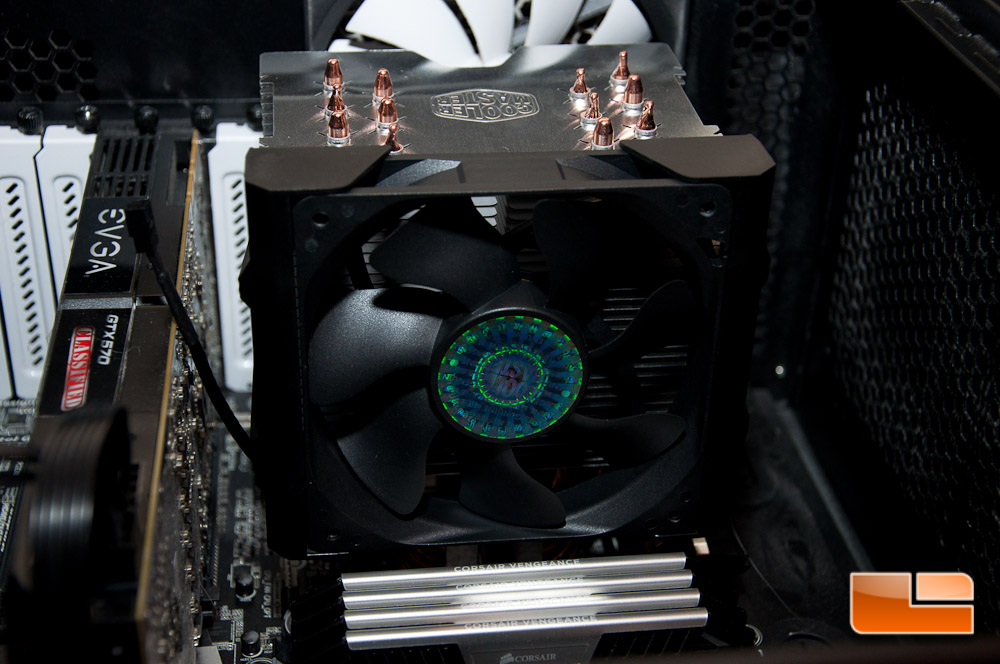
One more shot of the fan installed on the cooler.
So now that I got my fan into place, I had a tiny problem – My video card and Hyper 612 V2 provided me very little space to get to the CPU_FAN header. Fortunately with a little fiddling, I was able to get the fan connected to this header. If possible, I would try to connect the fan to the header and setting it aside before installing the cooler.
Firing up the system for the first time, the system is darn near completely silent thanks to the 20 dBA max noise level. The fan does have a pretty decent static pressure, coming in at a max of 1.6 mmH2O, so don’t be fooled by the quiet operation.
Lets move onto the testing, as we know thats what everyone is here for. Well compare it to the various liquid CPU coolers that weve tested in the past, see how well it works with an overclock to 4.3GHz on a i7-4770k, and see what happens if the TEC plate were to fail on you. Before we get into the tests, click the next page to see what weve got in our system.