Cooler Master HAF Stacker 935 Case Review
Stacker 915 Internal Impressions
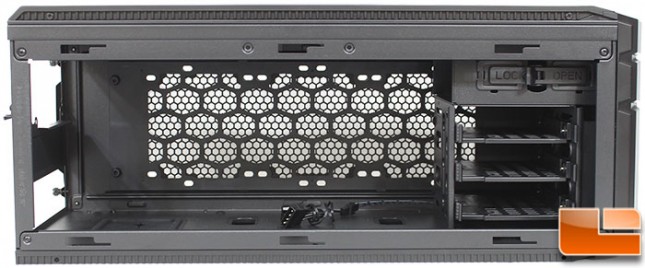
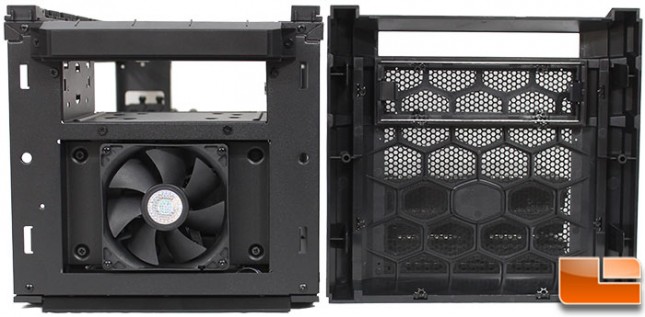
The side panel is held in place by a single thumbscrew, which once removed the panel slides off easily. Here we can see what the 915R offers. By default, it has a single 5.25″ device bay, and three 3.5″ hard drive trays, a rather large amount of space for, then room for a Mini-ITX or DTX board. As the height of the case is 9.76 inches, that doesn’t leave a large amount of room for CPU coolers. Between the two models of 915, the 915R has the rear mounted power supply, so the CPU cooler has a maximum height of 80mm or 3.14 inches, while the 915F has the front mounted power supply, leaving room for taller coolers up to 170mm or 6.7 inches.
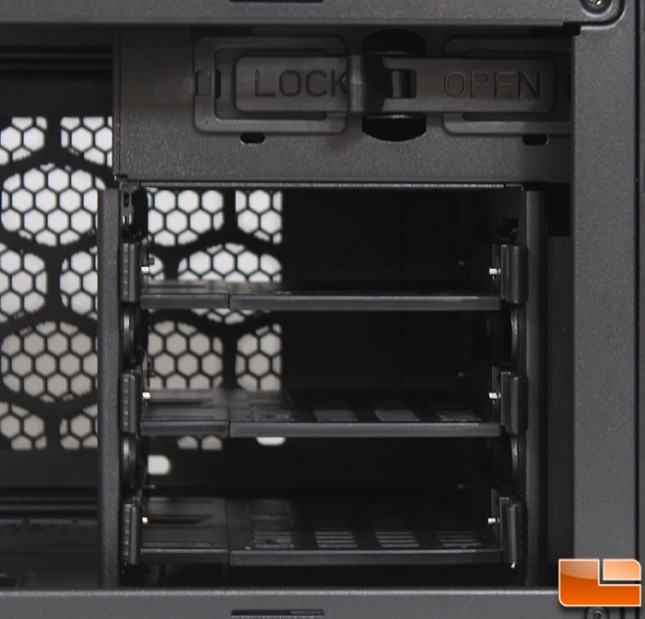
The single 5.25″ device bay is tool-less and uses the same style of latch that was seen in the mid-tower. As for hard drives, the 915R supports three drives utilizing the same tray design as the mid-tower.
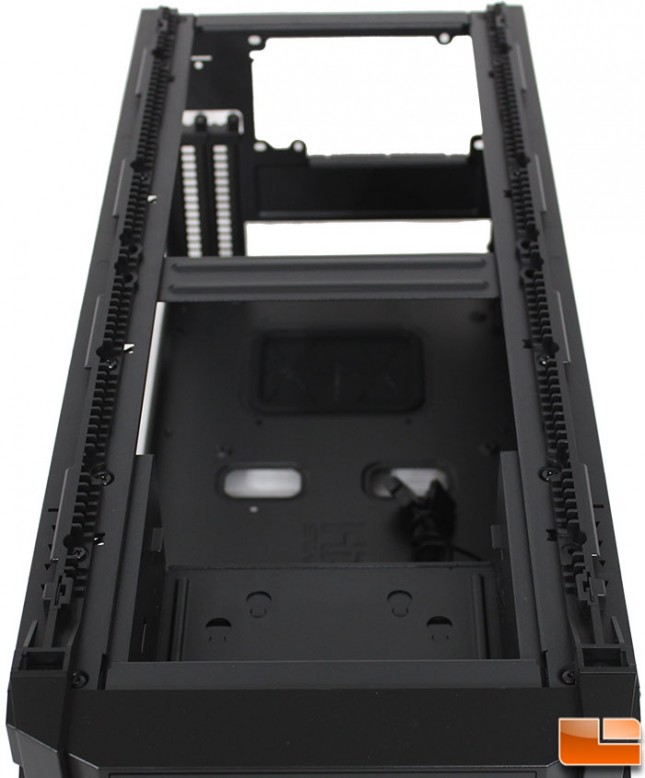
Taken from the top down with the top removed, the motherboard tray is visible. Supporting Mini-ITX and DTX boards, there isn’t a lot of room. From this point of view, we can see that the power supply will be directly over the CPU, as such the height of the CPU will be limited. Again, keep this in mind when choosing components, Cooler Master lists in the specifications that a CPU cooler can not be any taller than 80mm in the 915R, however the 917F it can be 170mm.
The top bezel is removed by two screws on each side. With it removed, the rails are visible. These are the same rails as installed on the top of the mid-tower and are necessary if this is to be stacked anywhere other than the top.
Two clips hold the front bezel in place, which when removed reveals a 92mm intake fan, and the single 5.25″ device bay. Taking a close look at the area where we would expect to find the front I/O cluster, it is only a place holder. It would be possible to remove this (by the two screws) and replace it with a proper front I/O cluster.