Cooler Master HAF 932 AMD Edition Full Tower Case Review
Hardware Installation
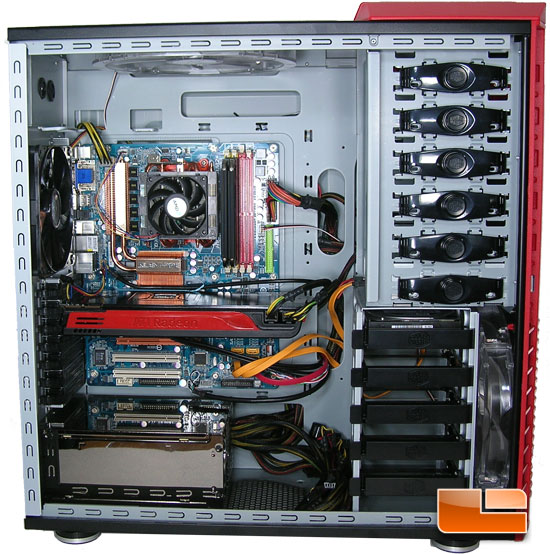
Installing parts into the Cooler Master HAF 932 AMD Edition Case was a cakewalk to say the least! Though I must say that there is a bit too much room left over, that’s not a bad thing to have some extra room. I think we should take advantage of that space, though.
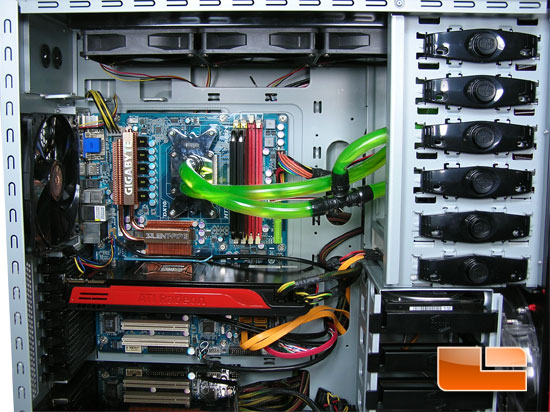
There we go! A little bit less wasted space. The ability to mount a full custom water cooling loop with zero modding is a beautiful thing! Yes I did notice the kink in one of the lines, it’s only the fill port so there’s not critical flow through it; I didn’t plan it out quite as well as I thought I did.
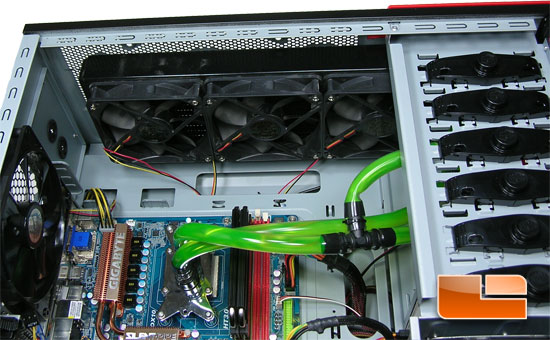
I had more than enough room to install a triple 120mm radiator and fans. You would also have enough room to run fans in a push-pull configuration.
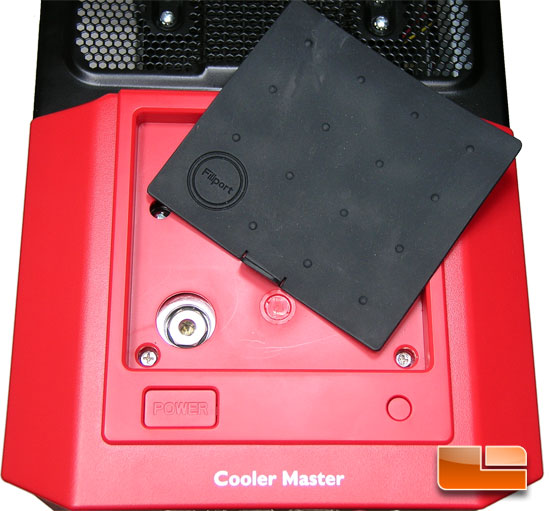
With access to the fill port made easy underneath the tray you will no longer have to worry about opening up the case to fill your water cooling loop.
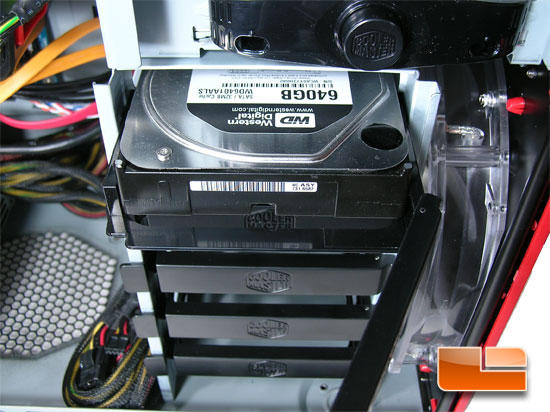
The hard drives mount nicely and securely in the trays supplied. You can feel secure that your hard drives are nice and secure without the use of screws.
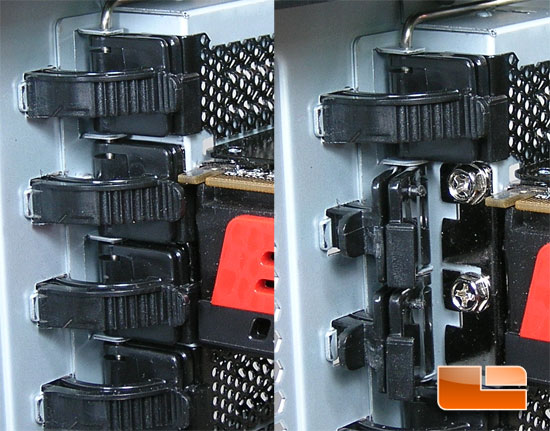
It is possible to use screws to secure your expansion cards. Using the tool-less locks you can move the card a little too much for my liking.
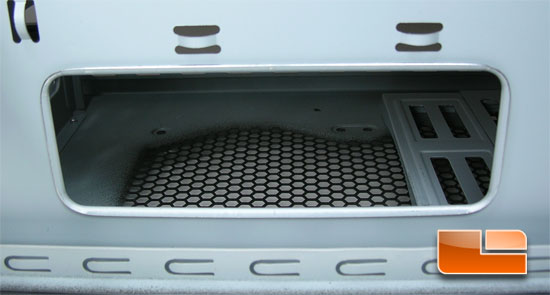
Cable management is a must in today’s high performance computers. To aid in that respect the Cooler Master HAF 932 AMD Edition case has several holes that are pre-punched for your cables. Though grommets aren’t supplied to protect the cables, they aren’t needed. As in the photo above, the edges of all the holes have been rolled over to keep the cables safe. When running the cables behind the motherboard tray you have a solid 5/8″ between the tray and the side panel. You also have the stamped relief on the side panel that adds ~3/16″ of clearance. All that adds up to an easy time closing up the computer when you are done with the build.

Comments are closed.