BitFenix Prodigy Mini ITX Case Review
External Impressions of the BitFenix Prodigy
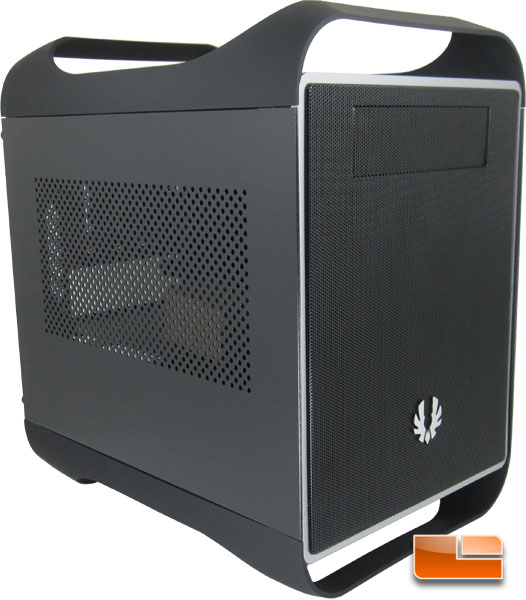
If we didn’t already know that the BitFenix Prodigy was a chassis for a mini-ITX motherboard exclusively, I don’t think we would be able to tell at first glance. At least not when looking at the pictures, it has a style that could easily transfer to a much larger case.
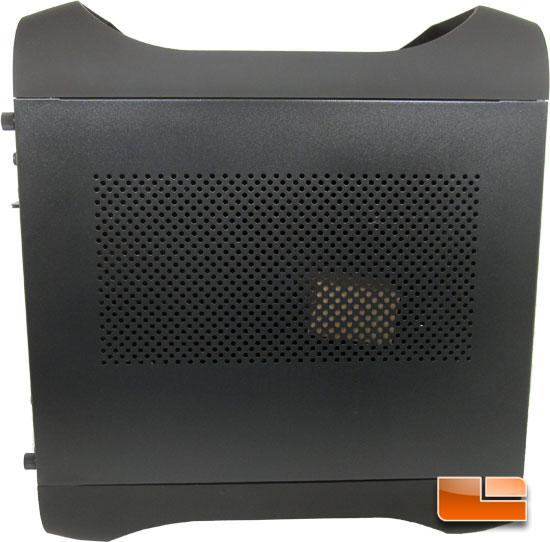
Starting our tour of the BitFenix Prodigy, there isn’t much excitement on this side. Though there is plenty of ventilation here.
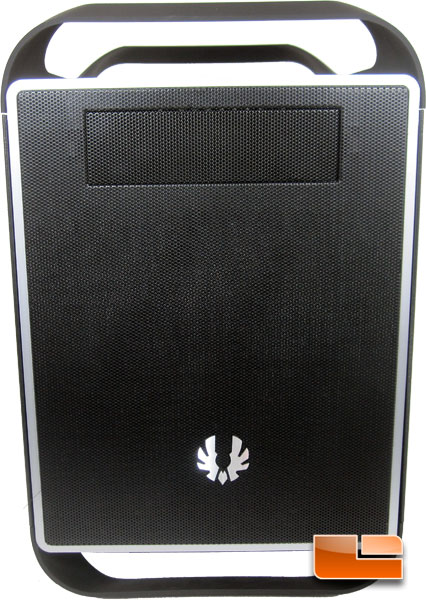
The front of the BitFenix Prodigy is pretty simple, we have the BitFenix Logo, and a spot for a single 5.25″ drive. The entire front is mesh to allow for plenty of airflow. Beneath the mesh there are several options for fan configurations, we’ll get to that on the next page once we head inside of the Prodigy
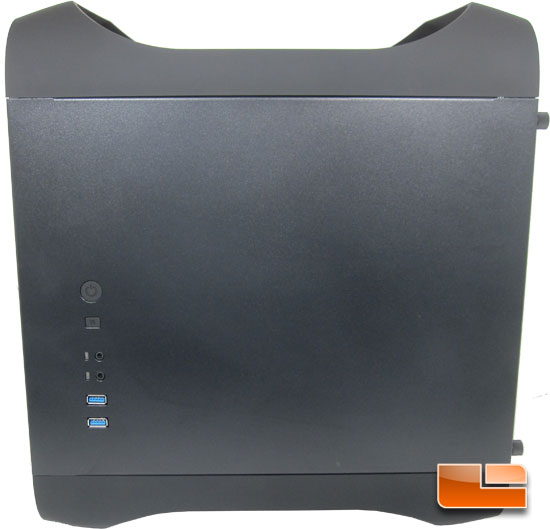
Spinning the BitFenix Prodigy 180 degrees we can see the ‘front panel’. I’m not real wild about the location of the ‘front panel’. On my desk I have one panel of my current system against the wall, while the other is facing me. With the cooling options that the BitFenix Prodigy offers, I can understand this location as it doesn’t take away from the cooling options by blocking any of the fans or radiator space. Though it’s definitely something to consider when thinking about cases.
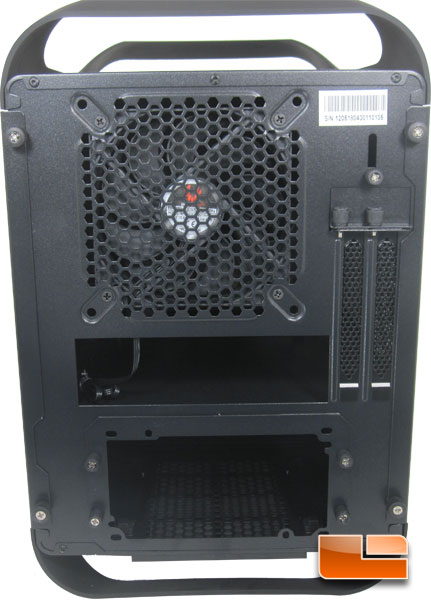
Tuning the BitFenix Prodigy around to look at the back of the chassis, we can begin to get a feel of just how small this chassis is. It only offers two expansion slots! Considering that a mini-ITX motherboard only has one expansion slot this is more than enough for most graphics cards today. Of course there are a couple out there that will take up three expansion slots. Up top there is a single 120mm fan installed inside the BitFenix Prodigy, though if you should so choose you can install a 140mm fan or radiator. Below the fan is the I/O panel cutout, with the power supply mount just below that. In order to install the power supply you must first remove the four thumb screws, attach it to the power supply, and then slide the whole assembly in and put the thumb screws back in.
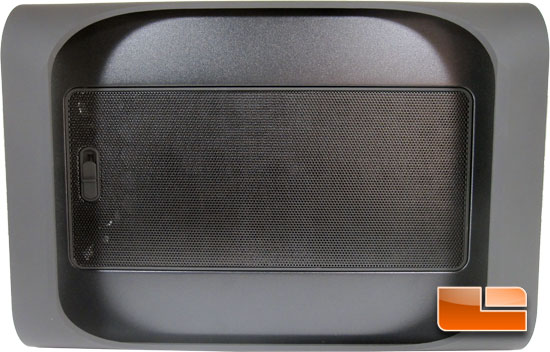
Taking a look at the top of the BitFenix Prodigy we can see the removable cover for the radiator, below it we can fit up to a 240mm radiator. An all in one cooling option like the Corsair H100 would likely be an ideal fit here. Of course there is always the option for a custom loop as well.
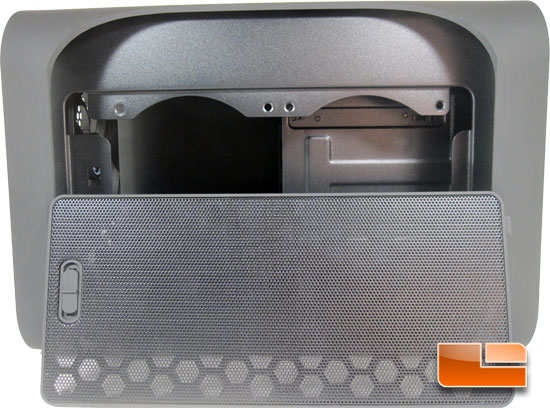
The mesh top is easily removable by the latch on the end of it. On the end opposite the latch there is a pair of tabs that will keep that end securely in place. Once the cover is removed we can see that the BitFenix Prodigy will easily accept a 240mm radiator. Though we may have to sacrifice the optical drive, that’s something that we are going to have to look at when we start installing some parts soon.
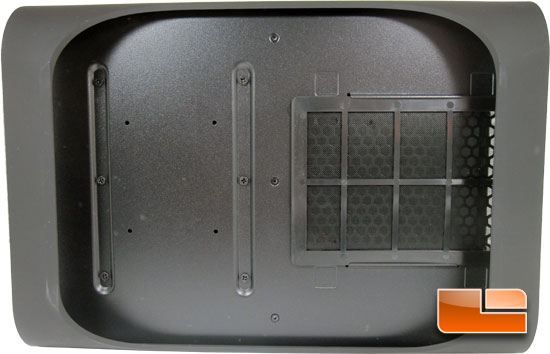
The bottom of the BitFenix Prodigy features the same style handles as the top of the chassis, though in this case they are used for the feet. Underneath the power supply we can find a removable fan filter.
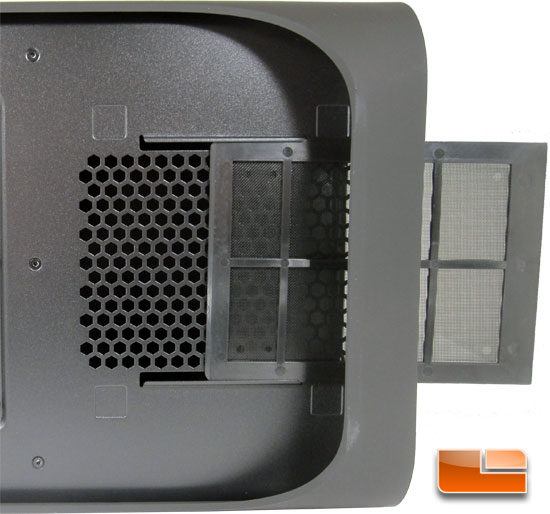
The fan filter easily slides out the back of the chassis without having to pick it up. Many times have I neglected the filter under the power supply because I didn’t feel like moving the chassis, with the Prodigy you don’t have to worry about that since there is 1.5″ between the fan filter and the bottom of the feet.

Comments are closed.