ACER Predator X34 3440×1440 Curved G-Sync Gaming Display Review
Predator X34 – On-Screen Display
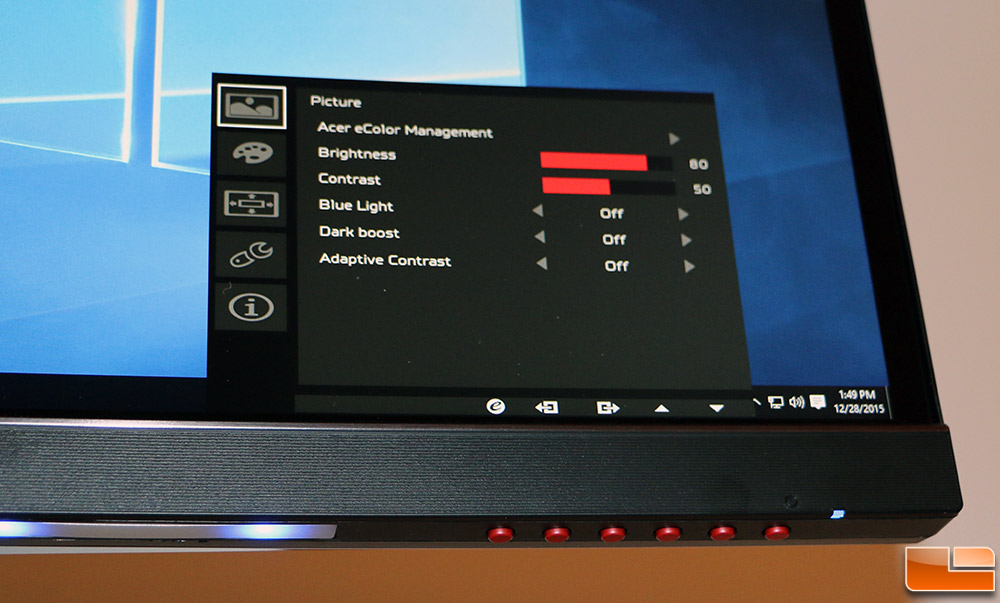
The Acer Predator X34 Display has seven buttons that are located along the bottom right corner of the monitor. The six buttons starting from the left had side are for the onscreen settings (OSD) menus and the seventh button on the far right is for the power button. We found the OSD menus were not easy to use with this button setup as navigation was a nightmare. The width of the display and the slight curve had us hunting and pecking for buttons as they don’t exactly line up when you are sitting over a couple feet away trying to adjust one of the many panel features.
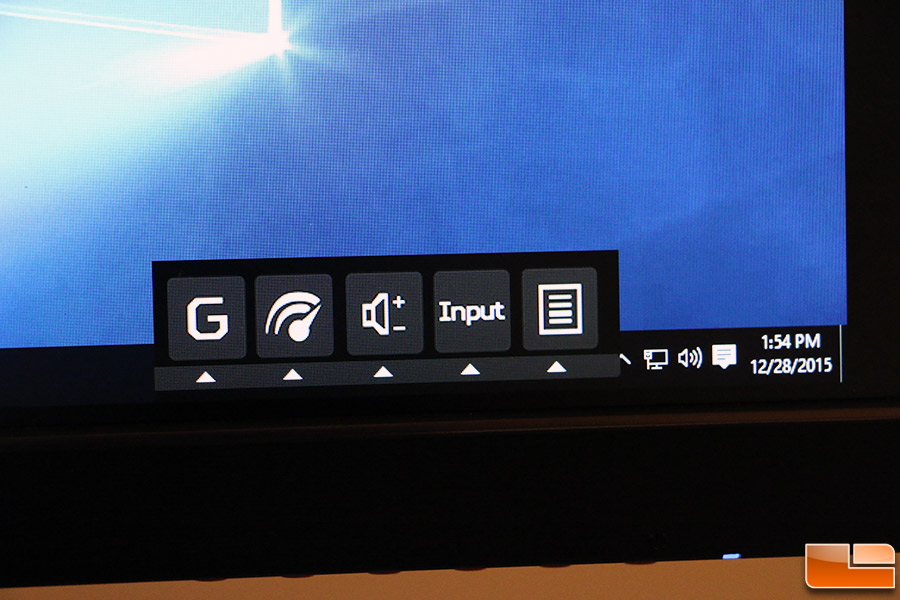
When you hit the buttons you’ll bring up this menu that allows you to dive deeper into options you can adjust.
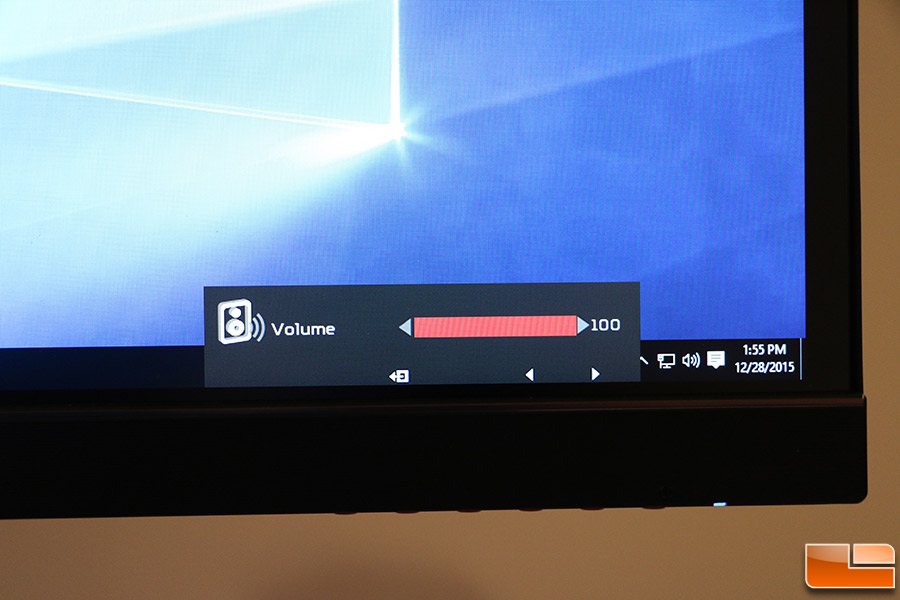
If you want to lower or raise the two 7 Watt speakers that make up the DTS sound system you need to hit a button to bring up the menu, select the speaker menu button and then hit the buttons again to raise or lower the volume. Certainly not the easiest method we’ve seen to adjust the speaker volume.
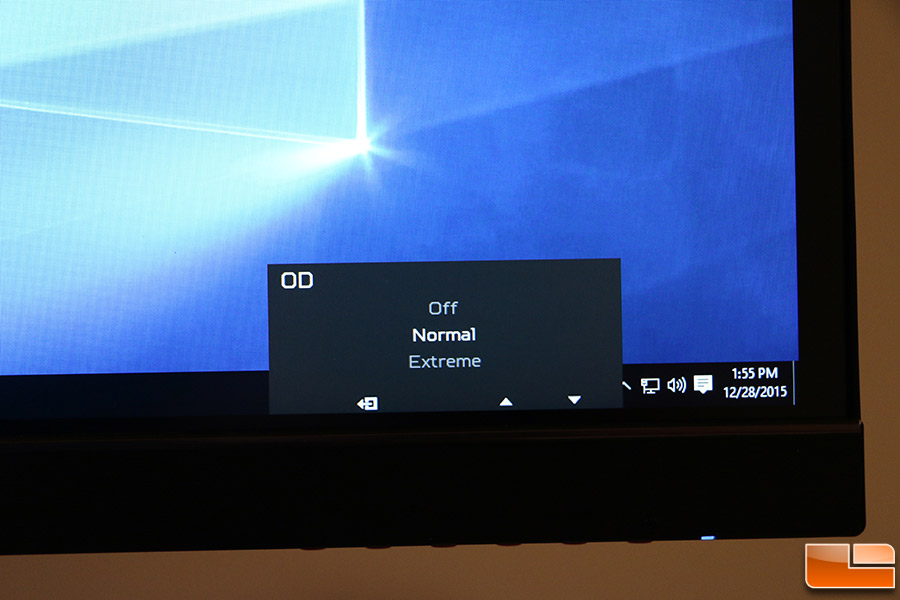
The Acer Predator X34 features built-in overclocking that won’t void the panels 3-year warranty. The panel comes set from the factory to normal, but you can change that to off or extreme. Normal appears to keep the panel at 60Hz and extreme sets it to 100Hz. Acer notes in the manual that overclocking the Predator X34 may result in system instability though. If you buy this panel and overclock it with negative results, you need to reduce the overclock to a lower refresh rate through this on-screen display setting.
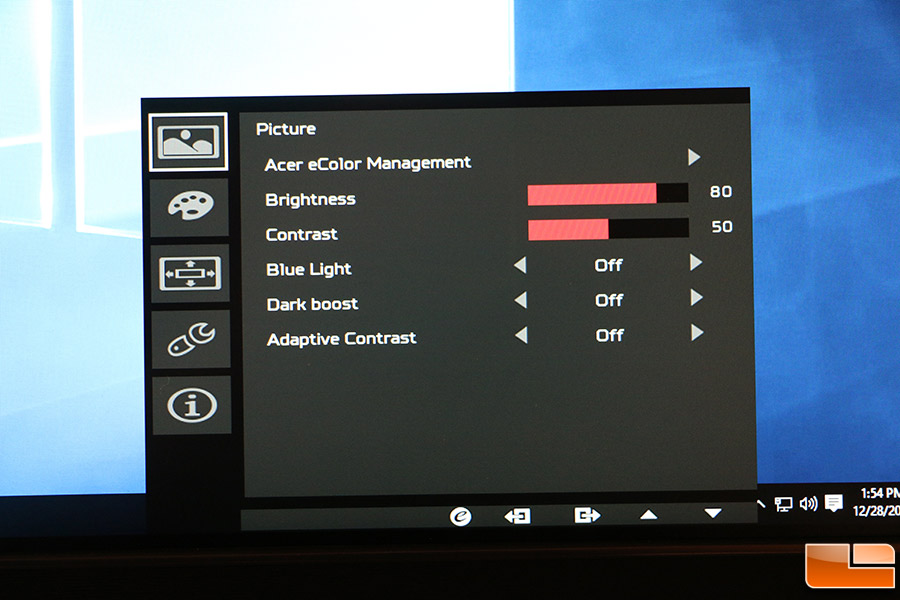
The far right icon on the main OSD menu takes you to the catch-all area where you’ll find additional settings for the monitor. Here you can get into the picture quality settings where you can change the brightness and contrast percentages. You can also enable various levels of blue light filtering, dark boost and the adaptive contrast.
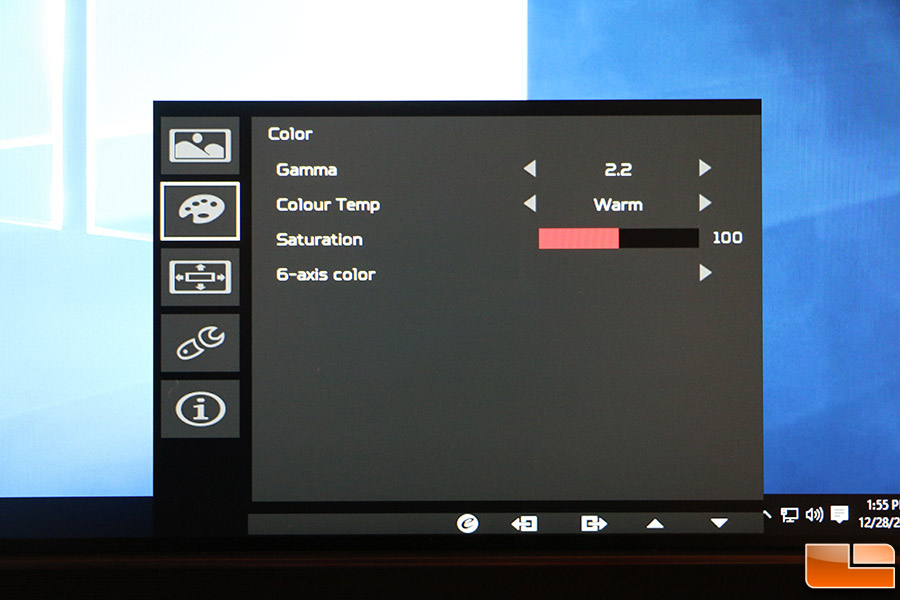
Under the color menu you can change the gamma, color temp, saturation and the 6-axis color adjustment enabled by NVIDIA G-Sync.
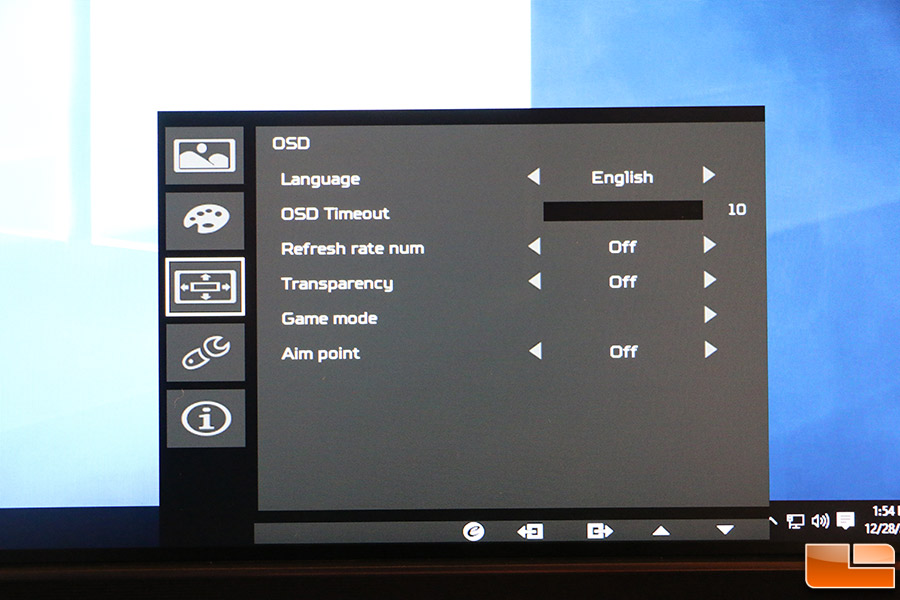
On this OSD menu you have language selection, the ability to set how long the OSD menu stays active, the in-screen display of refresh rate, the transparency of the OSD, what game mode you want and finally three different aim-point icons for gamers that like some extra assistance knowing where the middle of the screen is on games that don’t have crosshairs.
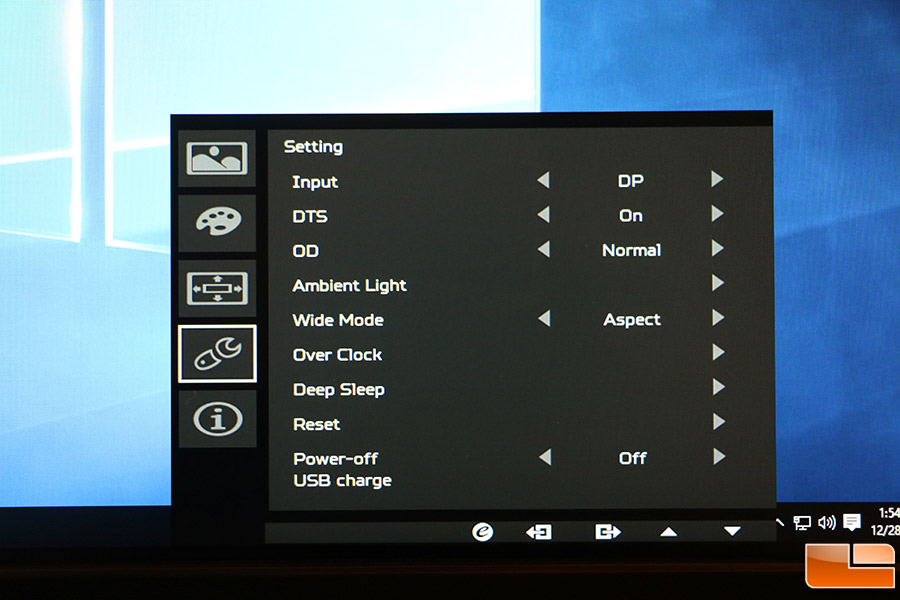
On the setting menu you can adjust the input, DTS (speakers), OD (OverDrive), Ambient Light, Wide Mode, Over Clock, Deep Sleep, USB 3.0 ports and you have the ability to reset everything back to the original out of the box configuration.
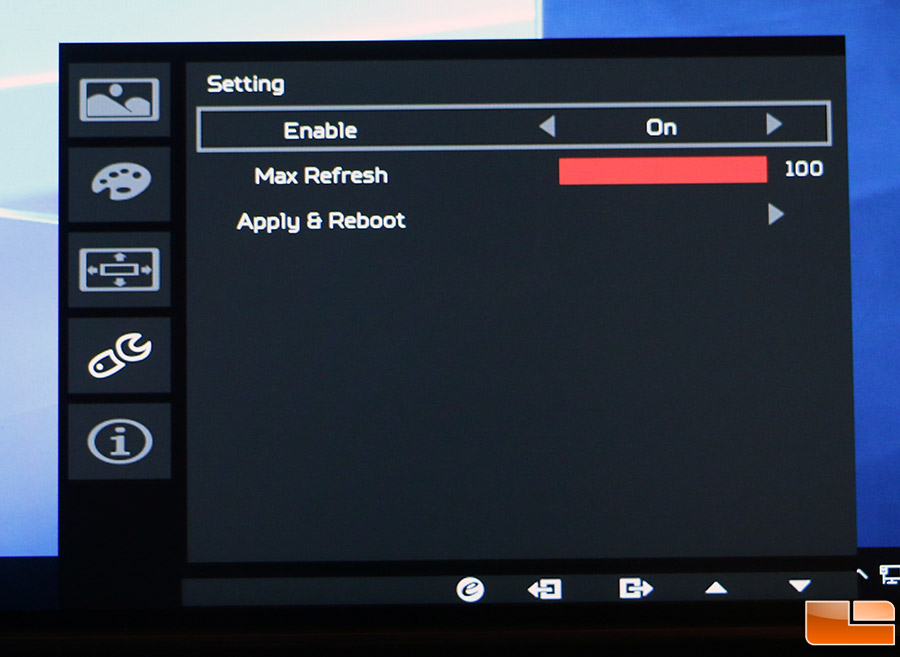
Once you enable overclocking you can set the monitor to run at 75Hz to 100Hz in 5Hz increments. Please note that the overclocking option is only available with DisplayPort and is not available with HDMI. Acer told us that this is due to video cards with HDMI 1.4 and HDMI 2.0 video outputs do not support refresh rates over 60Hz.
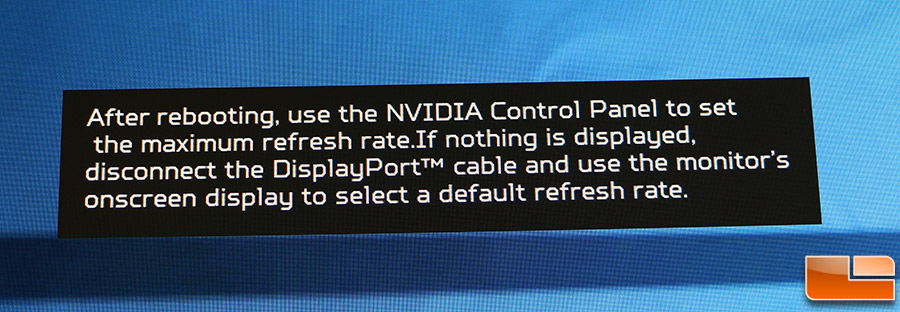
To apply the new refresh rate on the panel, the monitor will reboot and come back on.
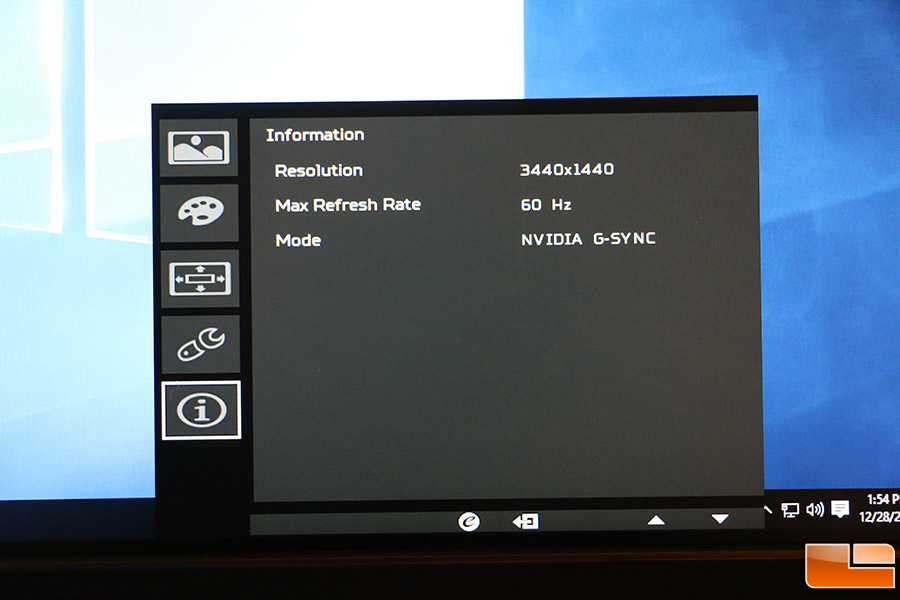
The final OSD menu highlights general panel information like the resolution, maximum refresh rate and of course the mode that the monitor is in. Users can easily identify when G-SYNC mode is on through a red ambient light at the lower edge of the monitor, of which intensity changes according to the instantaneous monitor refresh rate.
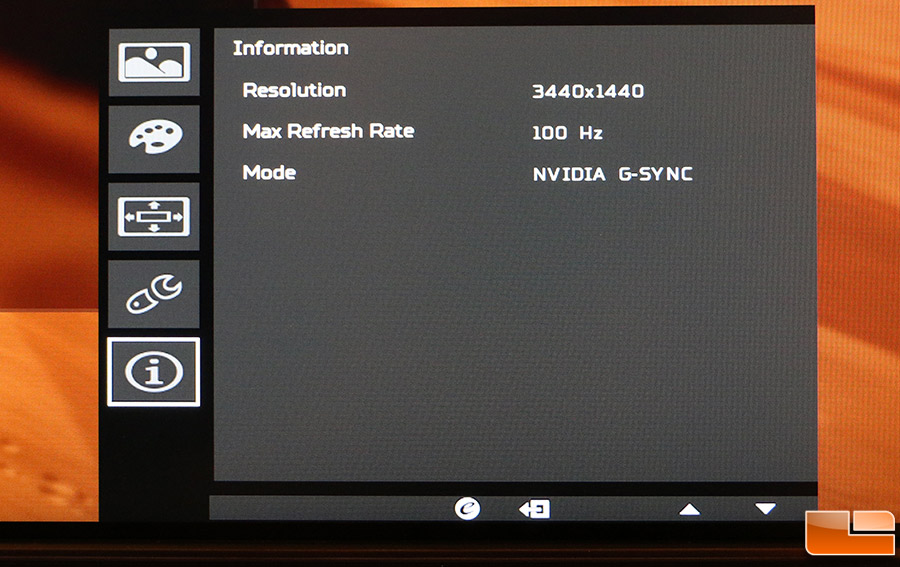
Here is the shot that makes the Acer Predator X34 display the stuff that makes gamers dream about – 3440×1440 at 100 Hz with NVIDIA G-Sync enabled. If that doesn’t get you hot and bothered you might not be a die hard gamer! Our monitor had no issues driving 100Hz and that is what we left it on!