abit AW9D-MAX i975 Express Motherboard Review
The BIOS
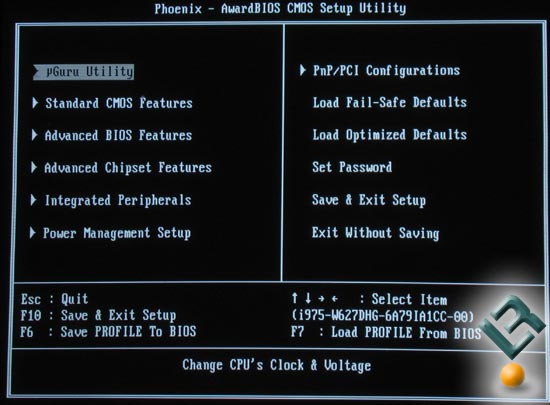
Abit uses the Phoenix AwardBIOS on the AW9D-MAX motherboard and we used version 1.2 (9/15/06) for the following screen shots.
Abit-USA sent us a beta BIOS (13.B04) that supports the multiplier to be configured from 6 to 31 for the Conroe Extreme (X6800) and added DRAM timing (tRFC) option, but it’s never been released to the public and we didn’t use it due to this reason. BIOS versions 1.2 and earlier versions have an issue with Intel Core 2 Extreme X6800 processors when increasing the multiplier and the beta BIOS fixes these issues.
abit AW9D-MAX Bios 13.B04:
-
To support Conroe-L CPUs(FSB800)
-
To support Conroe Extreme (X6800) CPU’s Multiplier range from 6 to 31
-
Update CPU micro code to support Kentsfield B3 version
-
Added DRAM timing option “Refresh Cycle Time (tRFC)”
-
Solved performance decrease with some modules issue
-
Solved CCMOS date lost all data back to “fail safe mode” issue
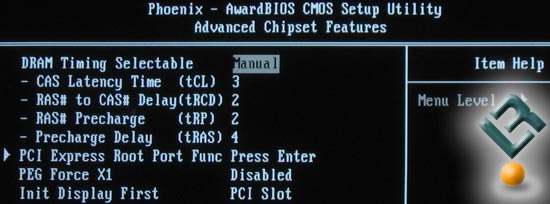
In the ‘Advanced Chipset Features’ menu we find the DRAM timings that we are able to change. In BIOS version 1.2 there is no DRAM Timing for tRFC, but the mission critical timings are present. The lowest possible timings are shown above. If you can get DDR2 memory running at 3-2-2-4 timings then this board will allow you to run it that tight.
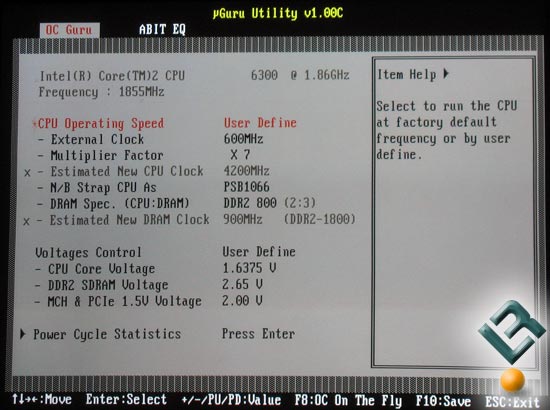
The uGuru menu is where most enthusiasts will spend their time and rightly so. This menu is where an enthusiast will live and adjust a variety of different settings to get the most out of the platform. To be honest the only thing missing from the uGuru memory is direct access to the memory timings. Other than having access to the memory timings on this menu the user can configure the CPU Clock up to 600MHz, the Multiplier Factor, DRAM ratio, and voltage control. The voltages on the abit AW9D-MAX motherboard are nice and we found that abit allowed for the CPU to go up to 1.6375V and the memory slots could be cranked up to 2.65V. The chipset voltage is listed in the BIOS as MCH (Memory Controller Hub) and is tied in with the PCIe voltages and can be increased from 1.5V to 2.0V.
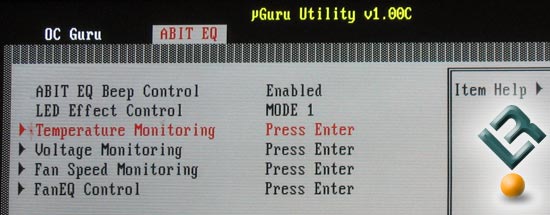
With all that voltage running to parts that like to get warm it’s a smart move to keep an eye on the temperatures and voltages. The abit EQ menu allows users to monitor temperatures, voltages and fan speeds thanks to this great monitoring system.
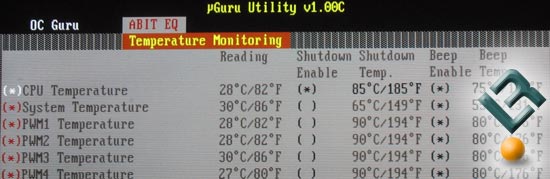
According to the Temperature Monitoring submenu the board tracks the temperature of six locations on the motherboard. Here is our Intel Core 2 Duo E6300 is running at 28C thanks to being cooled by the Thermaltake Big Typhoon VX CPU Cooler.
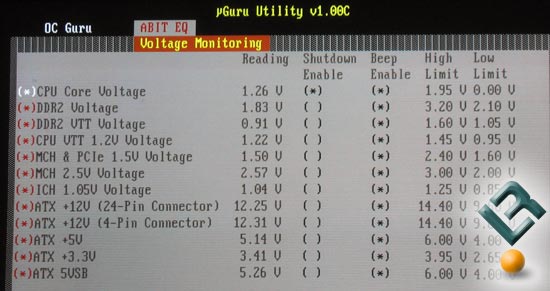
The other submenu that is really worth a good look is the one on Voltage Monitoring. This menu does a great job at letting enthusiasts take a look at how the voltages on their motherboard are doing. Not too many boards will show multiple +12V power reading, but the abit AW9D-MAX does and this really helps out as modern power supplies have more than one +12V rail. Since most power supplies have the 24-pin and 8-pin power connectors on different rails it’s good to see both. If you’re a super sleuth you might have caught that abit shows the second +12V reading as 4-pin even though it’s really an 8-pin connector. This is a typo that we have informed abit about.
Overall the abit BIOS on the AW9D-MAX motherboard is great and very simple to use. Overclocking this motherboard is very simple and the colors used in the BIOS are friendly to the eyes. When using the abit AB9 Pro BIOS the purple/pink BIOS was a wake up call, so the black and white colors are great.
Comments are closed.