Ultra Aluminum Hard Drive Cooler Review
External Impressions and Drive Installation

With the cooler out of the box we can get a good look at it in all its anodized glory. Even if the cooler doesnt help lower temperatures, at lease it will look good! If they offered the cooler in different colors, I could see some modders picking one up for the eye candy value alone.
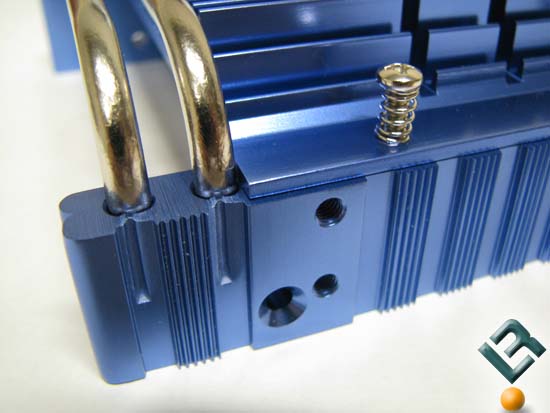
Looking a little closer, we can see just how good the finish is. The 2 smaller holes are for mounting the rubber isolators to and the third hole with the counter sink is for mounting the cooler to the hard drive. You will most likely notice the springs on the top plate screws. What this does is allow the top plate to float up and down to accommodate different drives with out modification or shims.
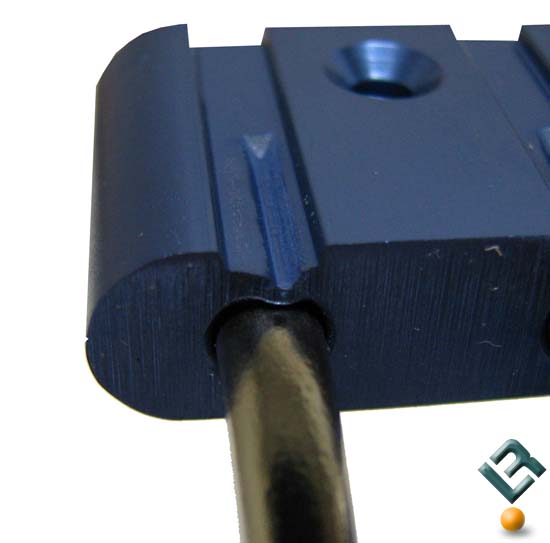
The ends of each heatpipe has been swaged into place so they will not be coming out easily. The heatpipes are made of Sintered Powder, (dont worry I had to look it up too) which means they are made from a metal powder that has been heated just shy of its melting point, but hot enough for it to stick to itself, then pressed into a shape.
Installing the Drive
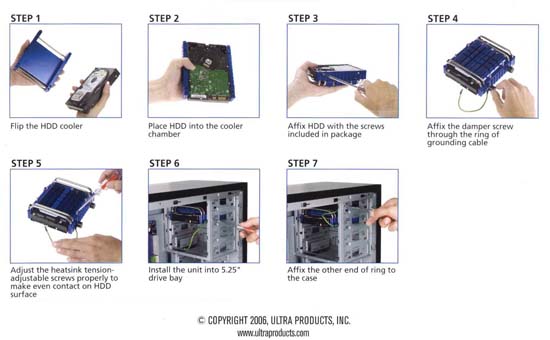
Installing the drive was quite easy and the instructions couldnt be anymore clear and to the point.

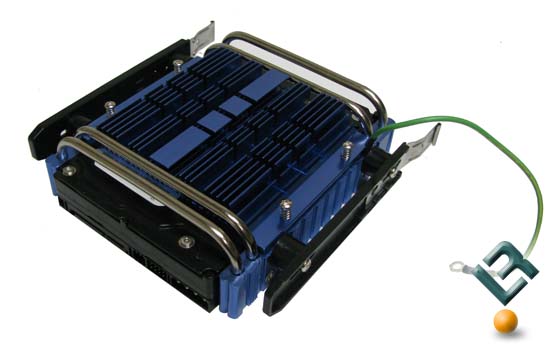
With the hard drive installed, you can see how the springs allow the top plate to float while still keeping contact with the top of the drive.
Here, we have it all mounted up with the drive rails for my case and all. This is the one part that required a little persuasion on my part. The screws for the rubber isolators that are used to mount the assembly into a case are a little bigger than your everyday case screws. This meant that the holes in the tool-less drive rail are too small, but not by very much. In the end, it was just enough that the screw wouldn’t go through. With a little time spinning a razor knife inside each of the holes, I had it opened up enough to get the screw in.
Comments are closed.