NZXT X42, X52, and X62 Liquid CPU Cooler Review Roundup
All-New Kraken Installation
Even though the new Kraken series features fifth generation Asetek hardware, the installation mechanism is identical to the original Kraken series that we reviewed. You may be asking yourself if this is a bad or good thing, and in my opinion, I really like the mounting mechanism. With this original setup, I found it extremely easy to setup and an experienced installer could get this cooler up and running in 10 minutes or less, while a less experienced user may install it in well under 30 minutes.
Since installation is identical for all three coolers, Im only showing you the X62 install.
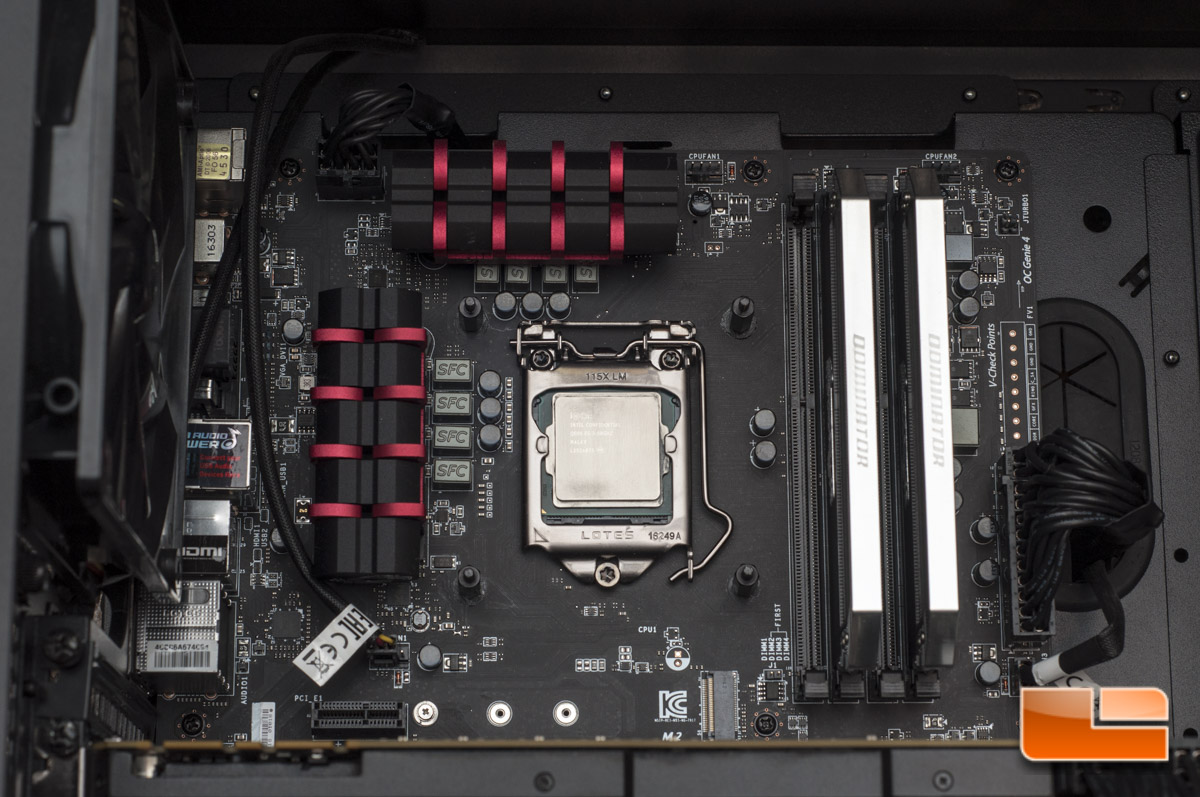
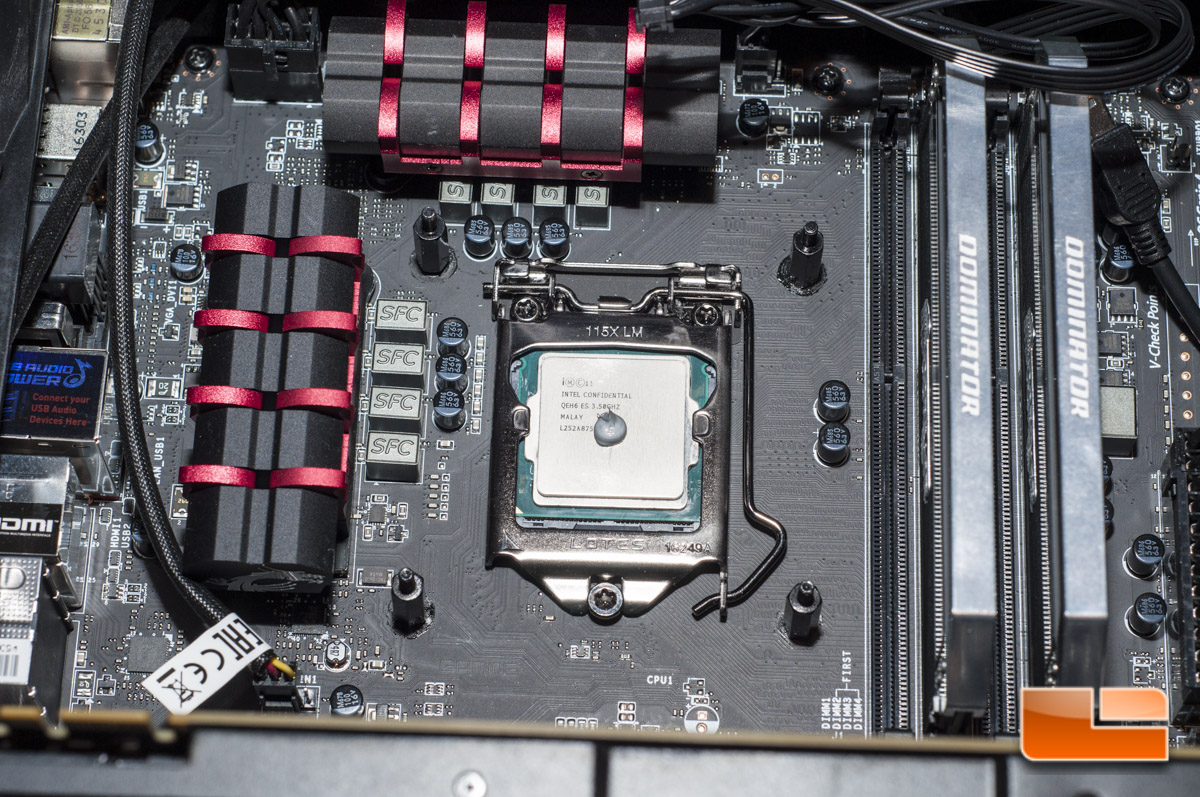
I always start with a clean slate, cleaning off the processor and copper cold plate with a high purity rubbing alcohol to remove any contaminants. As previously stated, we chose to stick to one type of thermal paste for testing, so the factory compound was removed.

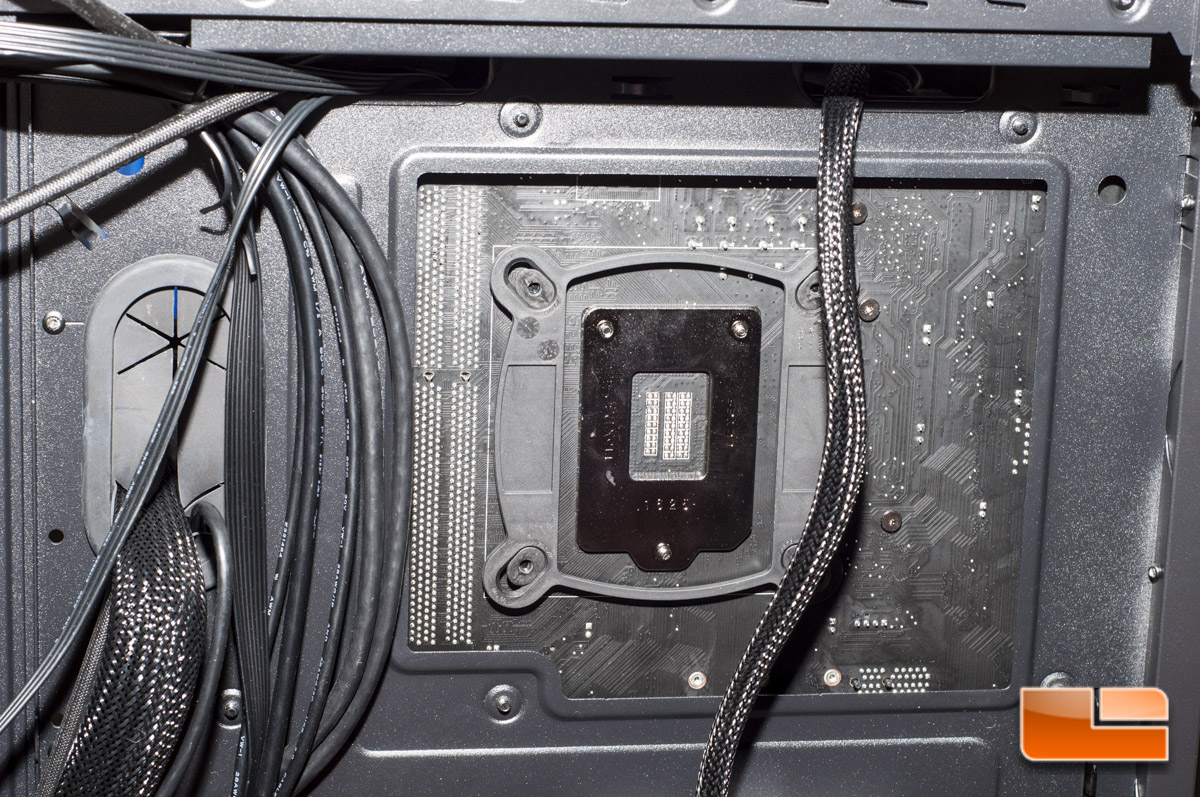
The very first thing that youll do is place the backplate in place and then secure it in place with the standoffs. This is very easy to do on your own, and once the backplate is in place with the standoffs, youre already a quarter of the way done.
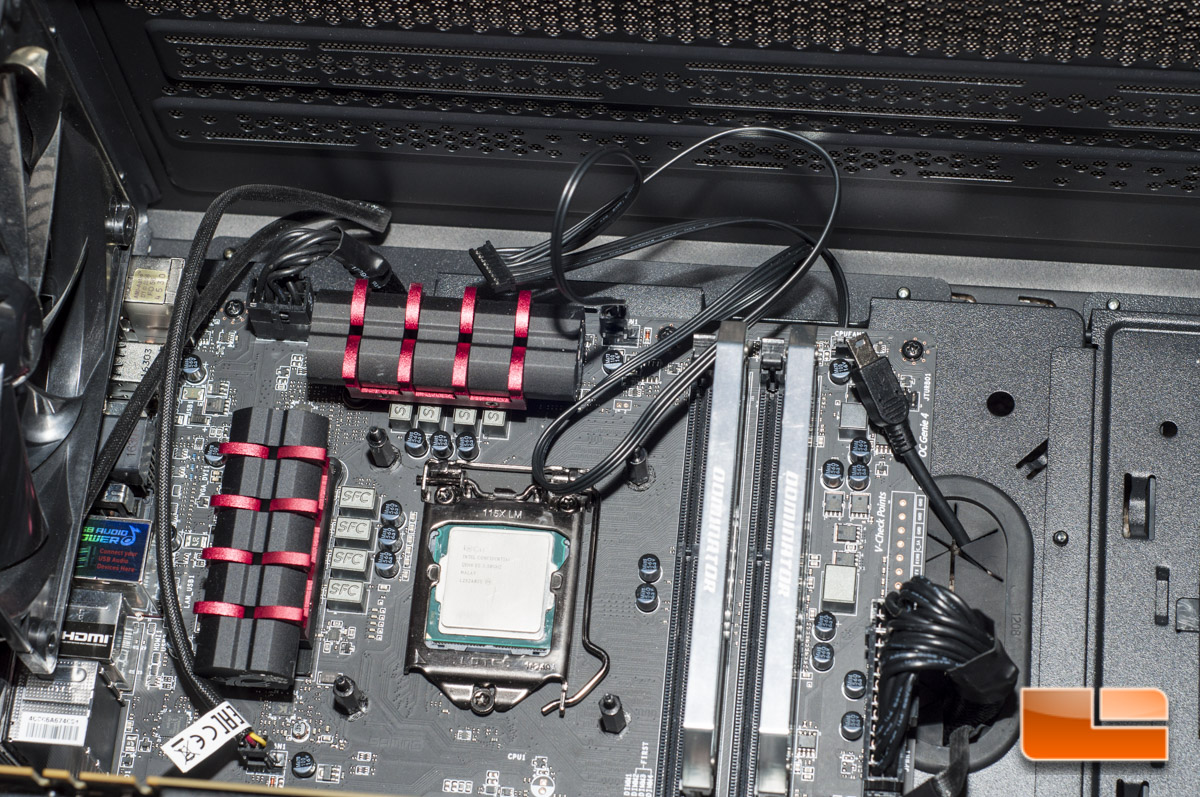
Next I went ahead and got the power and USB cables run, just in case I find room tight with getting at the fan headers.
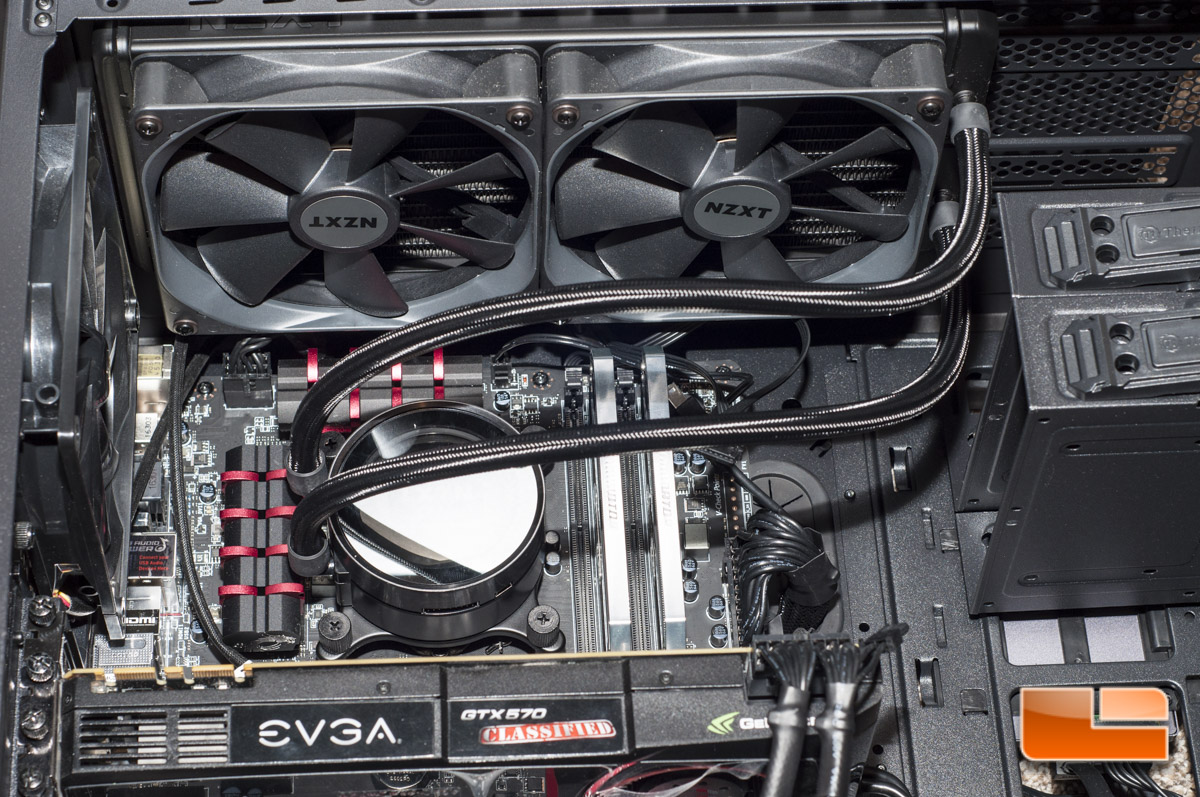
I followed that up with mounting the radiator to the top of my chassis. Again, the fans were installed prior to this point to make life easy.
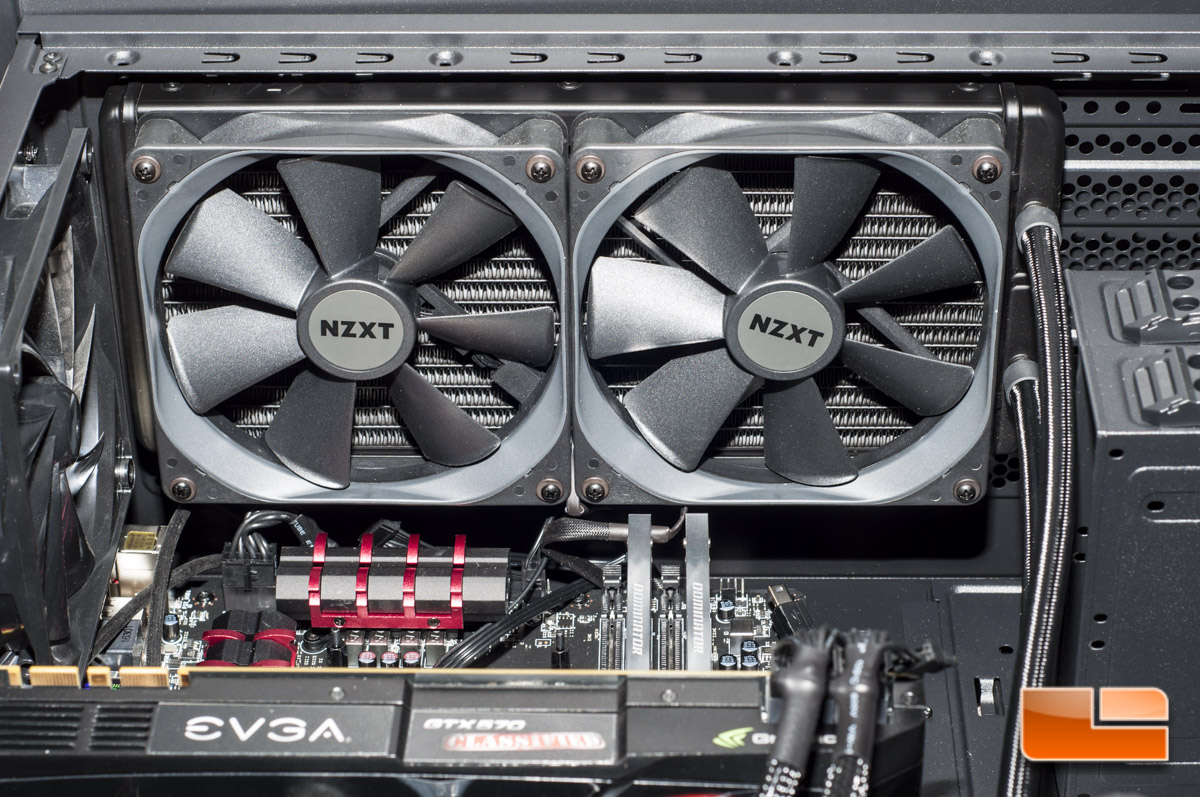
Clearance was a little tight with the 280mm X62 in my Thermaltake Core X71 chassis, but it worked out just fine.
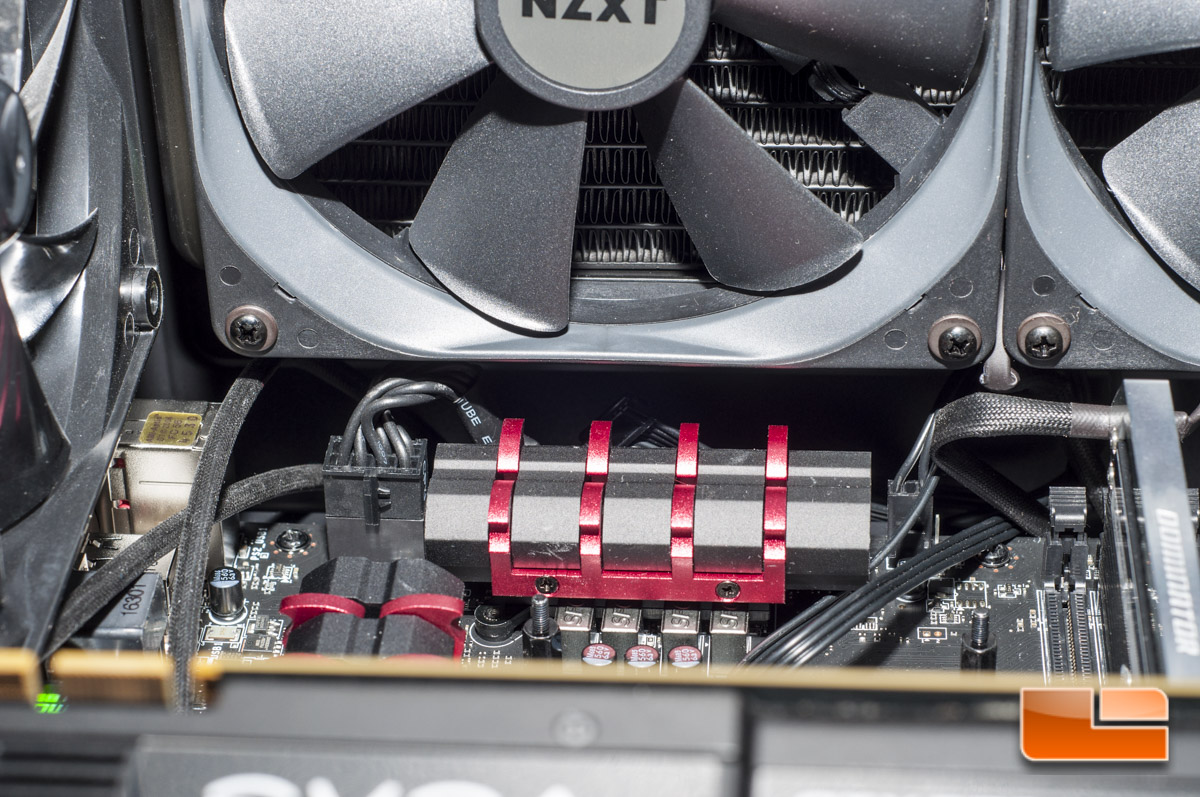
I went ahead and placed a generous amount of the Noctua NT-H1 paste on the Intel Core-i7 4770ks IHS.
The tubing with the Kraken coolers is extra-long, and to make sure I keep it as free-flowing as possible, I end up mounting the water block upside down with the tubing end of the radiator facing the front of the case. This does not affect anything other than provide piece of mind to me. So at this point, Im gently placing the block on top of the processor and will utilize a crisscross pattern when tightening the thumb screws.
All thats left is to connect the flat power cable to the pump and also the USB cable to integrate with the CAM software.
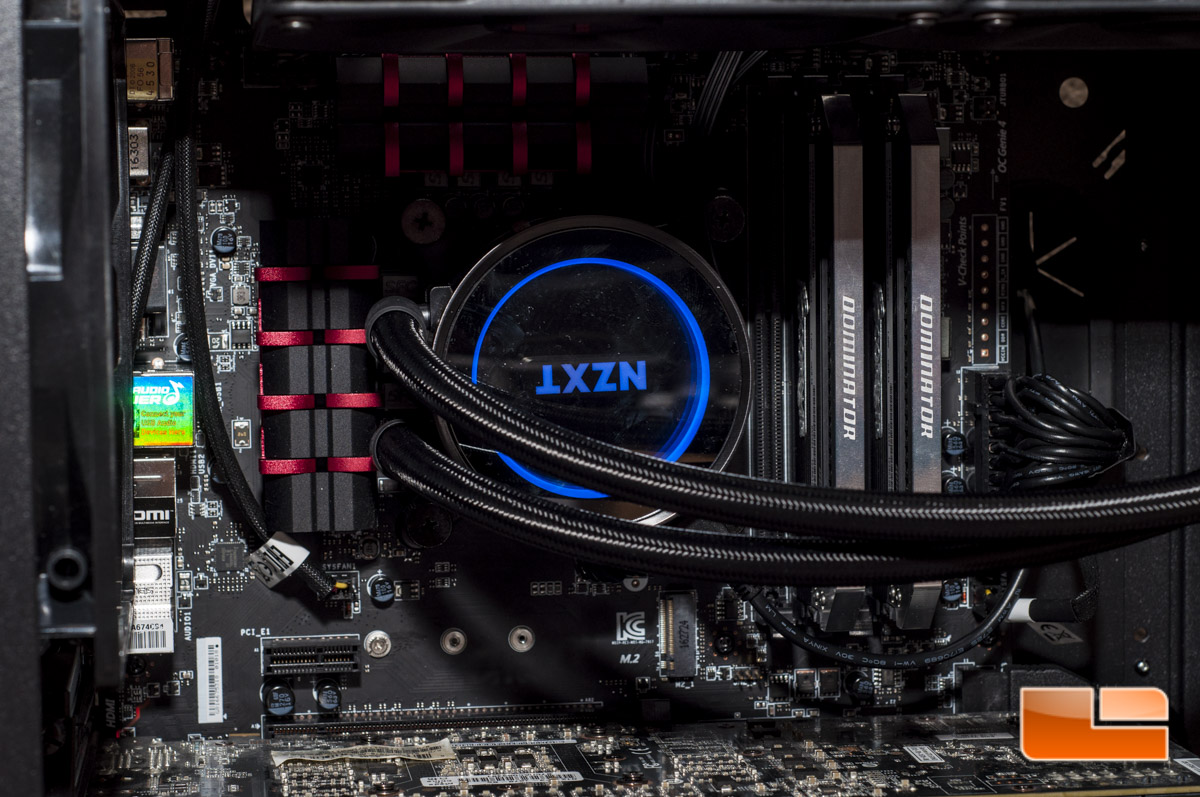
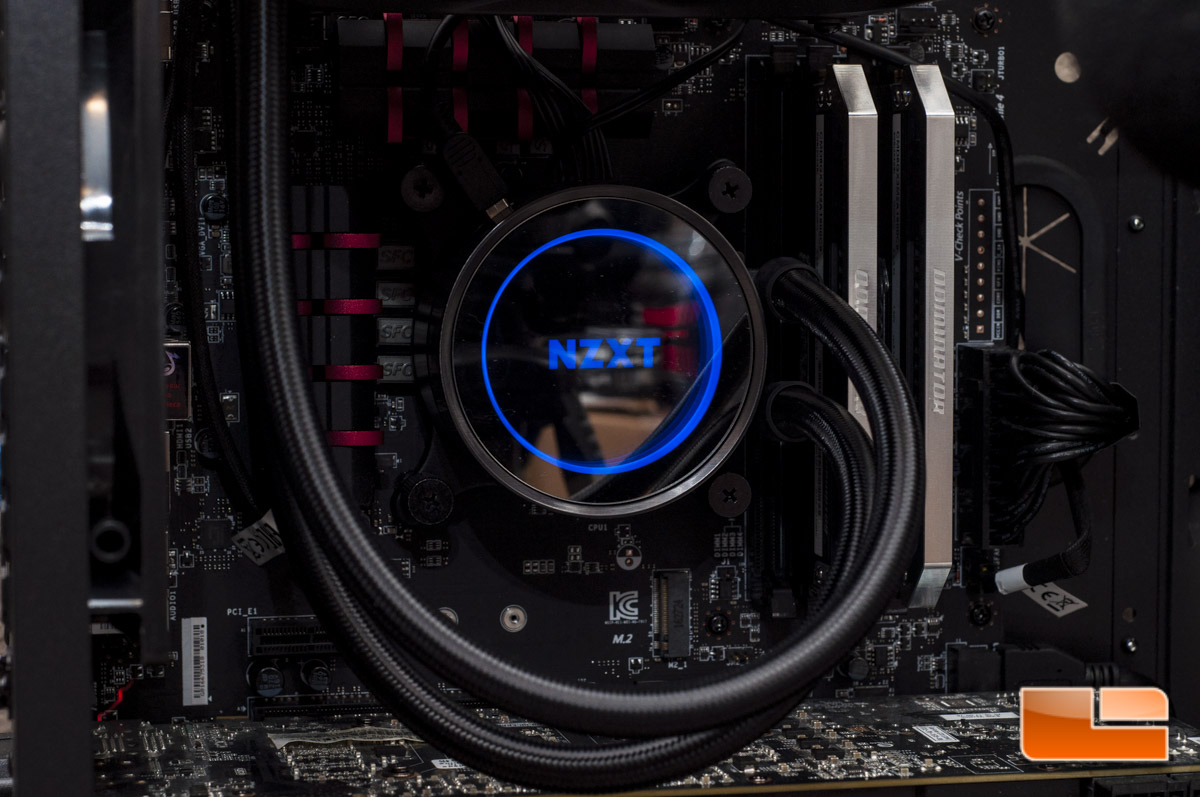
All installed and powered on, this cooler is very quiet. I did catch a little pump noise from each cooler when powered on the first time, but after the air worked its way out of the system, this noise went away. I did for grins install one of the coolers for photos so the NZXT logo is right-side up and the tubing against the rear fan. I normally dont install my coolers in this direction, but so you can catch how gorgeous these coolers really are, I just had to do it for you!
In order to monitor and tinker with your new Kraken cooler, you will need to install the CAM software, which is developed by NZXT. You can find a link to it on NZXTs website or at www.camwebapp.com.
Check out the next page for a quick overview of the software and a video on how the lighting system looks.