NZXT H440 Razer Edition Mid-Tower Case Review
H440 Razer Edition Internal Impressions
Removing the windowed side panel is extremely easy, two thumbscrews and pull it towards the back of the case. Once it’s off, we can see the inside of the case. The exterior paint has been done on the interior so it matches perfectly. Looking at the motherboard tray, we can see there are many cable management holes in the tray. Two large and one small holes at the top are not protected by rubber cable guards, however the three large vertical holes are. Along the bottom are two additional holes which are not protected, these holes will only be accessible if installing a mATX or Micro-ITX motherboard. The largest holes in the motherboard tray is to access the CPU cooler on the back of the motherboard, it is extremely large and oddly shaped. One final thing to notice, is the three vertical cable management holes, are at an angle which might make it a bit easier to manage the cables.
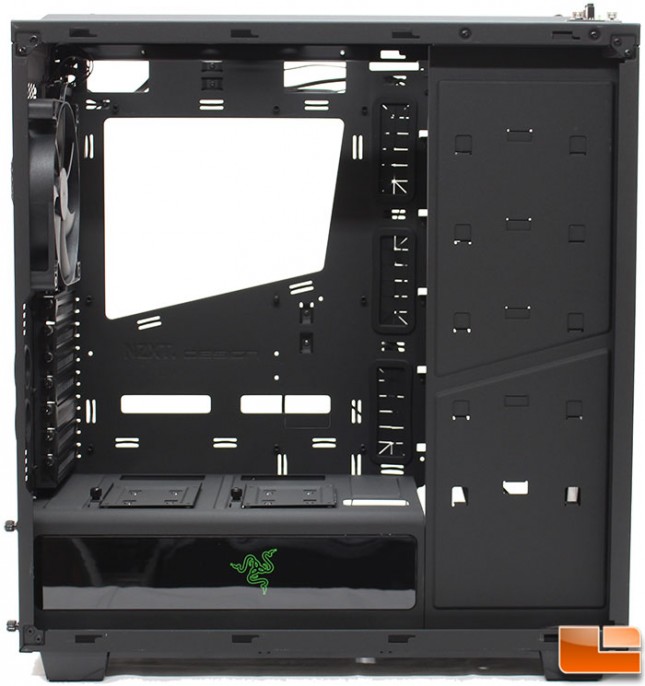
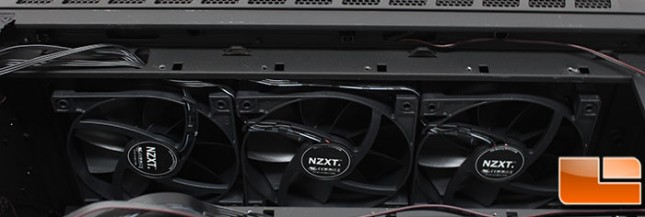
While the normal area reserved for 3.5″ drives is covered, we took a look at the front intake fans from the back side of the case. Here we can see the three 120mm FN V2 fans.
Looking at the bottom, we usually find the location for the power supply, NZXT has covered the power supply in the H440 series, and used that location for two 2.5″ drive locations. In the standard H440, NZXT has placed their name on the side of the power supply cover, Razer has changed that to their logo. Also on the power supply cover are three cable management holes. The two towards the back would be perfect for the power and data cables for the 2.5″ drives, along with the various headers on the bottom edge of the motherboard. The other could be used for the PCI-E power cables if you didn’t want to route them to the back side.

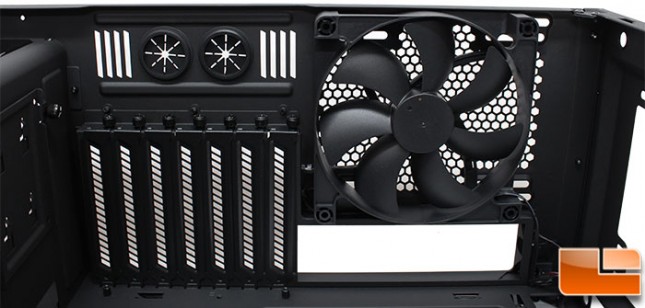
After taking a look at the back panel of the case from the outside, the inside view is exactly as we would expect. The seven expansion slot covers are held in place with thumbscrews.
With the back panel removed, we can see the back side of the motherboard tray. Using a lot of space between each of the 3.5″ drive trays, allows for only five hard drive trays, and a sixth location on the bottom of the case. While six will probably be more than most people need, it seems like a huge waste of space. Squeezing the drives closer would allow for better space management, perhaps to allow for custom liquid cooling while still using multiple hard drives. For those that want to have the cleanest cable management possible, there are a total of twenty-one cable tie locations on this side of the case.
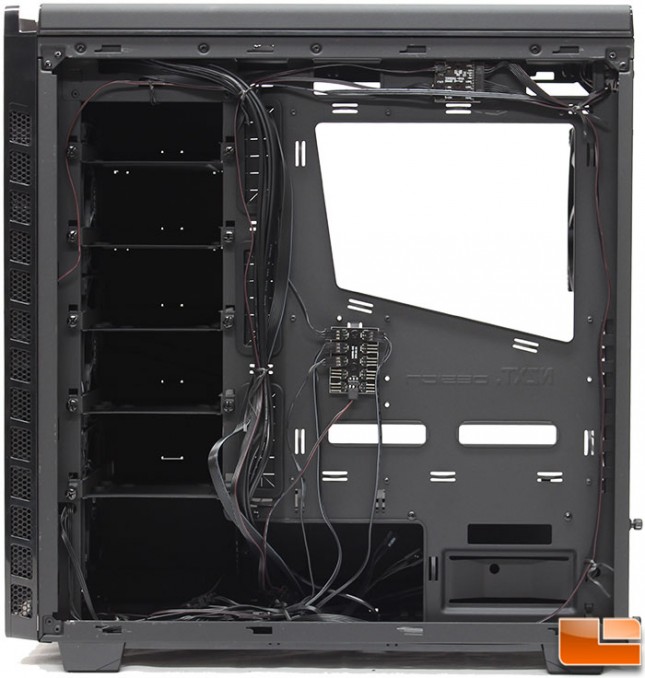
Below the extra large CPU cooler cutout, is a simple ten fan hub. This is not a PWM fan hub, which would be beneficial, however it does make it extremely easy to connect all the fans to one central location.

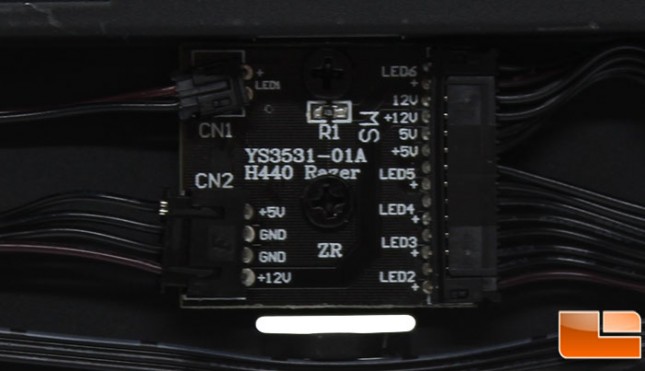
At the top of the back panel is the LED controller, each of which are well marked to know exactly how things are connected.
There are a total of five 3.5″ hard drive trays, which will also work with 2.5″ drives. For a 3.5″ drive, the screw holes have anti-vibration washers in place. These trays are made out of steel and are extremely well built.
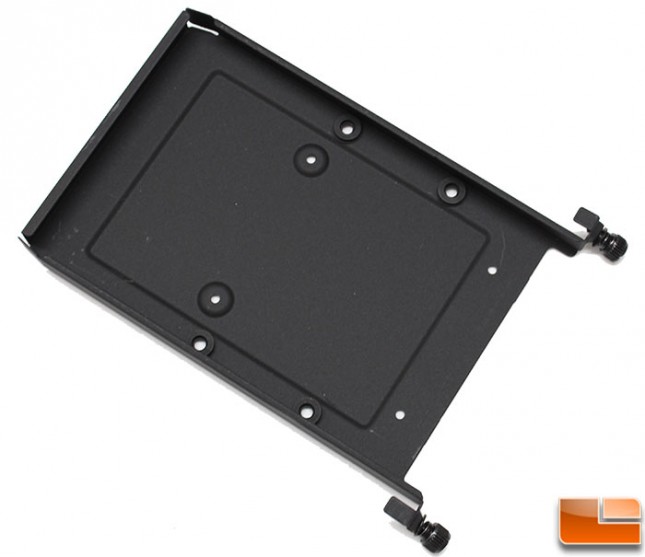
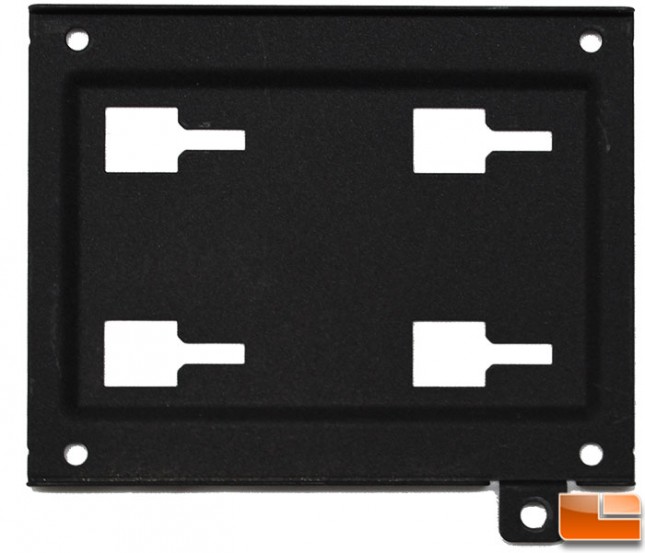
There are two 2.5″ drive trays included in the H440. These are held in place with slide locks and a thumbscrew, while the 2.5″ drive is held in place with four screws through the bottom of the tray.