NZXT H440 Razer Edition Mid-Tower Case Review
H440 Razer Edition External Impressions
After removing the packing material, we can finally take a good look at the case and start to look at what Razer has done to the NZXT H440 to make it their own.
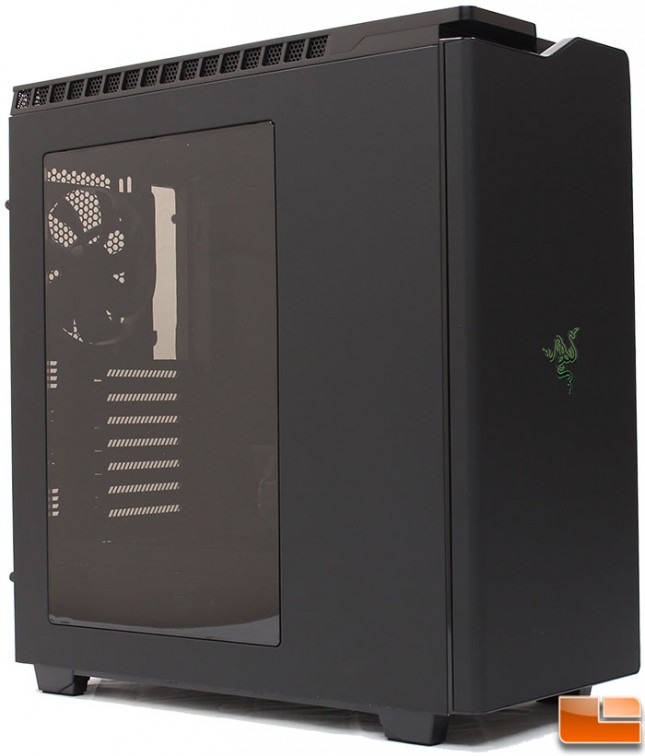
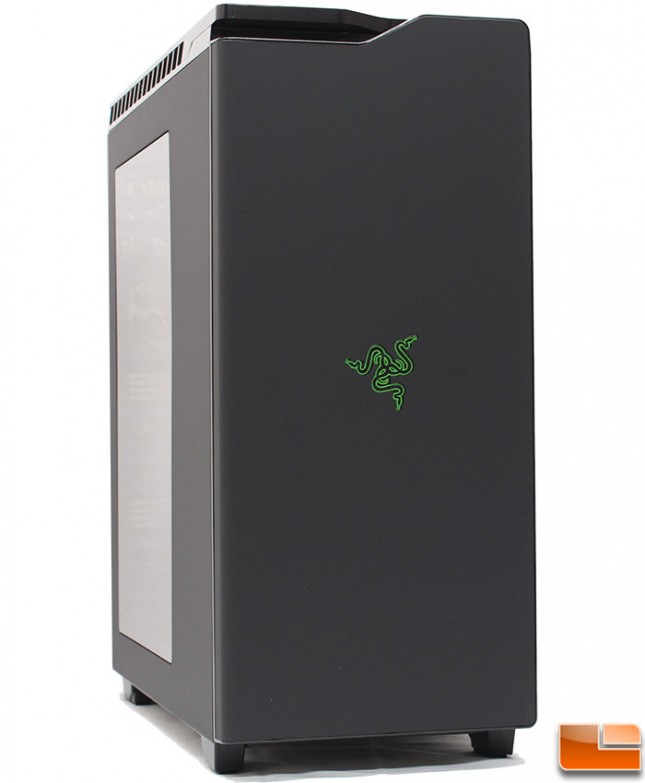
Taking a close look at the front panel, there isn’t much to look at. The entire front panel is solid, there are no air vents on the front panel. The only company marks is the Razer logo right in the center. Even without activating the LED, the logo looks great! The top edge of the front panel might make somebody thing that this is really a door, hiding 5.25″ bays, but keep in mind that there are no 5.25″ drive bays.
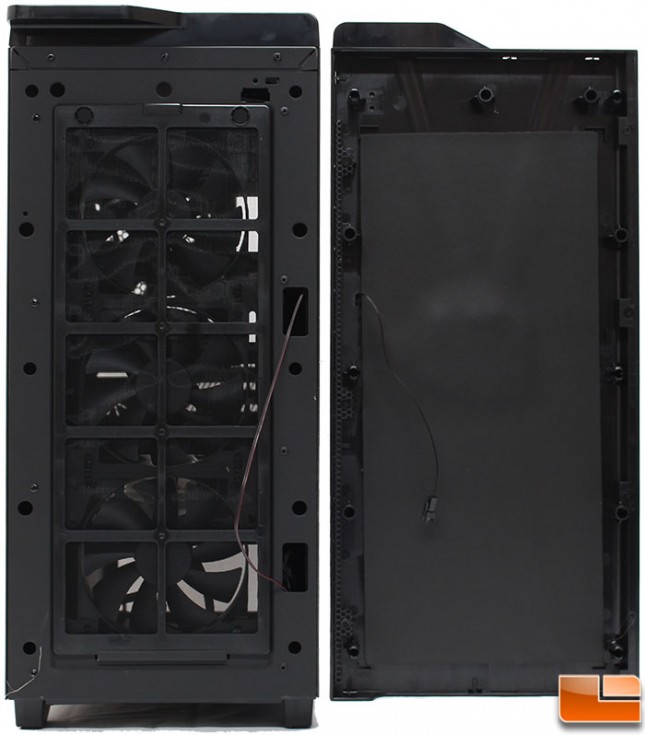
The front panel can be removed from the case with a quick pull from the bottom. With it removed, we can see the front intake fans have a filter on them, and can easily be removed. However, in order to remove the filter, the front panel has to be removed. Behind the filter are the three included FN V2 120mm fans. There is a power cable going from the case to the front panel to provide power to the Razer logo on the front panel. On the back side of the front panel, NZXT has installed sound proofing foam.
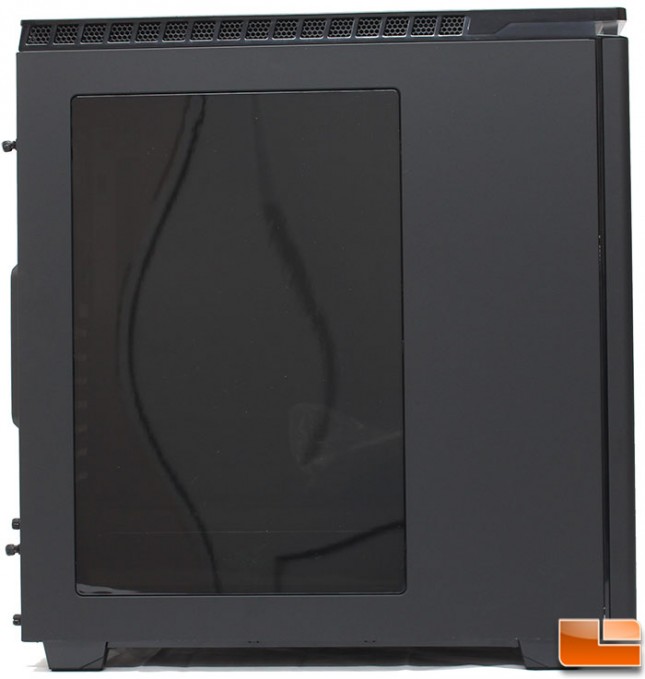
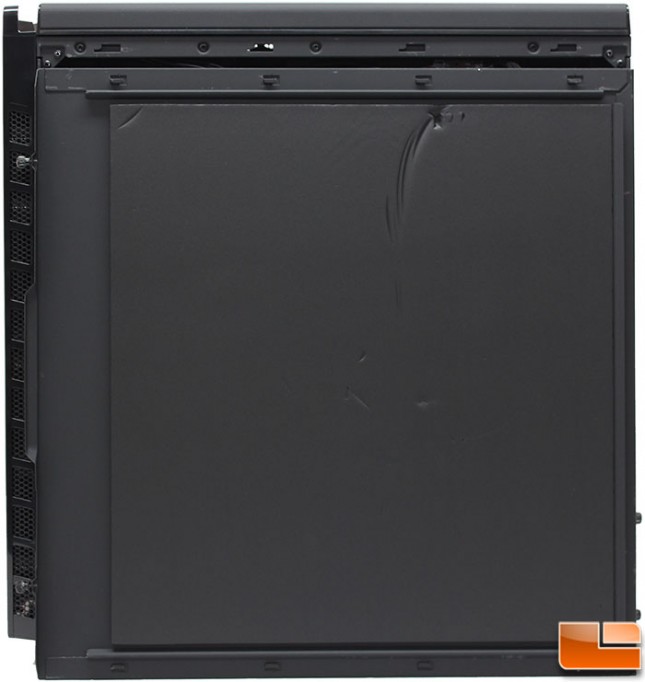
Turning to the windowed side panel, it is sufficiently large enough to show off the internal components, which we will see later. The front portion of the side panel is solid, which is helpful since it covers the hard drive bays. Along the top panel are ventilation holes, for the top exhaust. Like the front panel, there are no ventilation holes for the intake fans along the side. With the side window being tinted it’s a little difficult to see inside the case just yet.
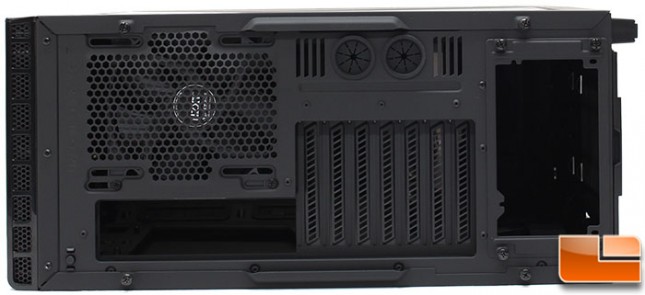
Nothing unusual about the back panel, at the bottom of the case would be the standard power supply hole. However, NZXT has done this a little different, there is a cover over the power supply hole, remove it with four thumbscrews and attach it to the power supply. Then the power supply slides into the case from the back. Next to the power supply, are seven PCI expansion slots and two water cooling holes that are protected with rubber grommets. Above the motherboard I/O key, is the included FN V2 140mm fan, which is installed on slots so the location can be adjusted by the user. Finally, next to the motherboard I/O is a little button which controls the integrated LED lighting system. At the top edge of the back panel are some additional ventilation holes for the top exhaust fans.
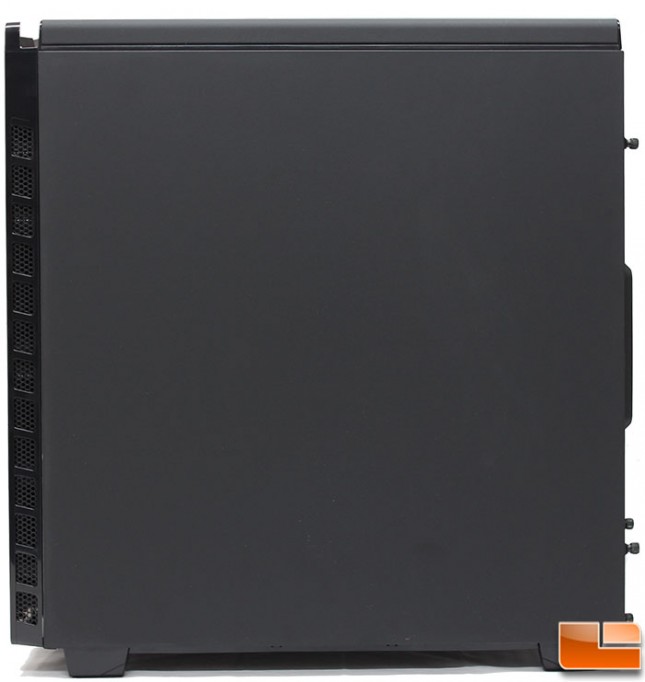
While the right side panel is plain, there are a few differences here. Along the edge of the front panel are ventilation holes for the front intake fans. Another difference is along the top edge there are no ventilation holes, however the top edge has been curved.
Removing the side panel is easy with two thumbscrews in the back, which stay attached to the panel. Looking on the inside portion of the side panel, we find some additional sound insulation foam has been placed on this panel as well. So the front and the back side panel has sound insulation so far.
Flipping the case on it’s side we can take a look at the bottom. First, the are are four feet with anti-slide rubber pads to keep the case raised up to allow for good airflow. At the back of the case is a filter that covers the power supply intake. At the front of the case are eight holes which will be used to mount a 3.5″ or 2.5″ drive to the bottom of the case. In addition to the screw holes, there are four cable tie locations on the bottom panel. Finally, there are three white strips along the sides and front edge. These are the bottom green LED Underglow lighting, another Razer feature exclusive to this case.
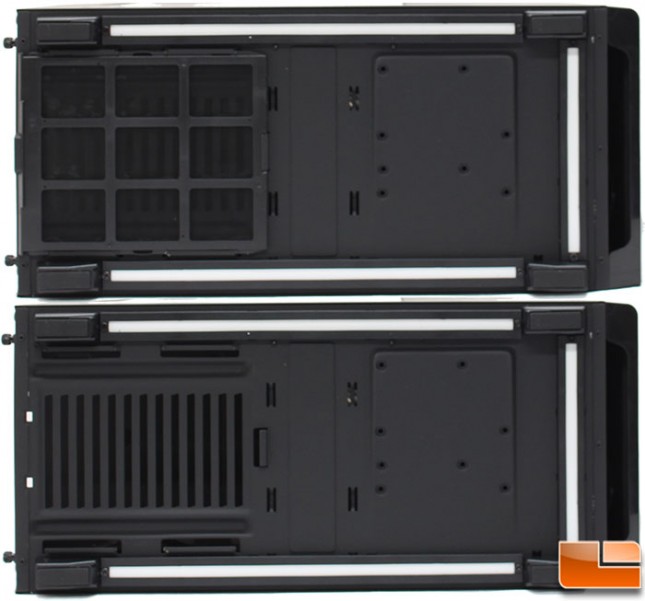
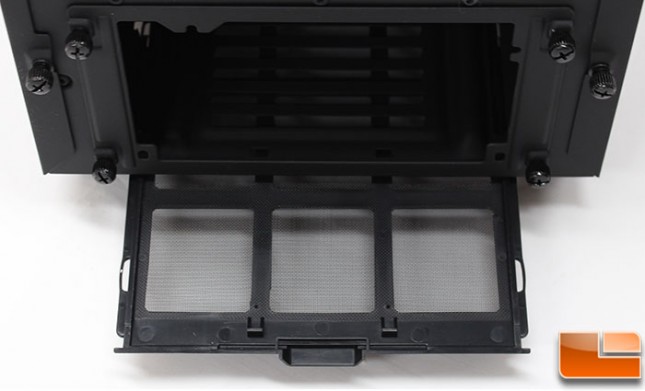
Removing the front intake filter you have to remove the front panel, the bottom filter is much easier. It can be removed from the back of the case without having to lift the case or remove any panels. This is how all filters should be done, easily removable. Eliminates any excuse for dirty filters.
Like the front panel, the top panel is solid, the exhaust vents for the top panel are all along the side and back edge. On the top panel, NZXT has opted to place the power and reset button along the edge of the case. On the other side of the panel is the front I/O cluster which include the standard features, headphone/microphone, two SuperSpeed USB 3.0 and two USB 2.0 ports. Being a Razer customized case, the standard blue USB 3.0 ports have been changed to the Razer exclusive Razer Green USB 3.0 ports.

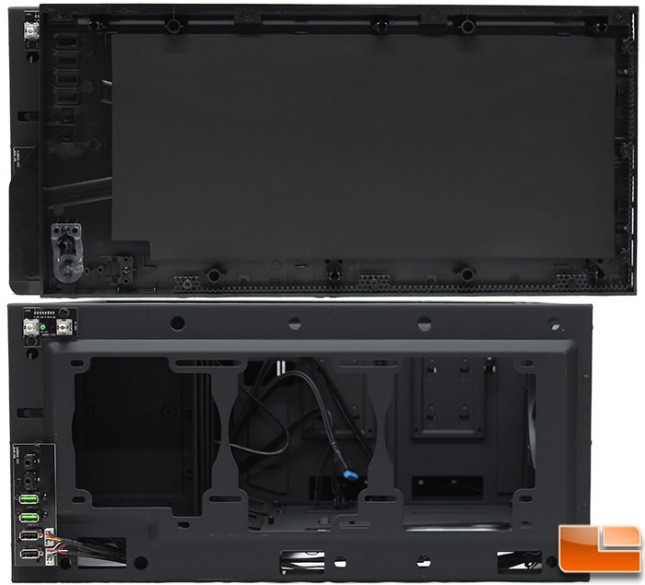
The top panel comes off like the front panel, however this one took a good amount of force. Taking a look under the top panel, we find more sound insulation foam, that takes us to three panels with the sound insulation. The top panel itself, has room for three 120mm or two 140mm fans. Otherwise, if liquid cooling is preferred you can install a 280mm radiator or even a mighty 360mm radiator can be installed with ease.
That finishes our look at the outside of the H440 Razor, let’s move to the interior and then put a system into this case.