NZXT H440 Mid-Tower Case Review – 5.25-inch Drive Bays Are Gone!
NZXT H440 Exterior Impressions and Packaging
I wanted to keep the packaging section of this page very brief and youre about to see why.
So the box that we received the H440 in was plain as plain could be. All that it had on the outside was a sticker that told you the model that was inside. I cracked the top of the box only to find another plain brown box inside. Fortunately after I opened up the second box, there was actually a case inside. For a minute there I thought NZXT had sent me a strange looking Russian nesting doll.
I think these boxes are likely pre-production, which is why there is zero artwork on the outside and no instructions for the case inside the box.

Opening the box you see that NZXT packaged the H440 quite well, utilizing two thick Styrofoam blocks.

Heres one more quick shot out of the box, where you can also see the plastic bag protecting your new investment.
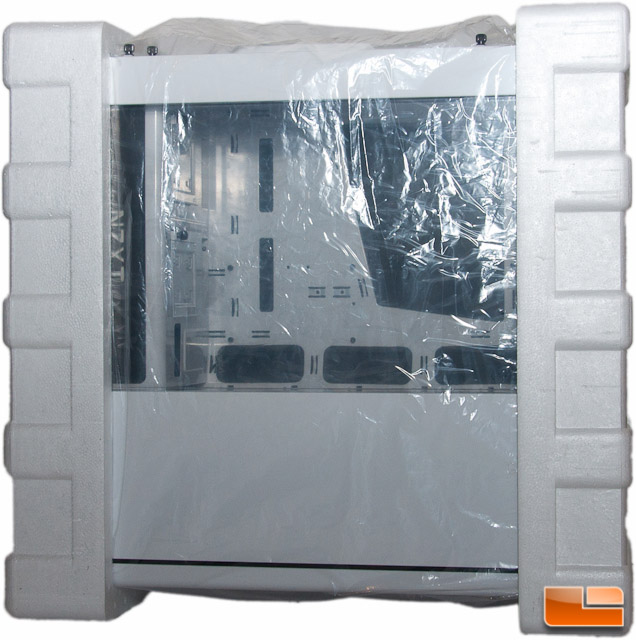
Take note that the window on the left side has plastic film protecting it from scratches both inside and out. Thank you NZXT for playing it safe!
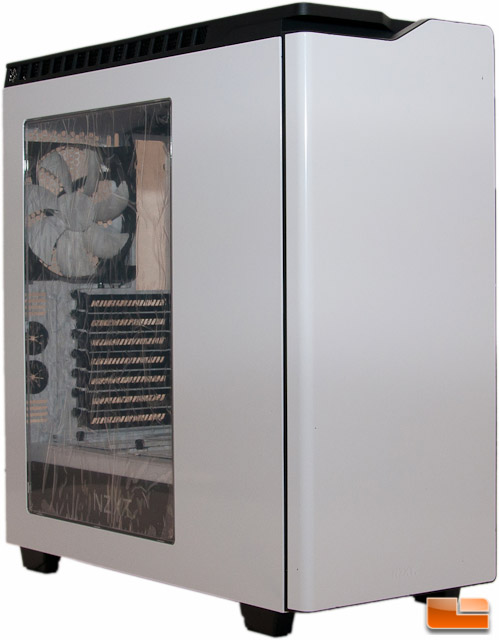
So with all protective materials removed, take a look at this beauty! I cant help but say this is a very nice looking case on the outside already. Its very minimalistic, no obtrusive logos (except one stamped and hidden on the bottom of the front), and it just looks awesome in this glossy white finish with black accents.
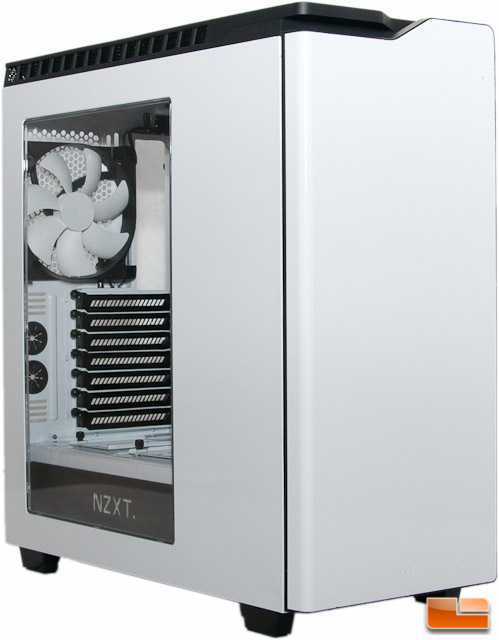
Lets start off looking a bit closer at the front. Up front here, we see just about nothing, except some sleek curves up top and if you look carefully enough in some of the photos, the NZXT logo stamped into the steel on the bottom center. It isnt obnoxious to detract from the beautiful finish that you find on this case.
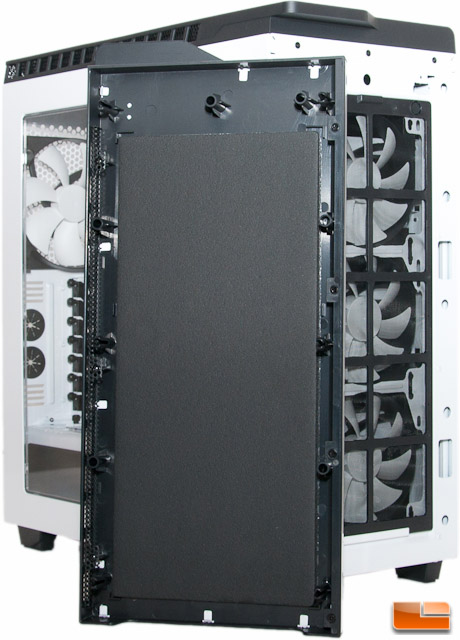
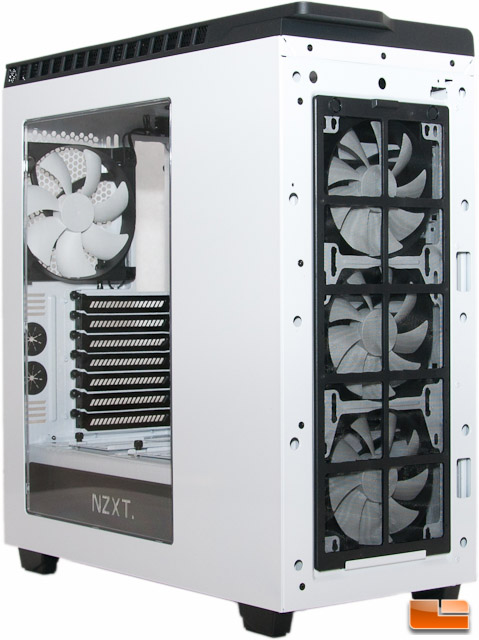
Some who just skim reviews and forget to look at interesting key words (5.25-less), will think that this sleek front panel is hinged and has 5.25 drive bays hiding behind it. Only to their surprise, they were wrong! This panel is not hinged, but rather uses plastic barbs and the panel pulls off. So start tugging at the bottom and the panel will pop off, revealing not two, but three NZXT FN V2 120mm fans. No doubtingly this is one of two locations that you can mount a 360mm radiator! The front panel has a sound deadening foam adhered to it, too, which we’ll find throughout this case.
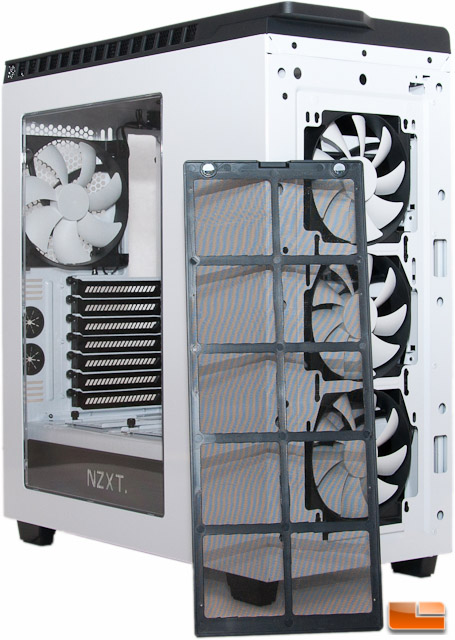
Removing the dust filter on the front is simple: Just tug at the top, lift up a bit, and that’s it! It has two magnets on the top and is just held in place with a piece on the bottom.
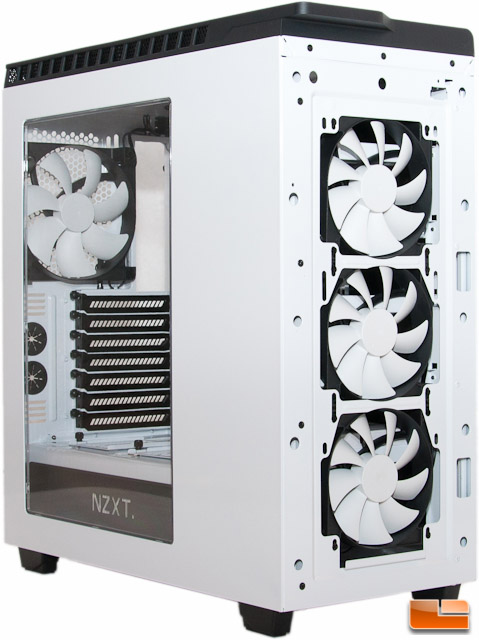
Filter removed, here’s the front of the case:
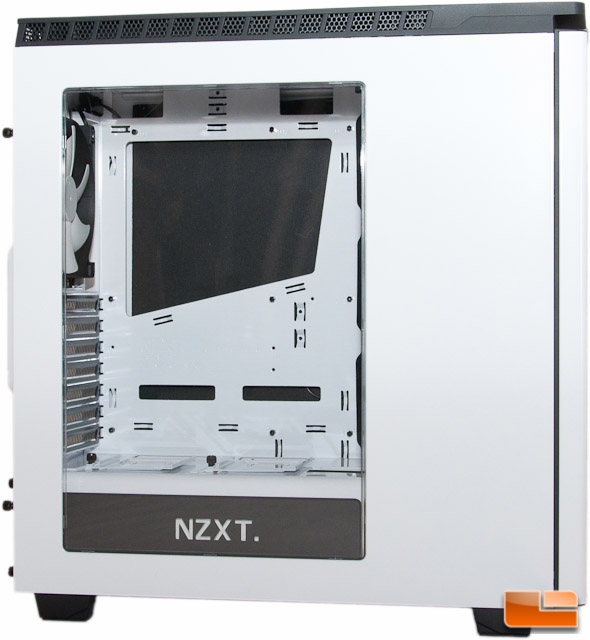
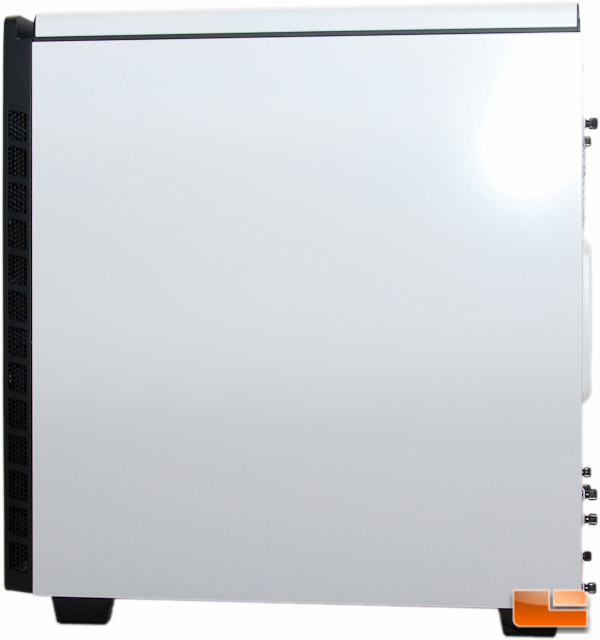
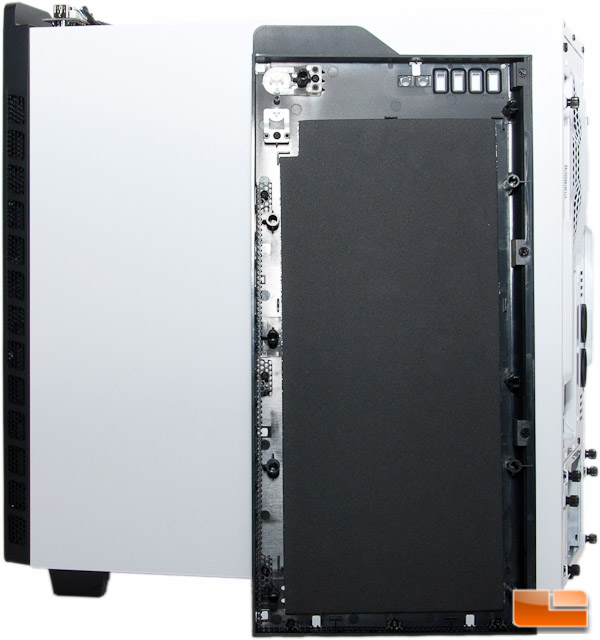
Moving off to the left side of the case is where you can catch a view of your hardware inside. NZXT made this acrylic window a nice size to help make the case even more aesthetically pleasing. The right hand side where the front cover is, there is no ventilation for the fans here. This is slightly concerning as I would have liked to have seen this as restriction free as possible. On the very top are ventilation holes for the cooling system that can be mounted up there. Ill show you that more in a bit. Also seen through the side window is a shroud that covers the PSU and has a NZXT logo that can light up.
Hopping over to the rear of the case you wont find too much out of the ordinary here, but let me point a couple things out.
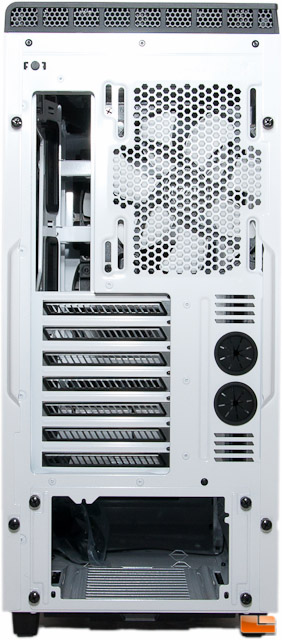
Starting with the very top left, there is a little black button. This button is used to turn on and off the LED light system built into this case.
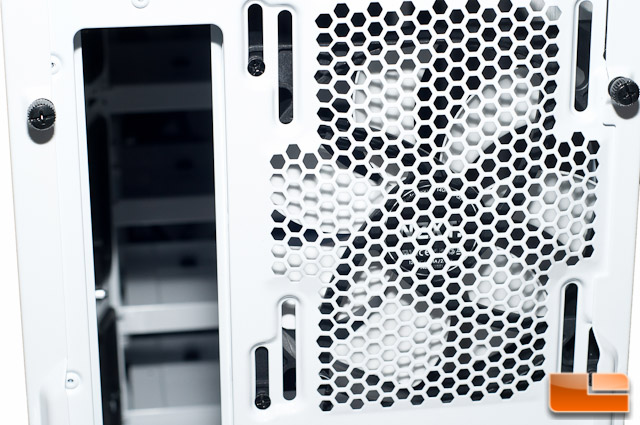
If you jump over to the rear mounted 140mm NZXT fan, you will notice that it is mounted in slots rather than holes. This will provide user vertical adjustment and will also allow you to mount a 120 or 140mm radiator in place of the stock fan.
The PSU mounting with this case has to be unique due to the shroud that will cover it. Youll end up removing four thumb screws and attaching a bracket to your PSU, then slipping in your PSU from the rear. This is very different from what were all used to!
Aside from the seven expansion slots and two water cooling holes with rubber grommets, thats about all that youll find back here.
Moving to the right side of the case you will notice just about a whole lot of nothing. The only things worth pointing out on this side are the ventilation holes. Here youll find that the front does have some ventilation on the right side of the front panel and now the top has none on this side. This is another case of where I would have liked to see ventilation all the way around, but the round corners sure do look nice.
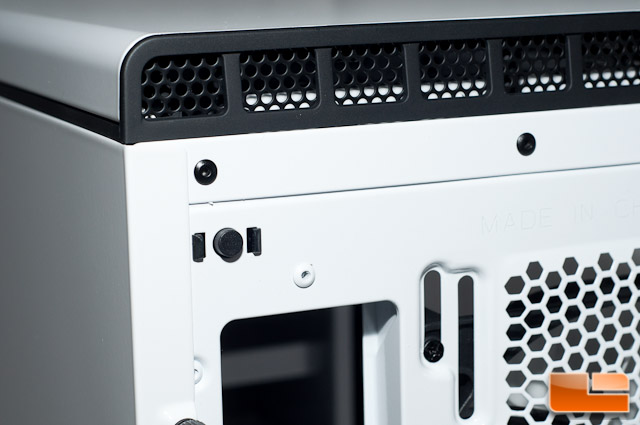
Jumping up top, it is also very minimalistic up here, too. You can see the front I/O ports up here and thats about it.
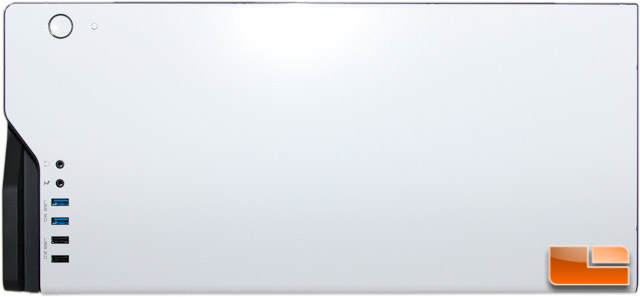
Along the top edge we will find ventilation on two of the four sides. I’m not sure why they opted to do such.

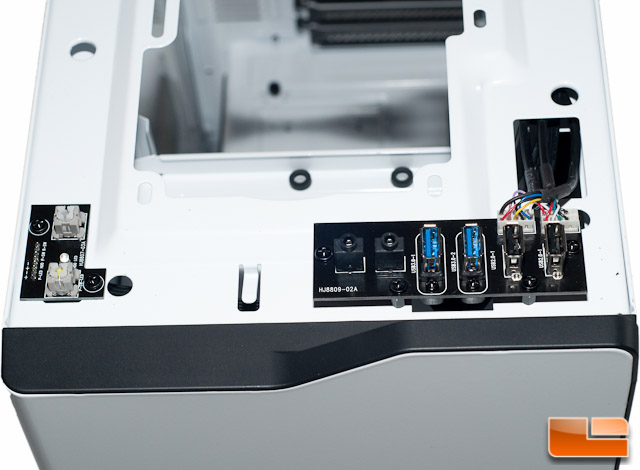
A closer look at the front I/O ports reveals a power, reset, dual USB 2.0 and dual 3.0 ports, and a headset and mic 3.5mm jack. Everything is labeled nicely except the power and reset buttons.
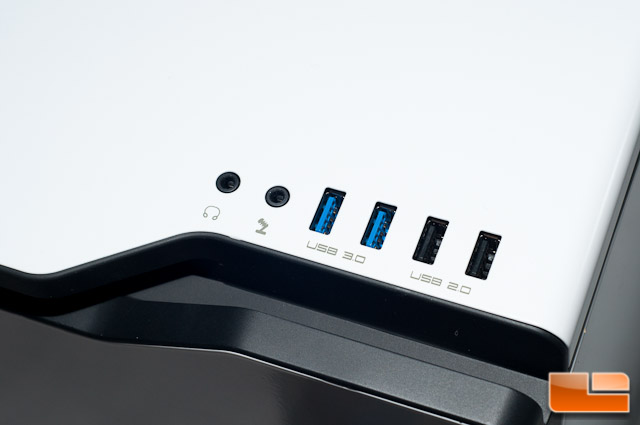
The one thing that I found very strange was how tiny the reset button was. For those of you who are enthusiasts and plan on overclocking your system inside this case, youll find this as a huge annoyance more than anyone. We all know the reset button is your best friend when finding that hardcore overclock, so keep a paperclip or pen handy!
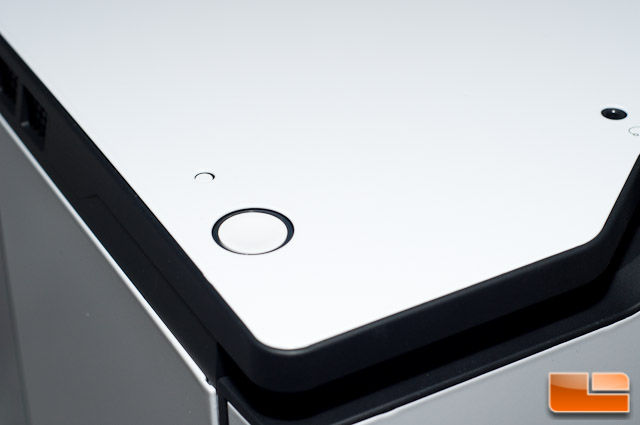
The top panel removes in a similar fashion to the front, so just pull up at the front corner and it removes with ease. This panel also has a heavy foam insulation piece to help reduce noise.
What I really appreciate with this case up top is the fact that the I/O ports and power and reset buttons are attached to the chassis itself and not the top panel. It is always annoying on other cases when you are removing the section where these items are, and they come along for the ride with the piece that they protrude through.
Removing the top also exposes the locations for three 120mm or two 140mm fans, or radiators of their respective sizes. Talk about cooling potential, eh?
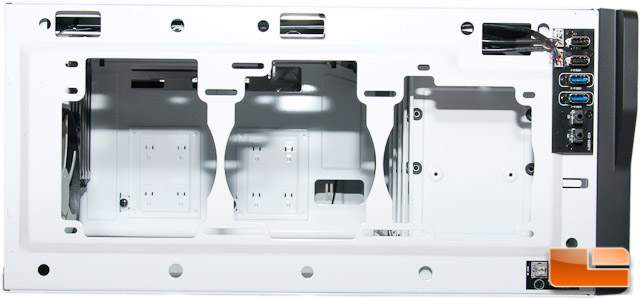
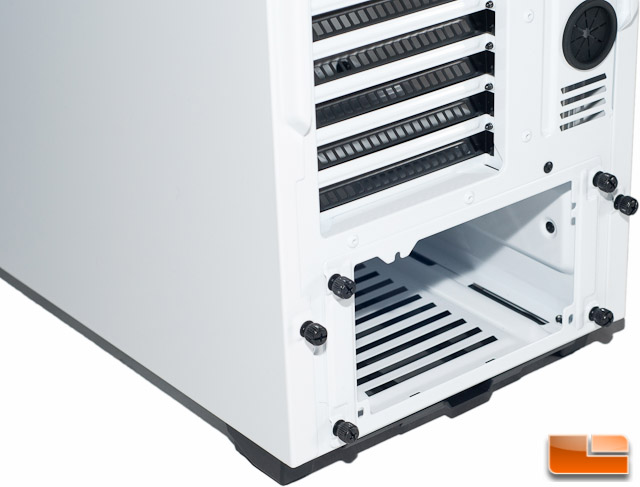
Finally, heres the bottom of the case. The case is held up with four identical feet that have rubber strips on them. On the left is a filter for your PSU, which is easily removed from the rear of the case. If you take a look on the right side of the below picture, there is a big hole. If you havent already guessed, this is where you can stick your fingers to pull off the front.
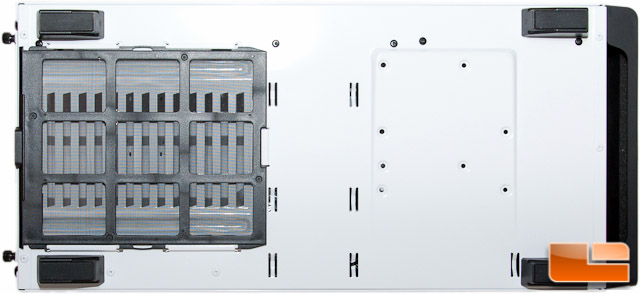
Take note of the eight holes on the right side. These holes will be used for mounting a 6th 3.5 or 2.5 drive.
Thats all there is to the exterior of this case. There were only a few complaints, but overall this case looks slick with its minimalistic design. I especially love the heavy glossy white paint throughout this case and it feels like it should last you a long time (AKA: It doesnt feel cheap!). The steel thickness also wasnt cheap (thin) and flexible.
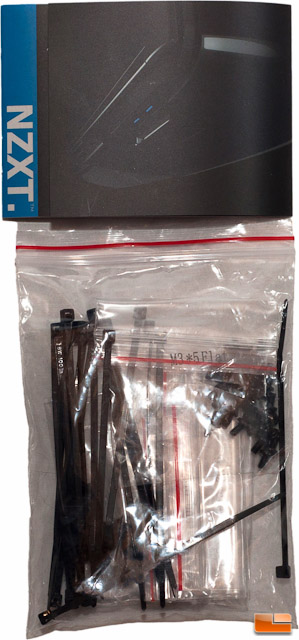
Can’t forget about the included hardware; NZXT included a bunch of zip ties and screws to make sure your components can all get installed. There were no instructions, but rather a booklet with some other NZXT products. Hopefully a full production kit has instructions for those who may have a question or two along the way.
Lets crack off the two side panels and see how the interior of the H440 looks and functions.