Alphacool Eisbaer 240mm AIO Liquid CPU Cooler Review
Installing the Eisbaer AIO Liquid CPU Cooler
Installing water coolers is generally pretty simple, and overall Id have to say the Eisbaer was no exception to that. Since Alphacool didnt provide us with install instructions, we were left to fend on our own and figure it out. After a very short 1-2 minute examination of the hardware provided, it was determined that there would be nothing difficult about this install.
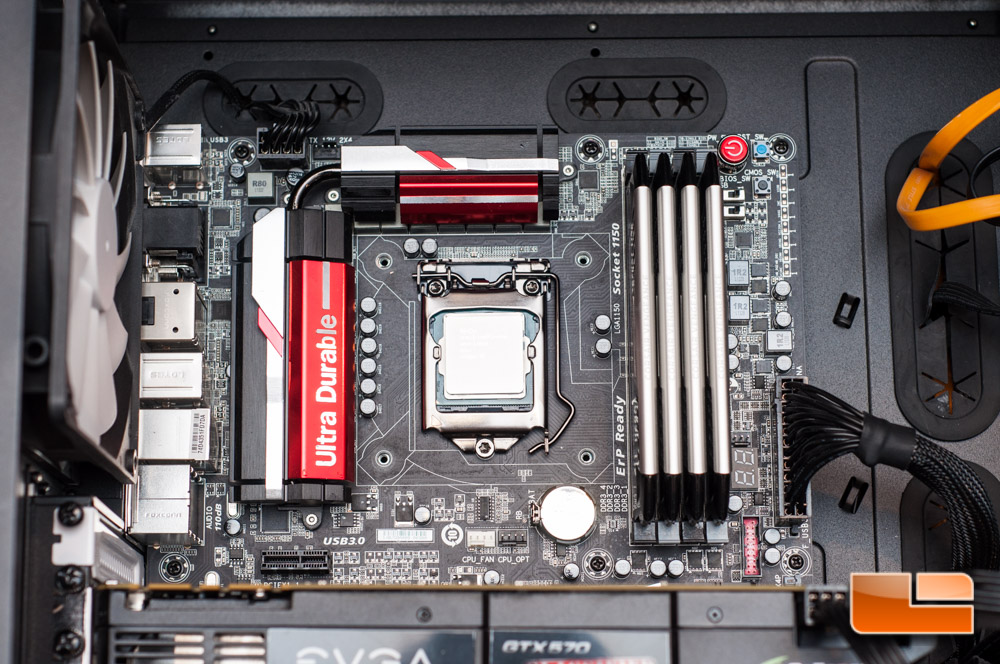
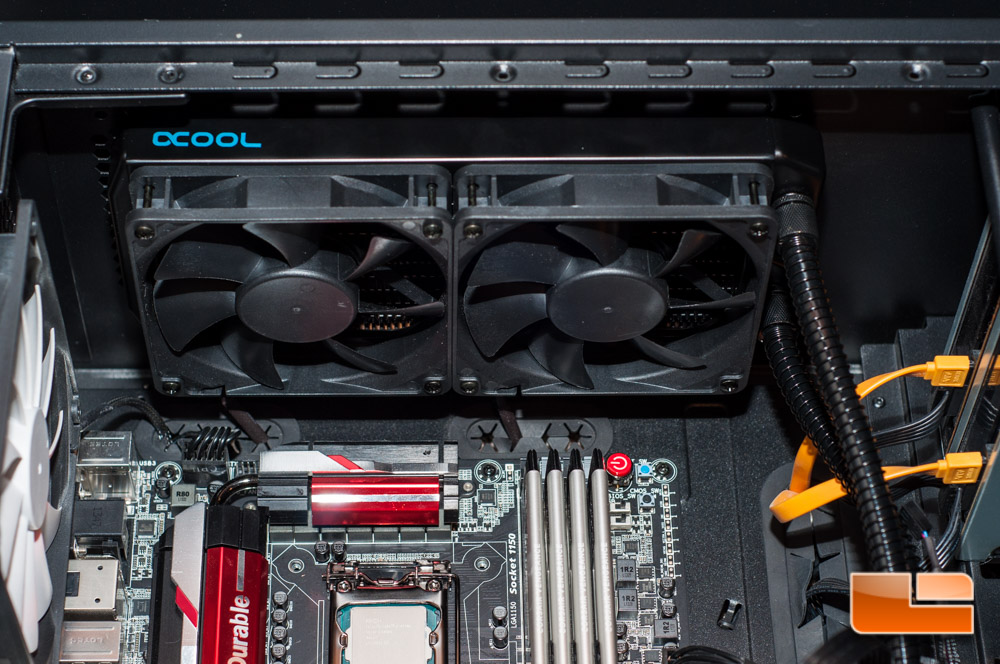
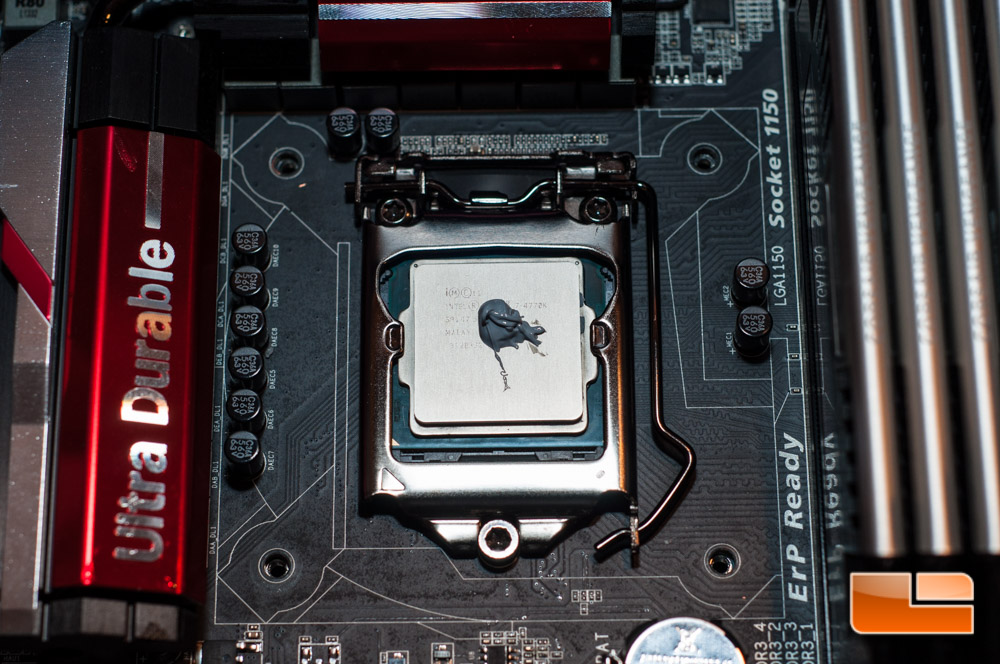
I already installed the fans in a push configuration for the product shoot, so that part is already taken care of. All it involves is screwing in eight long screws, as you will see in an upcoming picture of the radiator installed. I also cleaned off any old thermal paste with a high purity rubbing alcohol. I also need to point out that I was forced to use the backplate from a previous cooler review, as I misplaced the factory socket backplate from my motherboard. This did not affect installation one bit, as it was nearly identical anyway.

Installing the radiator was as simple as lining up the holes on the top mount of my Fractal Design Define XL R2 chassis, and popping in eight screws from above.
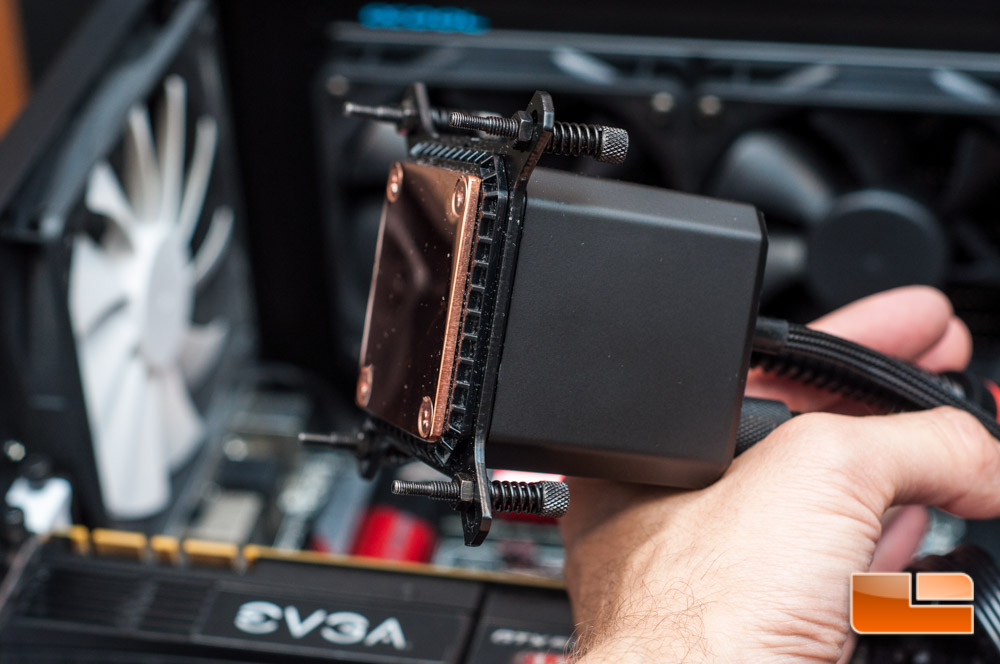
I totally forgot to prep the mounting hardware prior to installing the radiator, but fortunately Alphacool made this a snap, literally. The mounting bracket slides into some grooves and snaps into place, which this part takes all of two seconds to do.
Snapped together:
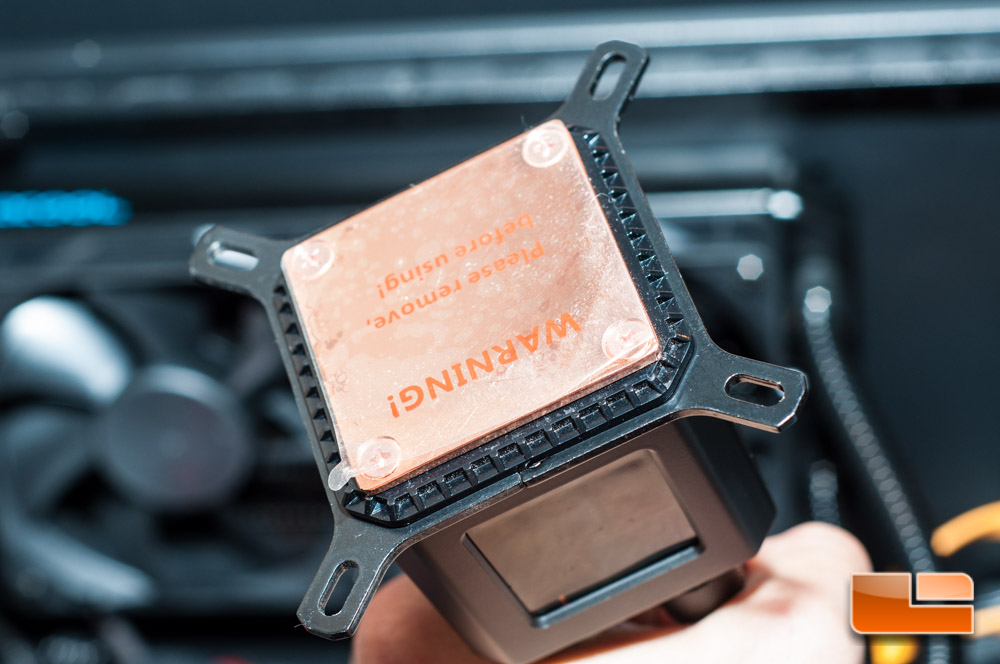
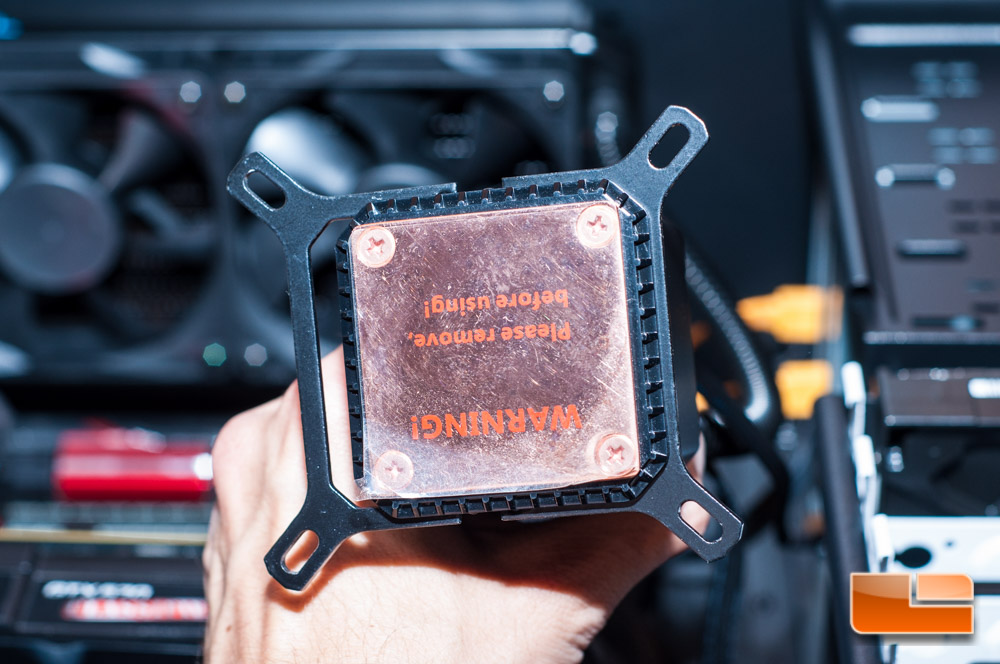
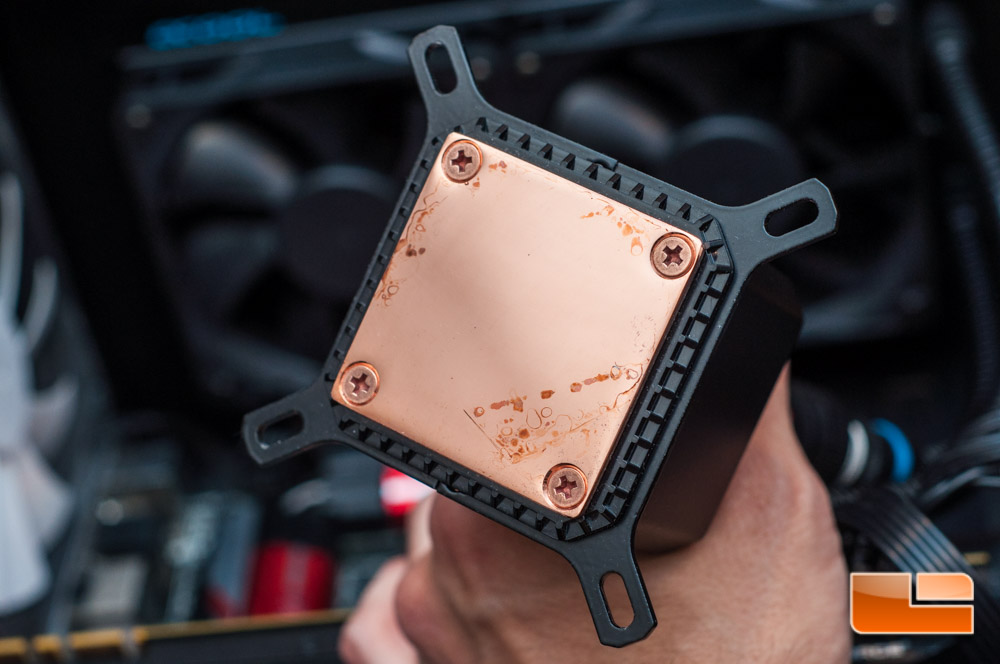
I went ahead and peeled the protective sticker back and cleaned off the copper cold plate. I was hoping the staining would go away, but unfortunately it did not. I don’t feel this will be an issue, not only because it’s mainly on the outer edge, but because it’s just a stain and I cannot feel any imperfections on the copper.
The next step of the mounting hardware is putting the screws in place. This is what took a second to figure out what they had in mind, and you basically have a long screw, slide on a spring and washer, slip it through the hole on the mounting bracket, and tighten it in place with the nut.
Alphacool includes XPX Xtreme thermal paste, which they say one packet will yield you up to two installations. I still prefer syringes since theyre easier to work with, but they gave you a packet in hopes that remnants wouldnt dry out as quickly.

I squirt out roughly a pea sided amount on the HIS. It looks sloppy, but itll spread out just fine.
While the screws are thumb screws, youll still want to use a screwdriver to put a bit of pressure down. If you try to do it by hand, the spring will fight back and make your life difficult.

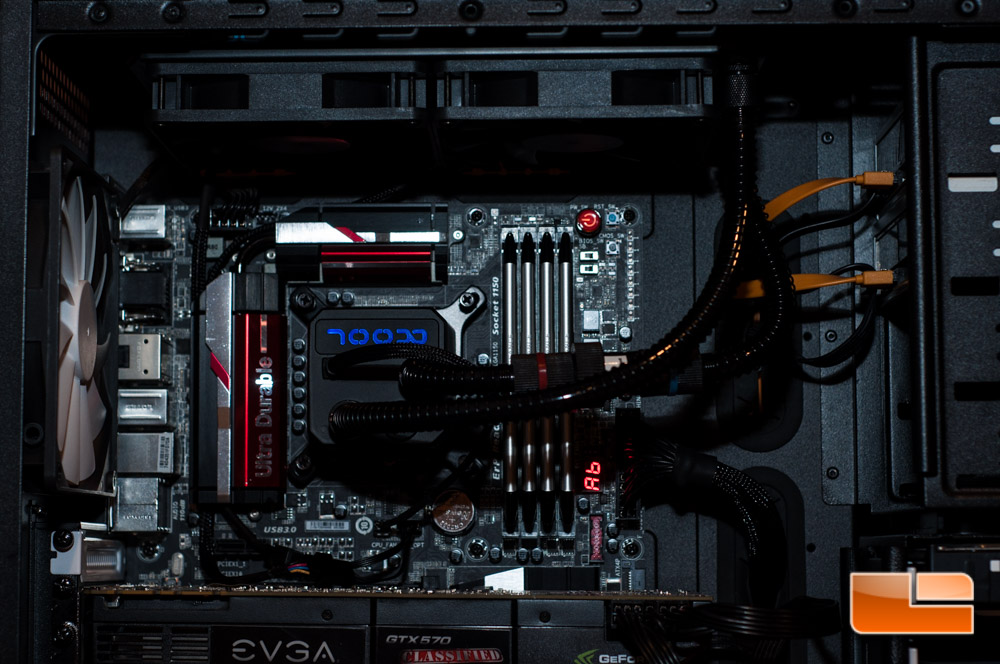
All that was left was to install the fans and pump power, which are in the CPU_OPT and CPU_FAN headers respectively.
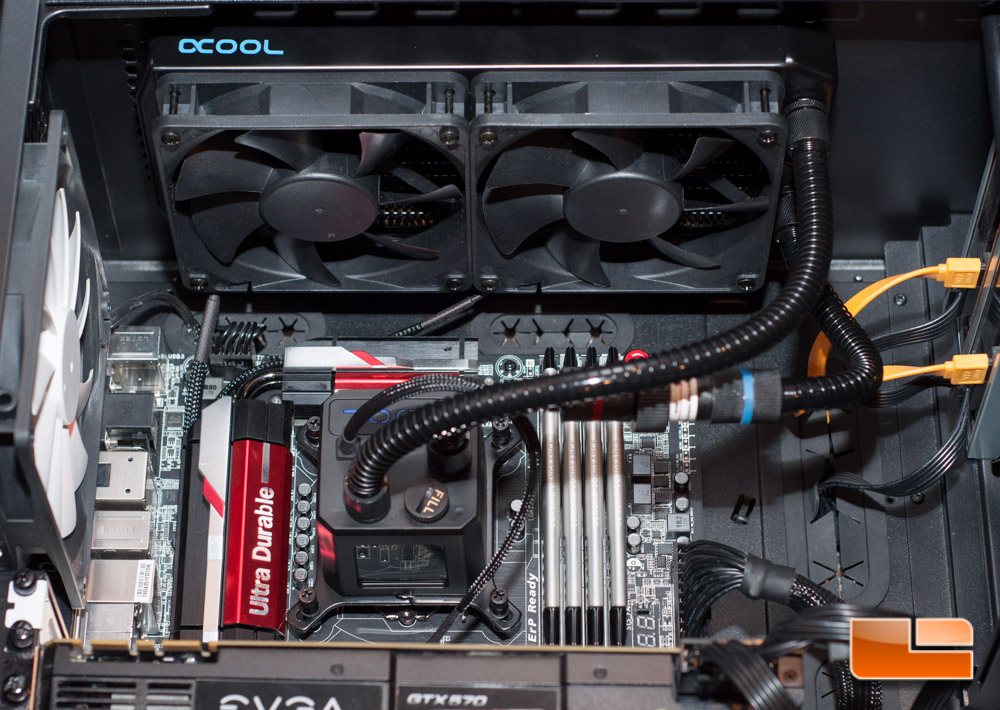
Powering on the system for the first time, you see the Alphacool logo lights up. The window on the pump gets a little bleed from the LED that lights the logo, but it isnt significant. I ended up installing the pump with the logo upside down due to orientation of the radiator and trying to keep twists and bends to a minimum in the tubing.
Regarding fan noise, while I do not have a sound meter, the fans were whisper quiet at idle and low loads. Under heavy loads, these fans get rather noisy, so beware. Pump noise was inaudible.
Since we know that everyone is curious with how well the Eisbaer 240mm performs, let’s move onto the testing. Well compare it to the various air and liquid CPU coolers that weve tested in the past, see how well it works with an overclock to 4.3GHz on a i7-4770k. Before we get into the tests, click the next page to see what weve got in our system.