Zalman CNPS11X Tower CPU Cooler Review
Installing the CNPS11X
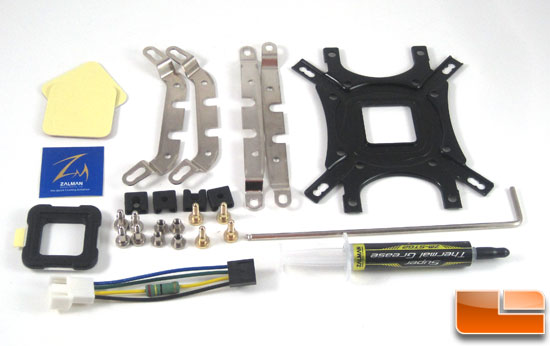
The CNPS11X comes with everything needed to mount the cooler up to all of the Intel LGA sockets and the AMD AM2 and AM3 sockets. Also included is an Allen wrench, thermal paste, and an inline speed reducer for lowering the fan’s top speed.
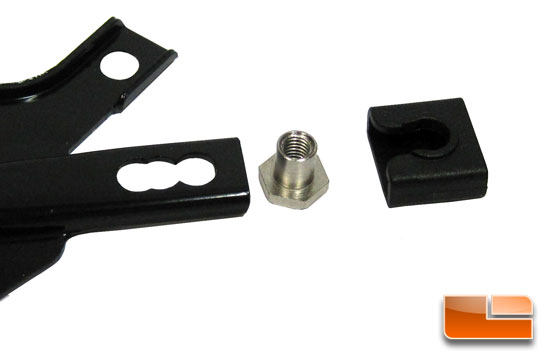
The first step is to set the backing plate up for your socket. There are barrel nuts that need to be placed in the proper hole, and then they are held in place with a plastic clip for installation.
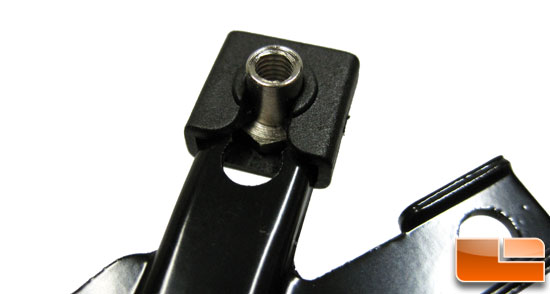
Here is what it looks like all put together. The system is quite easy to assemble and holds everything nicely.
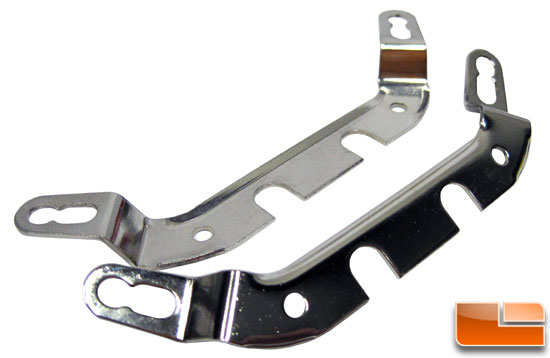
Now to install the brackets for your particular socket; in my case the Intel LGA brackets.
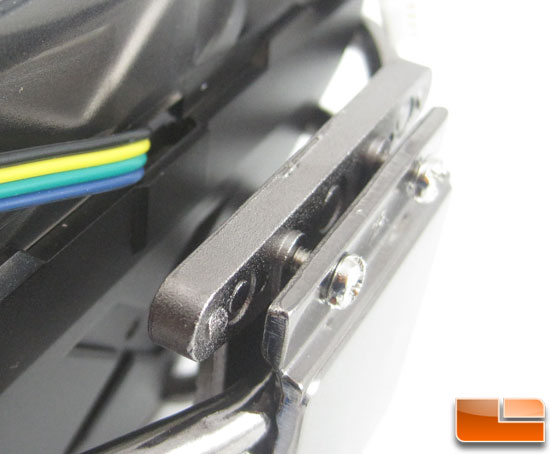
On the cooler base there are 4 screws; these have to be loosened so you can slide the mounting bracket between the aluminum top and the copper base. On either side of the screws are small alignment nubbins on the aluminum top that two alignment holes in the bracket have to line up with. If you dont get the bracket on correctly then the cooler will not mount properly.
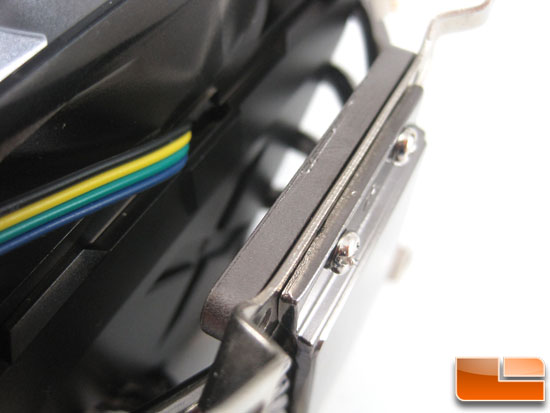
With the brackets installed the cooler can now be mounted to the motherboard.
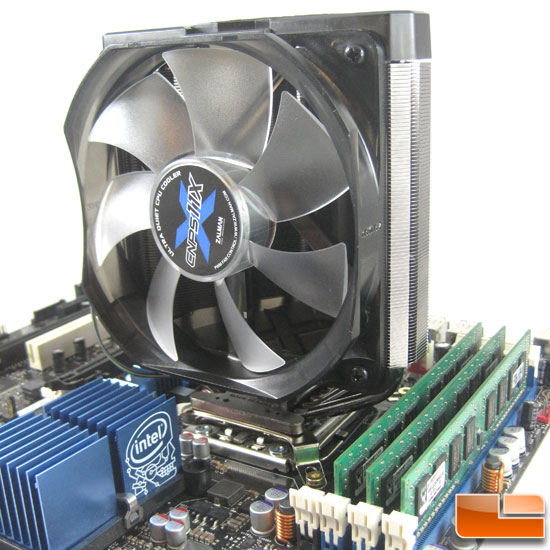
Installing the CNPS11X to the motherboard was simple and quick. With the included wrench there is no need to remove the fan for installation.
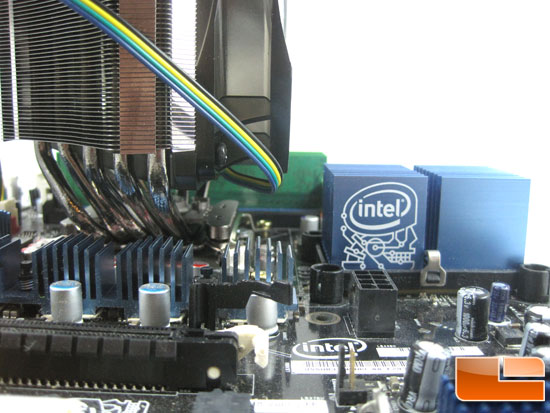
The way the CNPS11X is offset to one side looks to be a big help for clearance on the fan side.
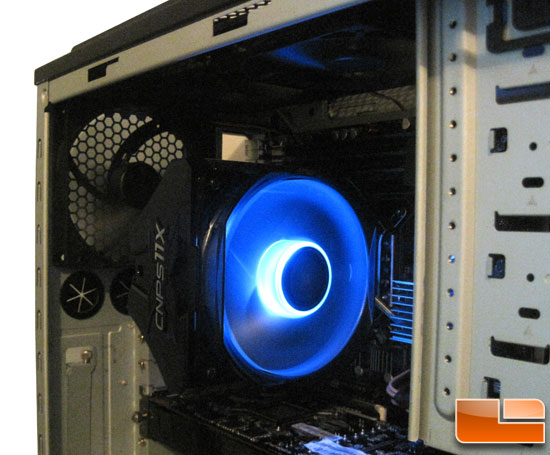
Here is the system up and running. The LED fan has a nice glow to it. Not too over powering, but it can light the case up at full speed. With the speed reducer installed the LED dims a bit but still has a nice glow.

Comments are closed.