Thermaltake Level 10 Super Gaming Case Review
Inside the Level 10 Continued
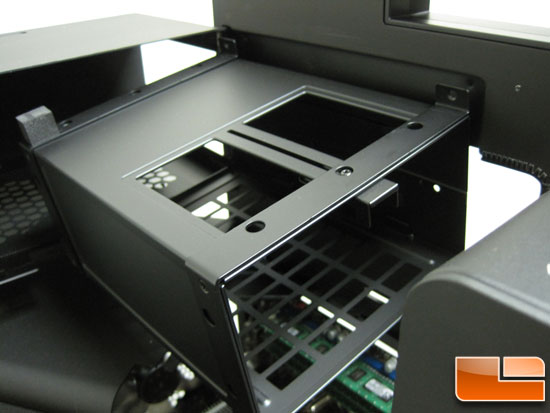
The PSU cage is held in place with two screws at the top and locking tabs at the bottom. Remove the screws, tilt out, slide up and it’s out.
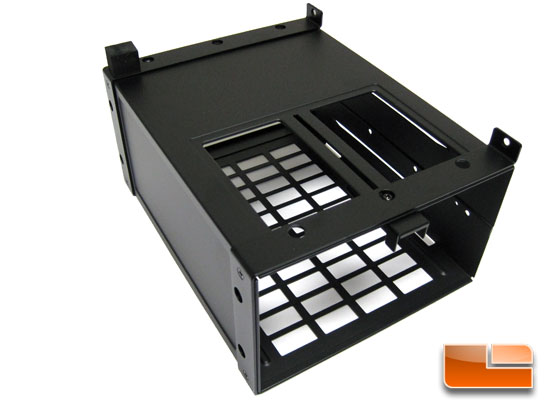
The cage is removable to make installing the PSU easier. The front side of the cage has an adjustable tab to help keep the PSU from moving around. PSU length is limited to 210mm.
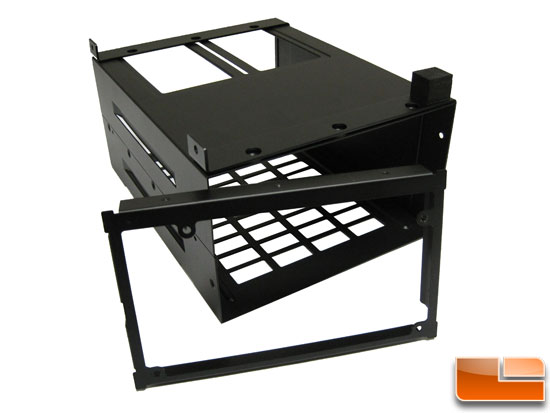
On the back side of the cage there is the mounting plate for the PSU itself. Now, so you can align your PSUs cooling fan with the vent in the PSU cage, the mounting plate is removable to change the orientation. This is a rather tight fit to a standard PSU; I had to remove the mounting plate, mount the PSU to it, and then slide the whole assembly into the cage.
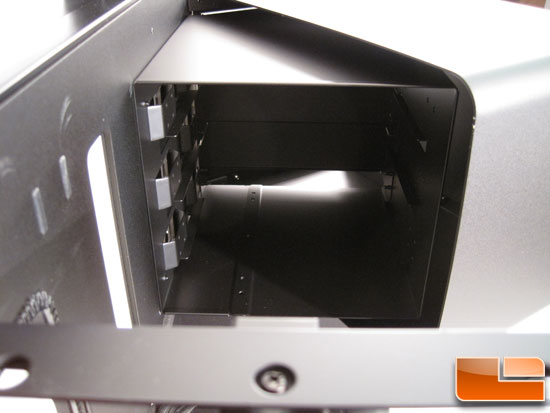
The 5.25 drive bay cover doesnt open very far — its just enough to give you access to the back of the devices. So to aid in installing devices the cover can be removed completely.
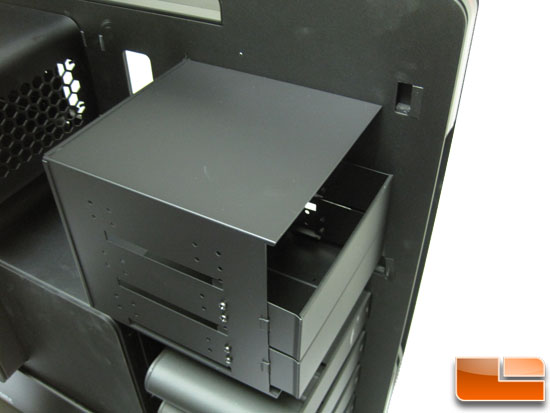
By opening and lifting the cover comes off, giving you plenty of room to work.
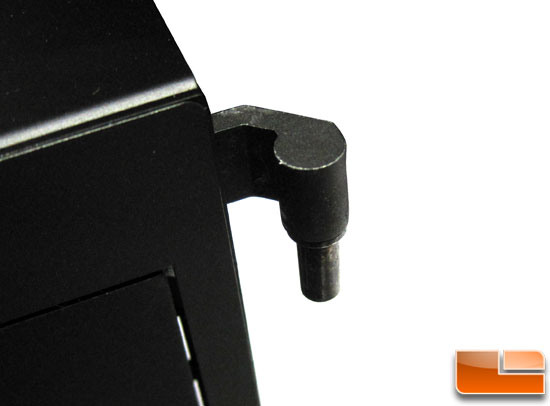
The hinge pins are steel and mount into holes back in the case. Putting this back in is a little bit of hunt and peck as you cant see the holes.
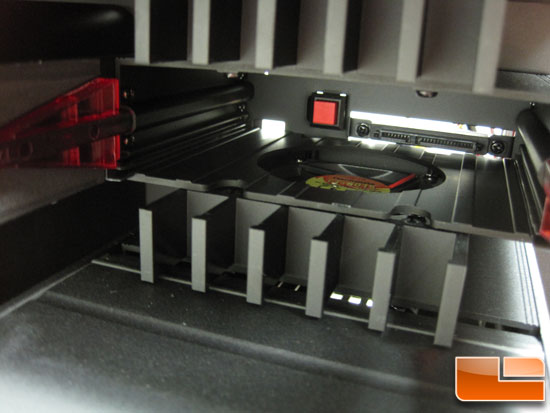
Now for the hard drive bays. There are six hard drive bays, all are capable of holding either 3.5 or 2.5 hard drives. The top two bays are already set up with a back plane and 60mm fan. The remaining 4 bays do not have a back plane or fan, which is up to you to provide. Now, for a $700+ case I would have like to have seen all of this in place. In this image we can also see the switch that turns on the LED indicator that shows there is a drive in that bay.
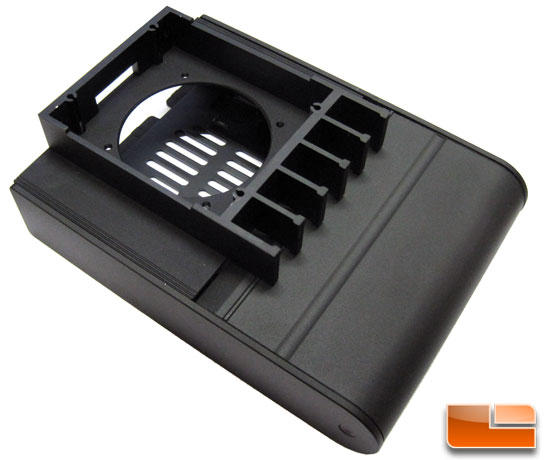
The drive bay can be removed, but to do it is a large pain. To reach the forward mounting screw for the drive tray itself you either have to have a very small 90 degree Phillips screw driver or take the whole back side panel off. I ended up doing a little of both. I removed the screw from the front edge of the back panel; this allowed me to bow the panel slightly to get my 90 degree Phillips screwdriver in to remove the screw.
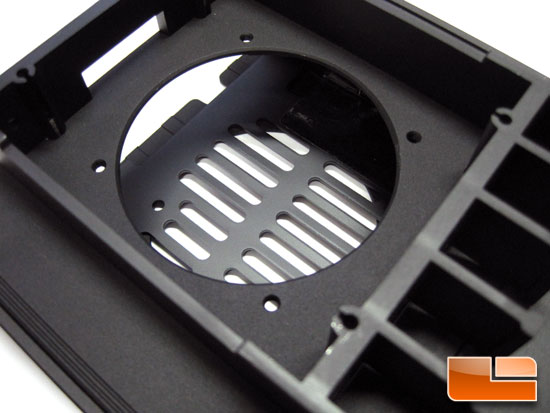
In the top of the bay there is a spot for a 60mm fan.
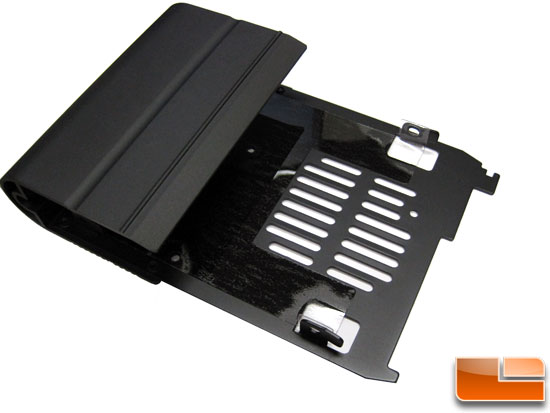
The drive tray itself is nice. It has a plastic sheet to insulate the drive from the aluminum tray.

Comments are closed.