Thermalright T-Rad2 Video Card GPU Cooler
Installation
Installation of the heatsink is quite simple for those familiar with video cards. Today, I’ll be installing the T-Rad2 onto a voltage modified Gigabyte HD 4850. I’ve chosen this HD 4850 as it’s a reference card and the T-Rad2 fits. Secondly, I’ve voltage modified this card and completely mapped it out so I was able to accurately dial it in from stock clocks to its bleeding edge.
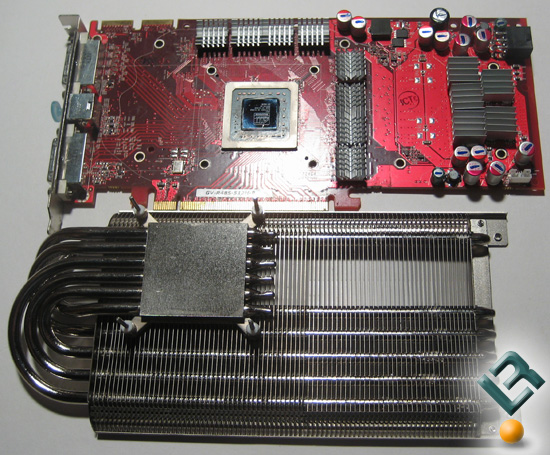
To start things off, remove the stock cooler and remove any factory thermal material that may remain stuck to the core, memory chips, and mosfets. With the card bare, apply the memory and mosfet heatsinks to the card. If there is a component that the stock heatsink had direct contact with, make sure to sink it. Please disregard the heatsinks on the mosfets and chokes; these are epoxied on and not included with the T-Rad2 kit.
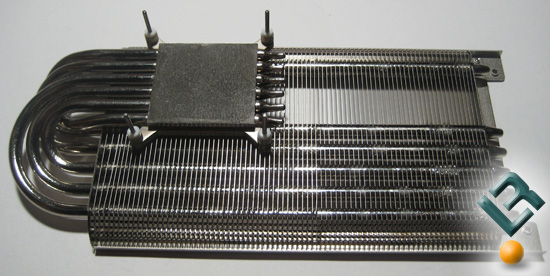
Next, prepare the T-Rad2 for installation. Start by screwing in the 4 large double-sided screws into the mount and removing the plastic covering the base. Then, place the four white washers on the four screws; these will protect the PCB of your GPU.
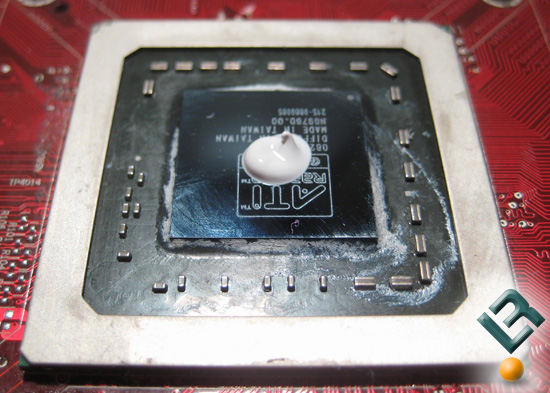
Apply a dab of thermal compound the size of a small pea onto the core. When mounting the heatsink the mounting pressure will spread the material out and insure a sufficient thermal bond.
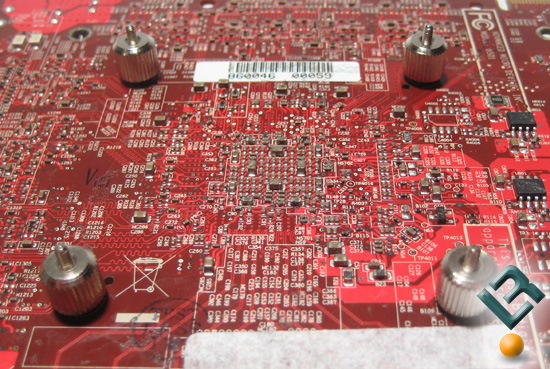
Flip the card over and slowly lower the card over the heatsink. Once the heatsink is lined up and the card is resting on it, take the four black washers and drop them onto the heatsink screws and then use the thumbscrews to slowly tighten the heatsink down. I’d suggest screwing down in an alternating pattern going top left, bottom right, top right, bottom left. Screw them all till they are snug and then tighten with this pattern ’til hand tight without warping the card.
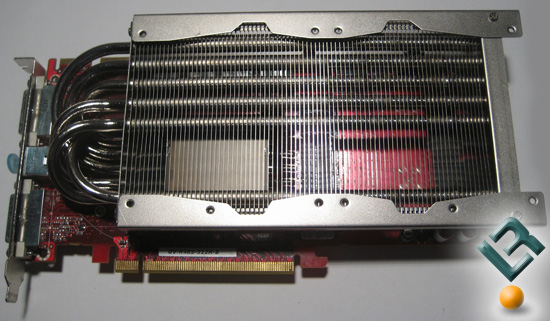
You can choose to mount either one or two 92mm fans or a single 120mm fan. If you mount the 92mm fans you’ll use the short screws, whereas if you mount the 120mm fan you’ll use the two longer screws and the two fan clips.

Comments are closed.