SilverStone SST-DC01B Network Data Center Review
Accessing and Configuring The SilverStone SST-DC01B
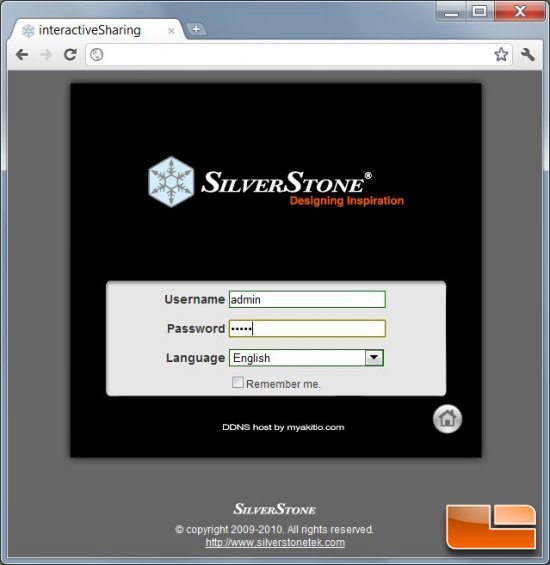
Logging into the SST-DC01B can be accomplished a couple of different ways. The most direct (and easiest method) is to note the IP address given to the NAS by the router, and type that IP into a Web browser. Users can obtain the IP by logging into their router via Web browser and identifying the NAS in the list of networked items connected to their LAN. A SilverStone splash screen will follow, asking for the Username and Password, which in this case, the default credentials are both pre-set to admin.
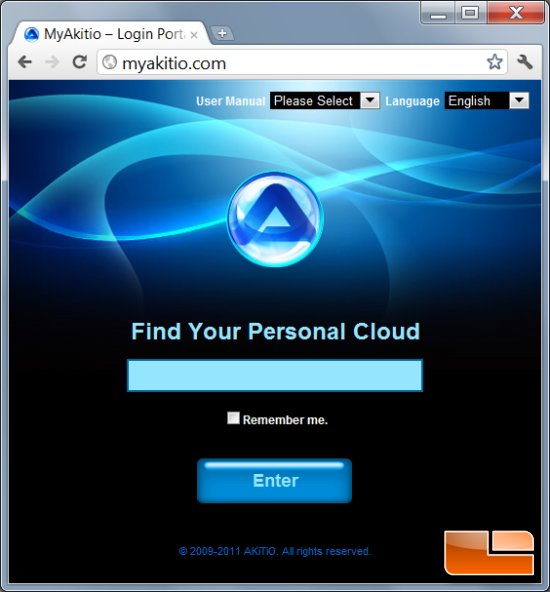
For those that dont wish to meddle with silly IP addresses, users can surf to http://myakitio.com which is a portal of sorts for the SST-DC01B. In the text field, enter the MAC address found on the sticker on the bottom of the NAS device and click Enter. This will take users to the SilverStone splash screen where they will enter their Username and Password. Keep in mind that the SST-DC01B must be powered on and in system ready mode (steady blue LED) in order to connect to the NAS in this manner.
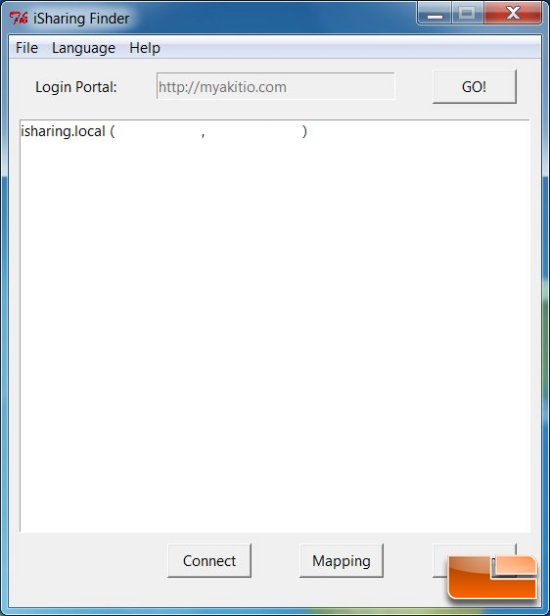
The last method is the most onerous. To connect to the SST-DC01B locally from a networked client computer, head over to SilverStones site and download the iSharing application from their product download page. Once installed, the software will automatically detect the NAS on the network and display its IP and MAC address. Clicking the GO! button will re-direct users to the http://myakitio.com portal, where they will enter their MAC address. Clicking Enter finally directs users to SilverStones splash page where they will enter their Username and Password.
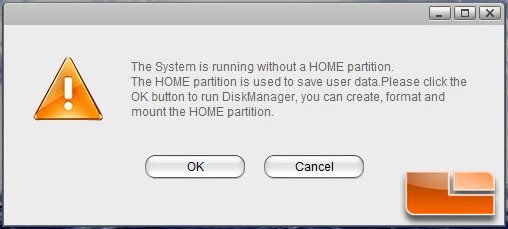
Upon logging into the SST-DC01B for the first time, users may or may not be greeted with a firmware update reminder (mine did not). If there is a hard drive installed in the NAS, a warning will also appear notifying the user that the system is running without a HOME partition and one must be used in order to save data on the NAS. Clicking OK will bring up the Disk Manager utility in the SST-DC01B.
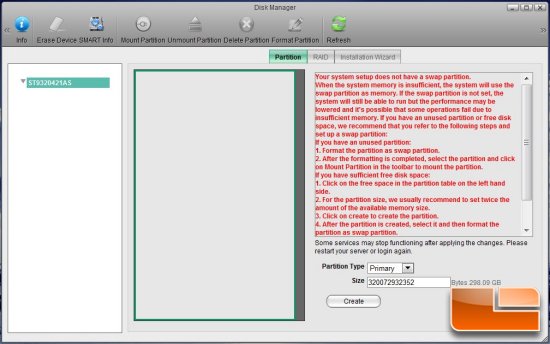
With the Disk Manager utility open, most users will want to use the Installation Wizard to quickly set up their hard drive. This essentially makes the formatting and partitioning of the hard drive in the SST-DC01B a completely automated and hands free process. For users that want more control over the configuration of their HDD, they can specify the partition types and sizes for their hard drive by clicking the Create button instead. Note the hard drive to be partitioned and formatted will be listed in the left-most pane of the Disk Manager utility.
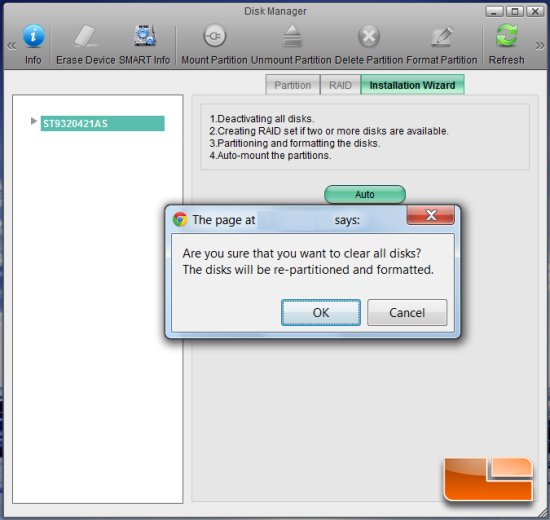
After selecting the Installation Wizard option, clicking the Auto button will begin the process of setting up the hard drive in the NAS. Users will experience a couple of pop-up dialog boxes warning that the data on the hard drive will be lost and that the hard drive is going to be partitioned and formatted. Clicking OK will commence with the set up of the hard drive.
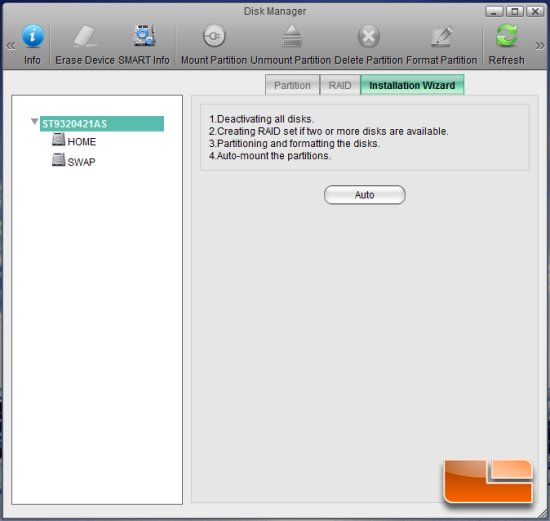
Once the partitioning and formatting has been completed, the hard drive will contain two new partitions, HOME and SWAP. The HOME partition is used for general storage duties such as music, videos and other content. The SWAP partition will be used for additional memory in the event that there is insufficient system memory in the SST-DC01B. Not allocating enough SWAP storage space could decrease the performance of the NAS and make some operations fail to run.
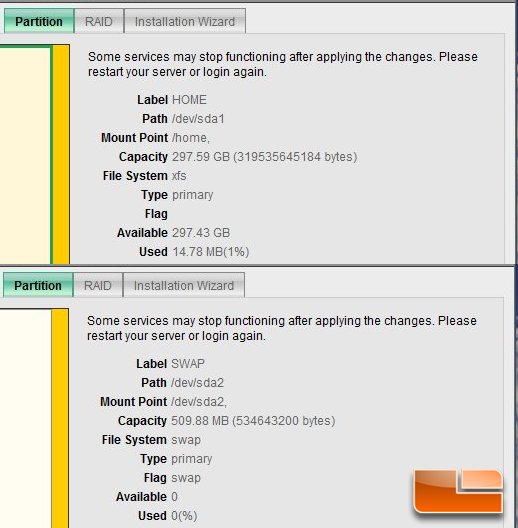
The SST-DC01B formatted our 320GB Seagate 7,200RPM hard drive in XFS, a popular file format used in many Linux-based NAS devices. XFS is ideal for NAS duties in that it allows for good data transferring properties and is adept in manipulating large data files. The SST-DC01B, via the Disk Manager Installation Wizard, allocated 297GB for the HOME partition and 509MB for the SWAP partition.

Comments are closed.