Scythe Mugen 2 CPU Cooler Review
Installing the Mugen 2
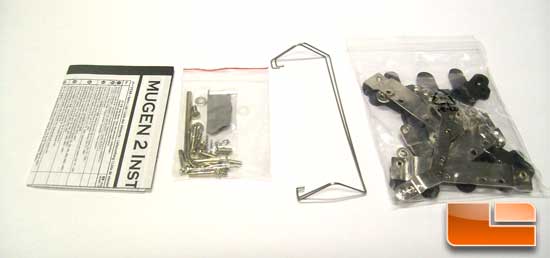
The Mugen 2 comes with everything needed to install the cooler, even a T20 Torx wrench. When I spotted the wrench I grabbed the instructions to see what it was for.
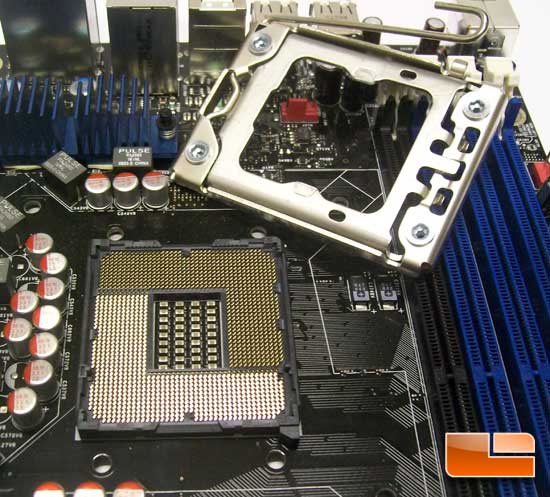
What the wrench is for is to aid in the removal the LGA1366 stock backing plate. Since not everyone has a set of Torx wrenches Scythe provides you with one. Some LGA1366 brackets have spacers under them — DONT lose them, they have to go back on.
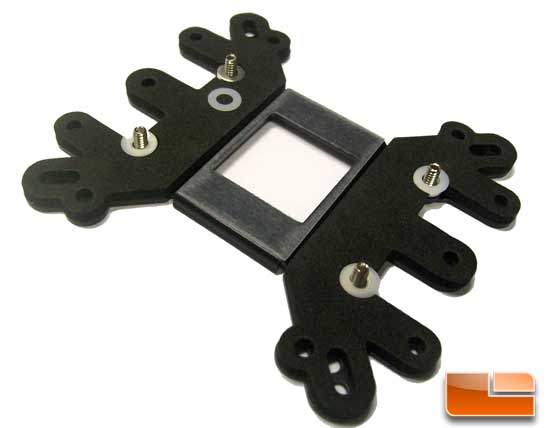
Starting the install I followed the instructions, and steps 3 and 4 have you putting the backing washers on, then in step 5 you are installing the retention screws. Well, they are threaded into the backing plate; save yourself some grief of dropping washers, put the screws in first and then the washers. When removing the stock backing plate it may be held on with a sticky adhesive. Go slowly so you do not damage the board when pulling it off.
With the CPU socket retention plate reinstalled, installing the cooler is easy. With it being as large as it is, just set it on the table upside down, balance the motherboard on the cooler and install the remaining cooler retention screws.
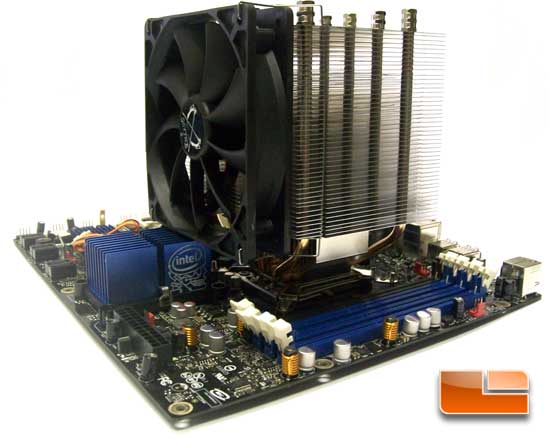
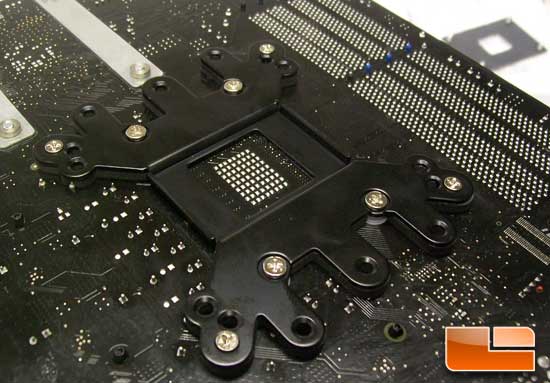
With everything flipped back over we can see how the Mugen 2 fits.
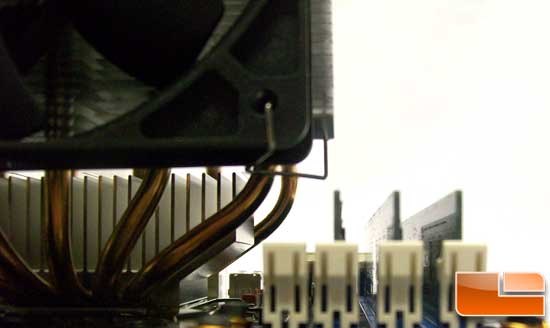
As with the Intel DX58SO motherboard, the 4th ram slot being covered is a given; the Mugen 2, however, lines right up with the 3rd slot. So if you are worried about blocking ram slots break out the tape measure and double check.
Comments are closed.