NZXT Tempest Mid Tower Gaming Case
Moving Inside
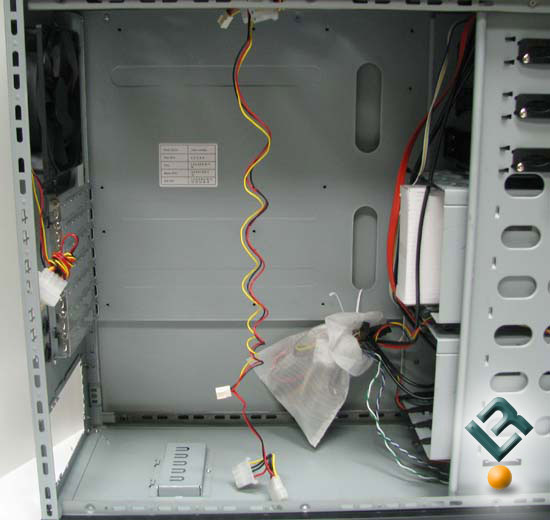
Pulling the side of the case off we can get a feel for the room it has. We can also see that NZXT made sure that end users could not complain that the power leads for the fans and font panel cables were too short. You also have an option for power connectors on the fans as they have both pass-through molex and 3 pin connectors. This is nice if you want to run a fan controller to control the fans — no need to rewire the fan or buy a special adaptor. On the right of the motherboard tray there are two slots through which you can route wires. The lower edge of the motherboard tray has a rolled edge to stiffen it. This is fine, but it closes the gap between the side panel and the tray giving less room to get thick cables through; this may make running cables interesting. At this point you are probably wondering the same thing I was, “Whats the white bag covering?”
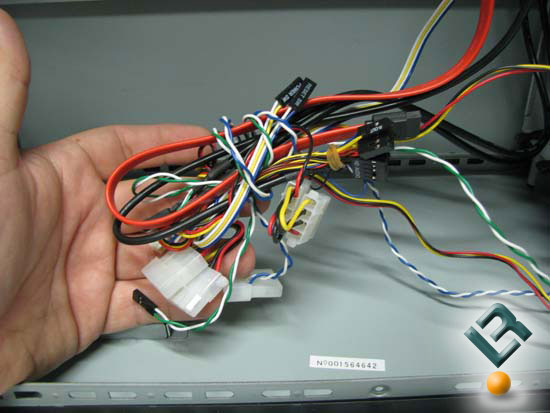
A big honking mess of wires thats what! These are the front panel cables and power connectors for the front fans. This took a second or two to untangle.
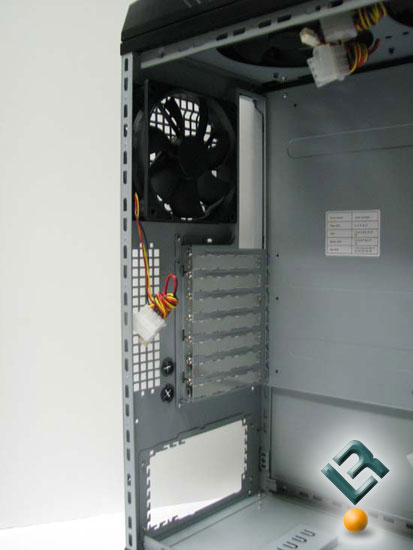
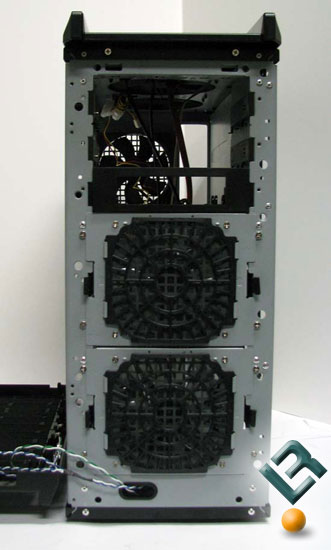
Looking to the back of the case we can see the preinstalled rear 120mm fan and expansion slot covers. I would also like to mention that the PSU mounting area has an adaptor plate so you can choose the orientation of your PSU. This will be most useful to those who have a PSU with a bottom mounted cooling fan.
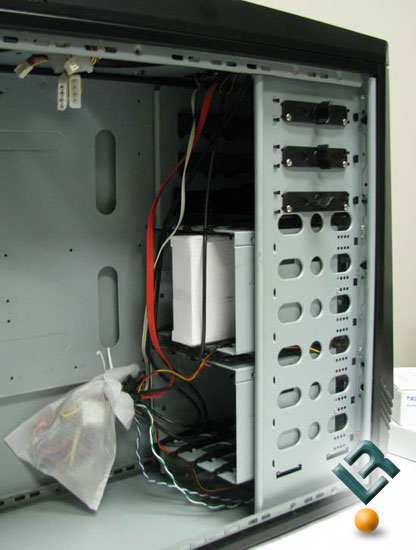
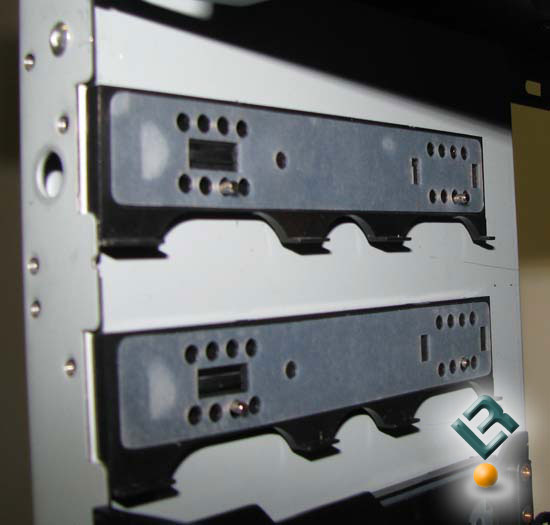
Back towards the front we can see the hard drive cages, accessories box, and the 5.25 bays. Each of the hard drive bays are tool-less and hold up to 4 drives. The top cage can be removed to make room for three more 5.25 devices, NZXT provides you with the drive rails to do this.
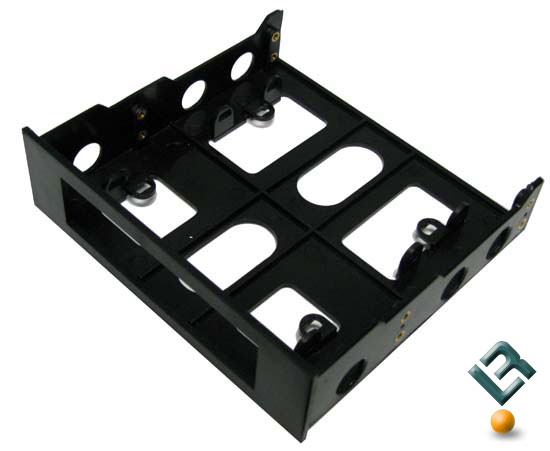
If you need a 3.5 inch bay NZXT also provides a 5.25 to 3.5 bay adaptor that can be installed into any of the 5.25 drive bays.
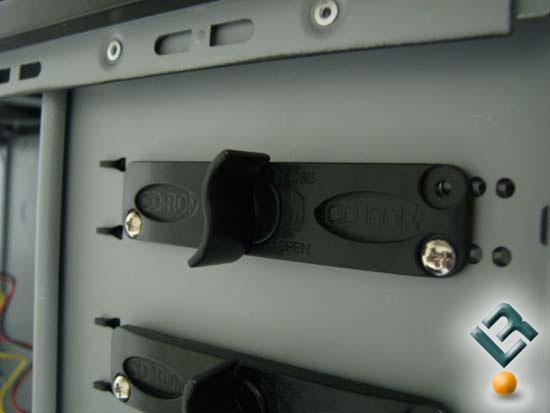
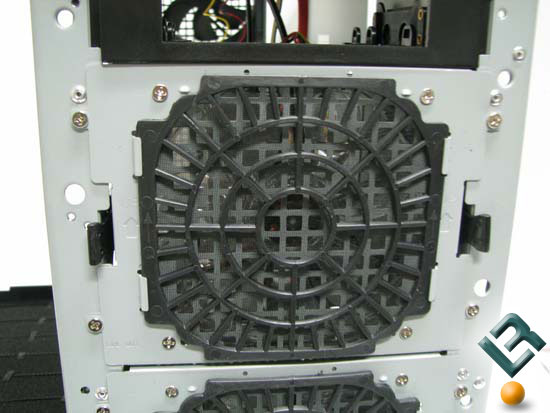
Looking closer at the top 5.25 bays we can see a different style tool-less retaining system than the normal drive rail setup. Outside of the bay there is the locking bar. The locking bar has posts that stick through the mount holes in the bay and mate up to the drive mounting holes.
When you turn the lock it puts pressure on a silicon padded drive rail on the inside of the drive bay. This keeps the drive secure as well as dampens vibrations from the drive.
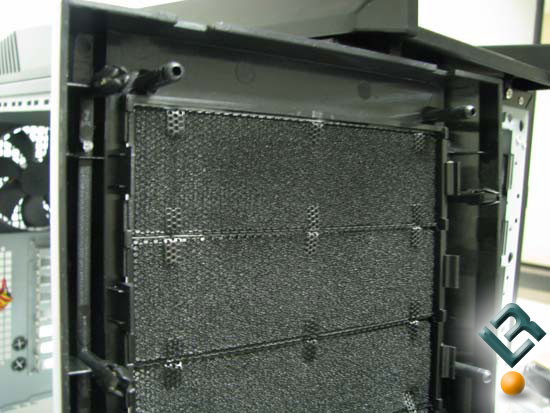
After pulling the front off the case we can see the back side of the drive bay covers. The screens are easy to remove and clean.
With the front panel off we can get a good look at the front of the case.

Starting at the bottom we can see the wire pass though has a rubber grommet to keep wires from being cut.
Moving up to the hard drive cages we can see the fan mount is screwed in and prevents the drive cage from being easily removed.
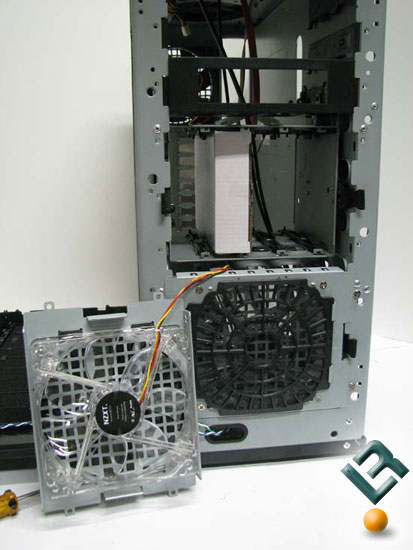
After removing the four retaining screws the drive cage can be easily removed. Unless youre looking to have the extra space for 5.25 drives or changing the case fan I dont think one would ever need to take the case apart this far.
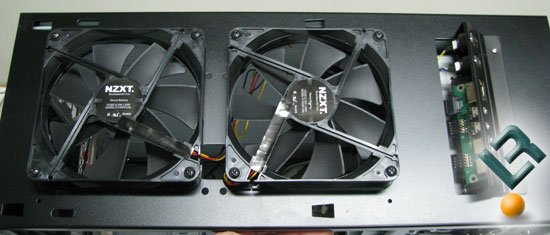
To install a dual 120mm radiator or to replace the top fans you first have to remove the top panel. The top panel is held on with 4 screws on the inside of the case and 2 behind the front panel. With the top removed we can see the dual 140mm fans and the pre drilled mounting points for a radiator.
Comments are closed.