NVIDIA 3D Vision w/ ASUS VG236HE 3D Display Review
By
NVIDIA 3D Vision Bundle
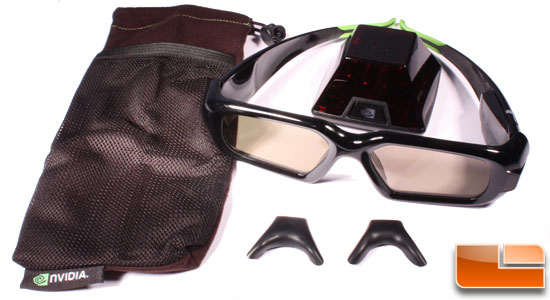
When opening the 3D Vision retail packaging the first thing you notice is that everything has its place. Inside the main section of the packaging contains the glasses and IR transmitter. The second box contains cables, quick start guide, extra nose bridge pieces as well as a nice black carrying case. Two USB cables are included, one for the IR transmitter the other for charging the glasses.
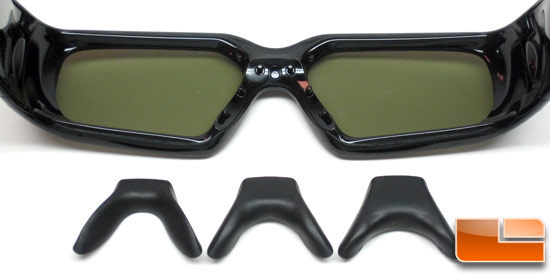
Three different nose bridge pieces are included for you to choose from. The nose bridge pieces can be changed out very quickly so if more than one person will be using the same computer it does not cause any inconvenience. The nose pieces work to lift the 3D glasses away from your face, which allows for those that wear glasses to still be able to use the 3D Vision system.
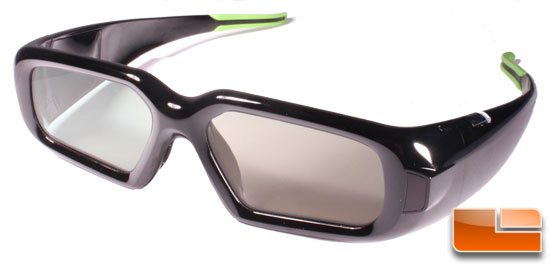
Looking closer at the NVIDIA 3D Vision glasses the first thing that you notice is how they look. While not quite like a normal pair of sunglasses, they definitely give the impression that is the look NVIDIA was going for. In that aspect, they did a pretty good job. The bulge next to the left lens is the IR receiver and is what needs to be in direct line-of-sight with the IR transmitter.
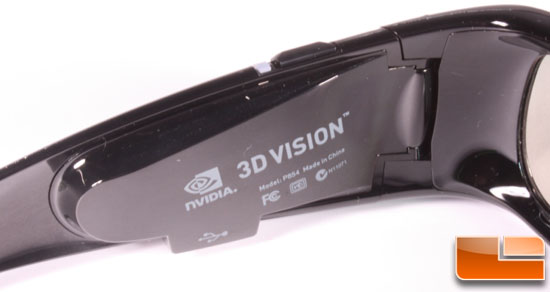
To power on the NVIDIA 3D Vision glasses you press the power button on the left temple. Once pressed, the indicator light next to the power button will glow green or red depending on if the glasses are in need of a charge. One thing to mention is that there is no need to manually power off the glasses, after a minute or so of not receiving a signal from the IR transmitter the glasses will turn themselves off which is also noticeable by the lenses flickering by going in and out of 3D Vision mode slowly a couple of times.
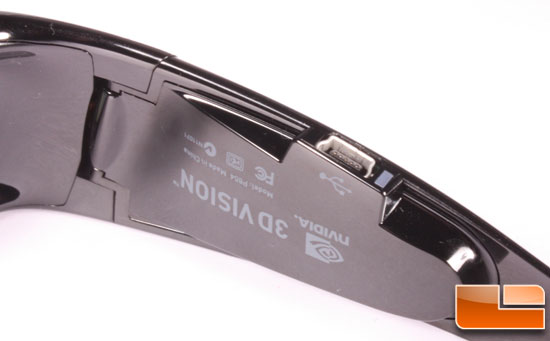
Charging the glasses is a simple task, just plug in the mini-USB cable to charge the 60-hour battery. To get a full charge it only takes a few hours, and under normal usage most people will only need to plug them in once a week or so to be safe.
The IR transmitter is the component that sends a signal to the glasses to keep them in sync with the system and is required for stereoscopic 3D to function properly. Without this component the flicker of the glasses will not match up with what is being displayed on the monitor resulting in poor results. The transmitter must be in direct line-of-sight to the glasses and be at a minimum of 1.5 feet. The button with the NVIDIA logo will light up when plugged in, and will glow slightly brighter when in stereoscopic 3D mode.
The rear of the IR transmitter has two I/O connectors; one mini-USB connection to connect to your computer and the other is a VESA stereo port for use with a 3D-ready DLP HDTV. Since we are using the ASUS 120Hz LCD panel, only the USB connector is used. The dial on the device is an easy to use, real-time 3D depth adjustment that works similarly to the depth function in the NVIDIA Control Panel.
Comments are closed.