Netgear A6200 802.11ac USB Wi-Fi Adapter Review
Netgear A6200: Setup and Configuration
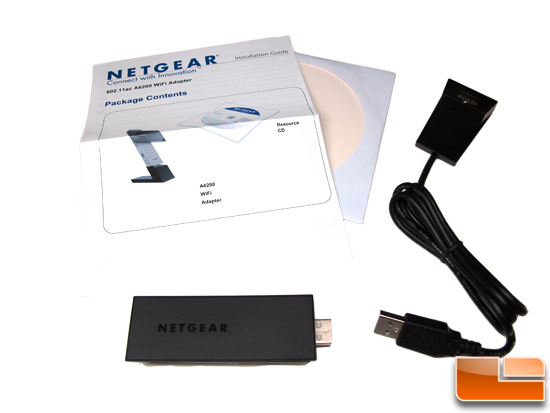
Netgear ships the A6200 WiFi USB Adapter with a desktop dock, USB cable, Installation Guide, and Netgear Genie installation software. The USB cable is permanently attached to the desktop dock and is just over 3-feet in length.
The Netgear A6200 itself has only one button in its body and that is one-touch WPS connect that securely connects your device to your router. There is also an LED right next to the WPS button that gives feedback to the user as to the state of the adapter. Other than these two items, there are not other buttons or indicators on the body of the A6200.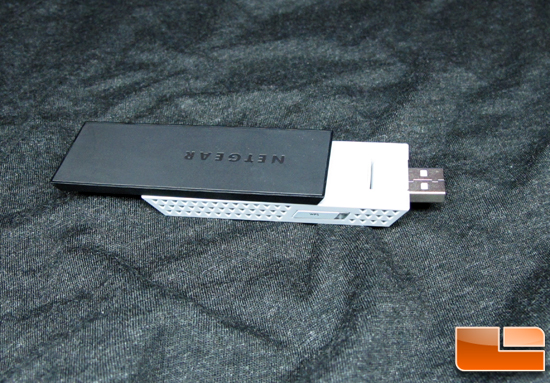
The A6200 can be connected to your laptop or desktop PC in a number of different physical configurations. The top part of the adapter can be extended by another inch to make the adapter 5-inches long. You can actually rotate this same top section to 90-degrees to help maximize your signal strength. At 1.6 thick, the adapter is thin enough to stack another USB dongle above or below. For people with limited space, this WiFi adapter will not take up all of the space on your notebook computer.
Before actually using the Netgear A6200, we need to install the Netgear application and driver from the included CD. We had the Netgear A6200 v1.3 driver, which includes version 1.0.0.26 of the Netgear Genie Application, where Netgear made the A6200 compatible with Netgears Beamforming which allows an 802.11ac router to create a stronger and faster connection with the client.
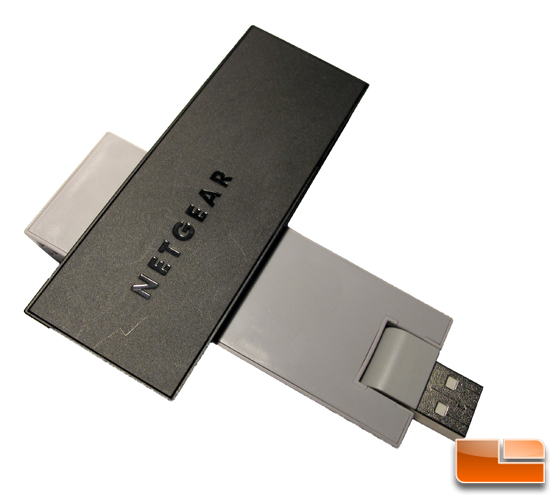
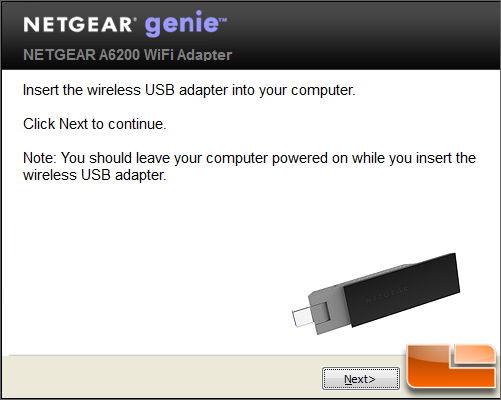
Once the application software was installed, we connected the A6200 to our laptop. The entire process took about 2 minutes after the software was loaded.
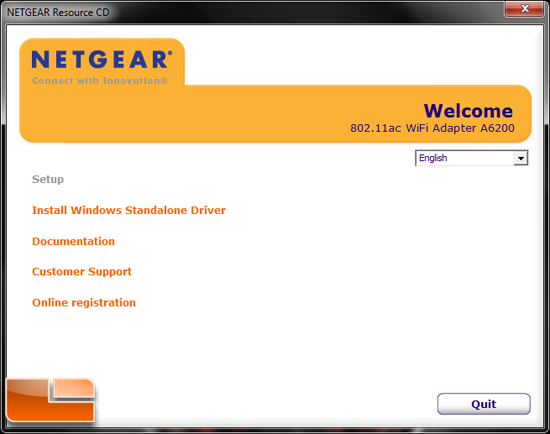
Here we see the install screen after selecting the install Windows Standalone Driver selection from the Netgear Resource CD. We installed Version 1.0.0.26 of the Netgear GENIE.
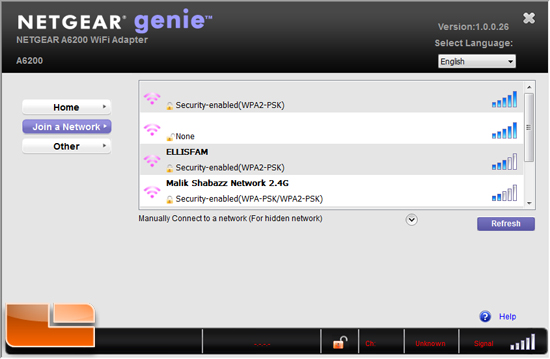
After the Driver is installed, the Netgear GENIE prompts you to select a network to connect to. If you have a hidden network, you need to select the Manually Connect to a network button and type in the SSID name and security password (if necessary). If you have never used InSSIDer, this program is good to see just how many connections you can pair to.
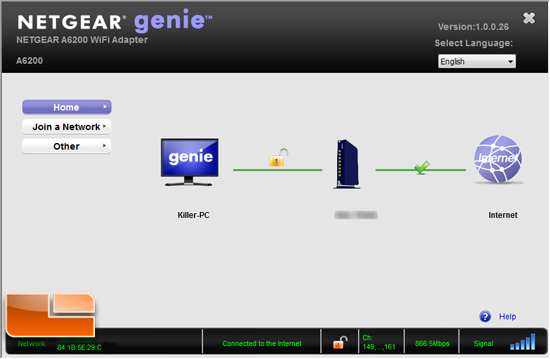
After you make your connection to the router of choice, you can see this visual which gives you a nice view of your network status at-a-glance. Notice the network MAC address, security, channel, speed, and signal strength are easily located.
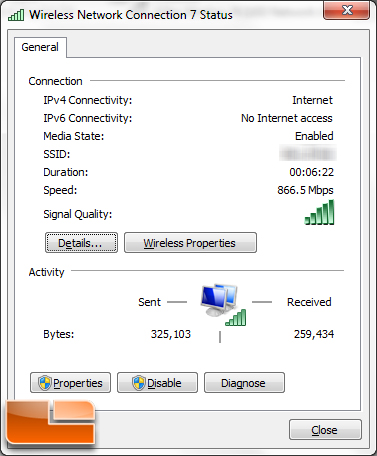
Finally, we pull up the Windows 7 Network Connection Status window to confirm we are connected at the fastest possible speed. For the 5.0 GHz channel the maximum speed is 837Mbps, and for the 2.4 GHz channel, the maximum is 300Mbps.
Now, that we are connected, lets see just how fast this adapter is at transferring data.

Comments are closed.