Monsoon II Active TEC CPU Cooling System Review
Installing The Monsoon II on an LGA775 system
The first thing we did with the Monsoon II was read the instructions as this was our first experience with TEC cooling. The included instructions kept talking about four thumb screws, but our kit had four regular screws. The original instructions also didn’t mention the insulation spacers, but they were mentioned on a loose leaf addendum. Hopefully Vigor will update their installation manual to include the correct terminology and some real pictures of installation methods in future revisions!
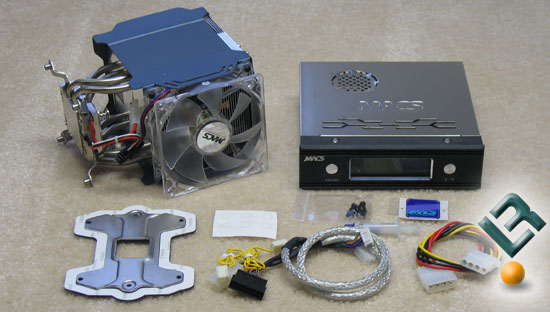
It should also be noted that the Monsoon II is available in both Intel and AMD versions. This means that the Monsoon II is not interchangeable between the two brands. It should be also noted that due to the use of back plates no matter what system you are running the motherboard will have to be removed for the heat sink to be installed.
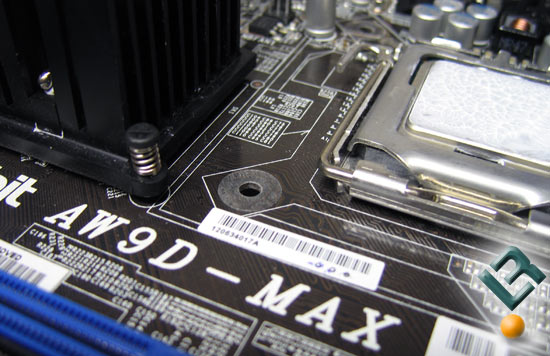
After we removed our abit A9WD-MAX motherboard from the test bench we aligned the adhesive insulation spacers over the four heat sink mounting holes that are found around the LGA 775 socket. These insulation spacers are needed as the Monsoon II doesn’t fit through the holes instead it just sits on top of them. A number of LGA775 coolers that we have used in the past go through these holes and then are secured. Since the threaded feet of the Monsoon II site on top of the holes it is possible that the too much pressure from the screws on the back plate can actually damage the motherboard.
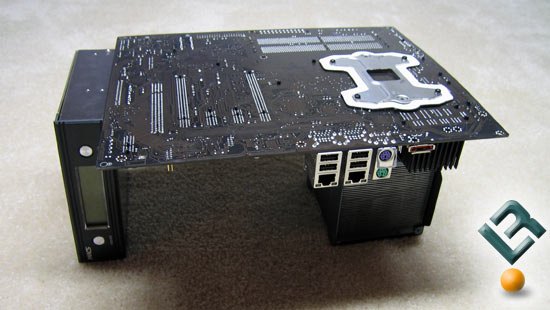
With the motherboard ready for the heat sink we applied Arctic Silver Lumiere to the processor and setoff to install the cooling system. Since the Monsoon II is attached with four screws from the bottom of the motherboard it must be inverted during the installation process. While the directions don’t say how to do this and it’s nearly impossible to hold the board, heatsink, align the screw holes and tighten the screws with two hands we resorted to using the included control interface system to make things work. The control interface system is close to the right height to keep the board level with the heat sink installed and with the help of gravity everything stayed in place. With the motherboard sitting level upside down we were able to easily tighten the four screws that hold the TEC cooler together. It should be noted that nothing will tell you that enough pressure has been applied. If someone goes crazy and over tightens the screws you can crack the motherboard PCB resulting in a dead board. Use common sense and good judgment when installing this cooler. If the motherboard is starting to bend due to the pressure from screwing the cooler on you might want to back them off a bit!
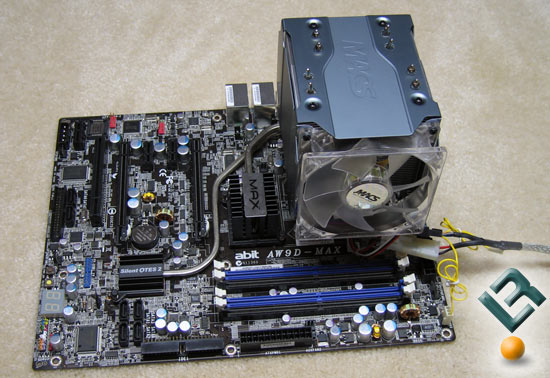
With the Monsoon II correctly attached to the motherboard we can see just how massive it is. We found that our Corsair Dominator PC2-8888 memory modules with the AIRFLOW cooling system would not work, so we used the PC2-6400C3 kit of memory as it wouldn’t hit the 92mm fan that the Monsoon II uses.
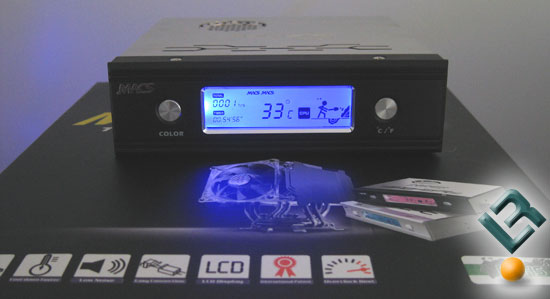
After the motherboard is put back in the system the control interface system can be installed in a 5.25″ bay in the case. The management unit allows users to change the display color and the temperature reading between Celsius and Fahrenheit. Other features also include timer and a record of how many hours the unit has been running for.
Comments are closed.