In Win B2 Stealth Bomber ATX Computer Case
Moving Inside
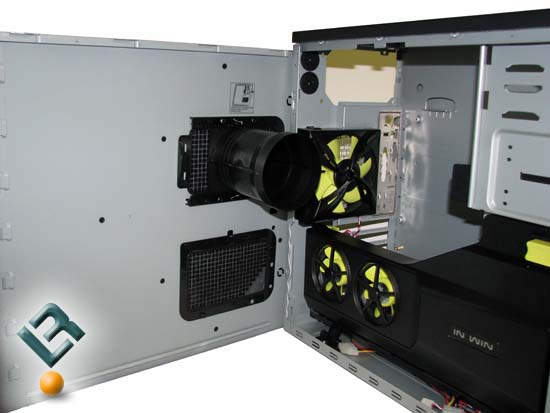
Taking the side of the case off we can start to get a feel for the steps In Win took to keep this case cool. In the above image we can see two 80mm fans over the expansion slots and a rear 120mm exhaust fan. Then there is the one you dont see: the single 120mm front intake. The 80mm fans line up with a washable filter in the side panel. The side panel also has the CPU duct, and for those running not so stock cooling the duct is removable for extra room.
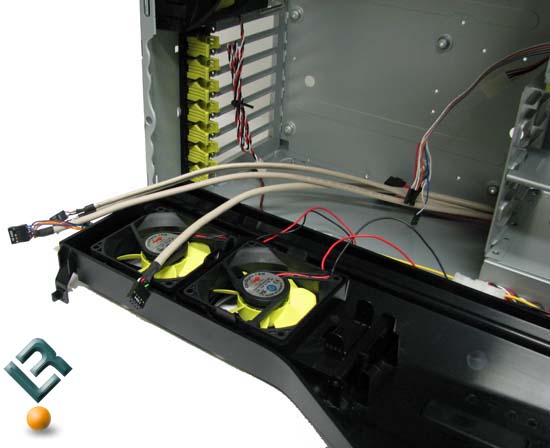
With the mount for the dual fans open we can see the front panel cables. These are more than long enough to reach mother board connectors. We can also see the tool-less expansion slot hold downs that are used for the PCI and PCIe slots. These keep the video cards and sound cards in place without any screws.
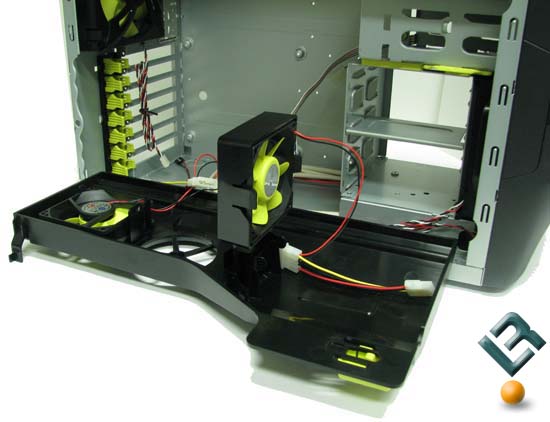
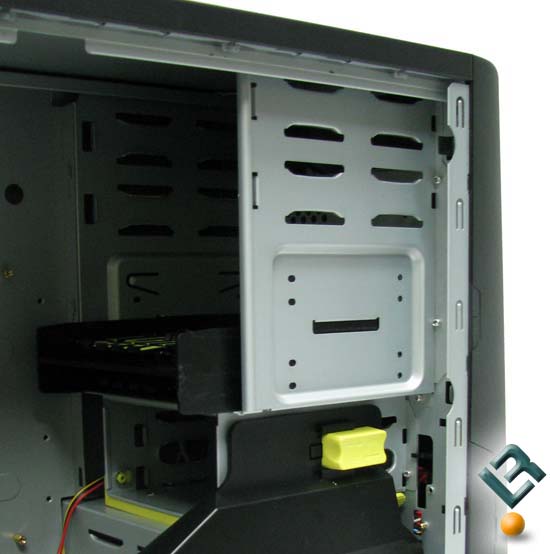
The forward 80mm can be rotated 90 degrees to provide front to back airflow. The fan just snaps into the bracket, so changing the direction of the flow is very easy. We can now see the hard drive bay. The tool-less drive bay has room for 4 drives mounted crosswise to the case and 1 drive at the very bottom that runs long ways with the case. I prefer when the cages run with the length of the case; it allows for better air movement across the drives.
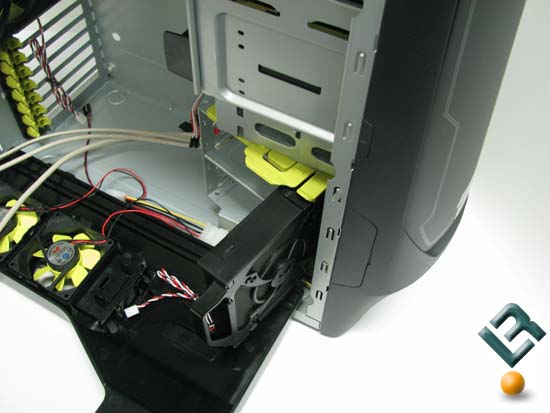
To gain access to the front 120mm intake fan you have to hinge the drive bay out of the way, then slide the fan out the side.
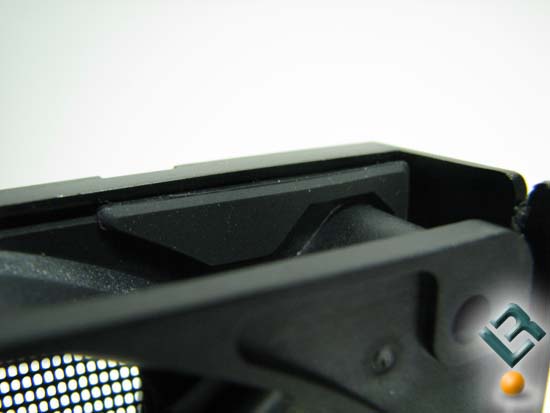
The 120mm fan housings are tool-less as well; the fan easily snaps into the housing. To reduce noise and vibrations the corners of the fans that rest on the housing are covered with a rubber grommet. These can be easily transferred to a new fan if you should need to.
Here we have the 5.25 drive bays, sadly only the top two bays are tool-less.
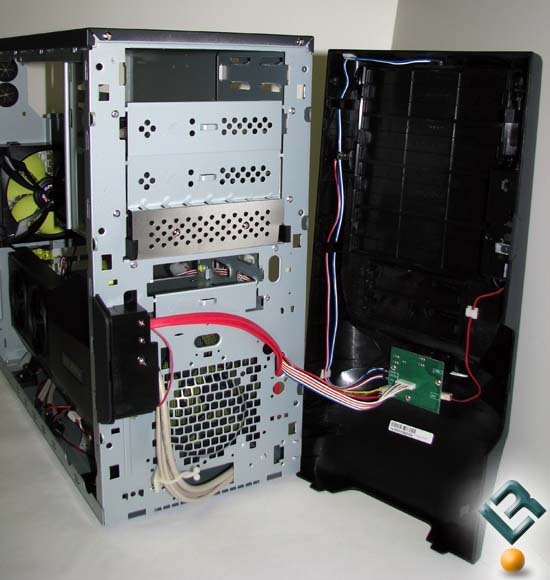
With the front bezel off we can see the all the wiring for the LEDs and front I/O panels. There is room for four 5.25 bays, but the bottom bay is already occupied buy the spare tool-less drive rail holder. This is easily removable as it is tool-less as well.
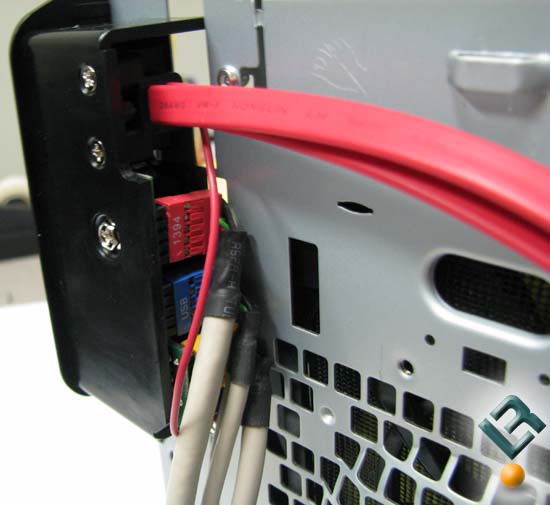
Looking closer at the back of the front I/O panel we can see all the connections. It looks tight, but all of the wires are not pinched or rubbing on a sharp edge, so no worries for a cut wire.
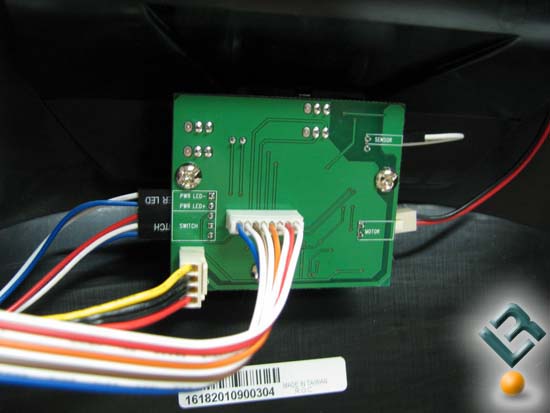
On the back of the front bezel there is a PCB for all the front features. In Win used plugs on everything and labeled them. So, if you want to completely remove the bezel to get it out of your for installing parts, you can without having to remember what wire went where.

We can also see just how the manual release for the auto bay door works. When you push in the release it disengages the motor from the gears that opens and closes the door. When you do this the gears may not line back up perfectly when you close the door. When this happens, you will hear a loud click when they do start to mesh. I did this several times in a row and it did not seem to hurt the drive system any.
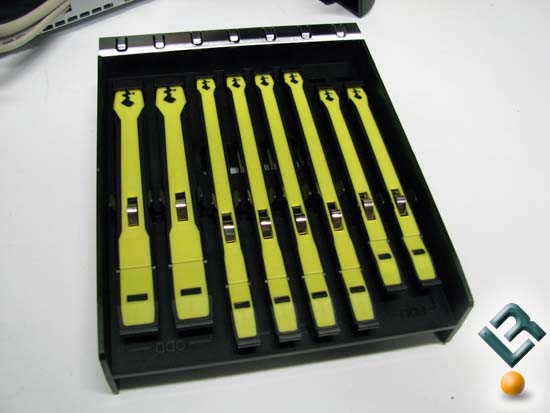
In Win includes all the tool-less drive rails that one would need to fill all the bays. The two level drive rail caddy holds the rails snuggly in place with clips, that way if you do leave it in the case no worries of rattling.
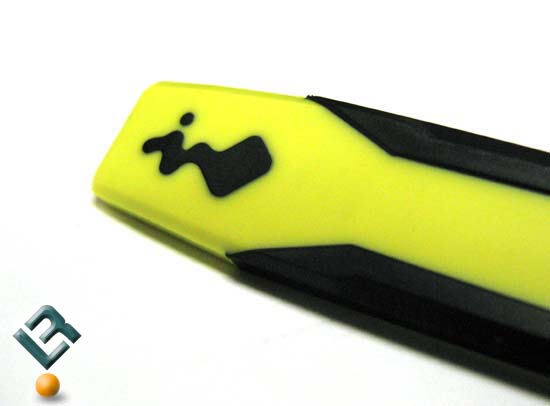
The drive rails themselves are some of the nicest I have used. They are mainly silicon, the yellow part, with hard plastic edges. The silicon soaks up the drive vibrations, while the hard plastic keeps the rail rigid enough to hold the drive securely.
Comments are closed.