In Win Ammo 2.5-inch HDD RFID Enclosure
In Win Ammo Installation
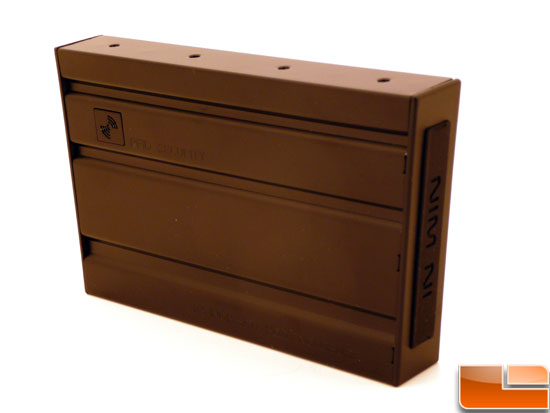
Here we see a freshly unwrapped In Win Ammo hard drive enclosure. In the picture above on the facing side, you can see the placement of the RFID sensor. The user must place one of the RFID tags on top of that area in order to unlock the drive. The USB and external power connectors are on the opposite end of the Ammo enclosure.
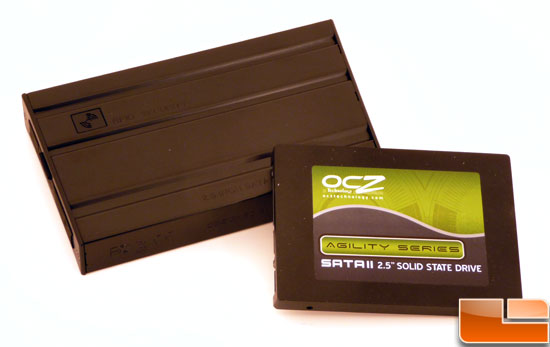
Any 2.5″ storage drive can be used in the In Win Ammo enclosure. However, from our testing with the OCZ Agility Series SSD, the RFID encryption would not work. We switched over to a Western Digital Blue Series 500GB HDD and it worked fine, but not when a solid state drive is installed. We were able to read and write unencrypted data to the OCZ Agility SSD, but the Ammo did not activate the hardware RFID encryption. After we completed testing the engineers at In Win informed us that the SSD had to be formatted prior to use, which was the issue. If you have data on the 2.5″ storage drive you want to use then you’ll have to move it off, format the drive on another PC and then encrypt the Ammo before moving the files back onto it that you want to keep on the external drive.
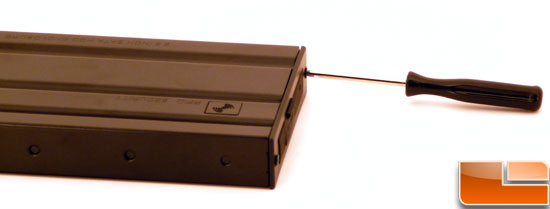
To begin the installation process, we used the included screw driver to remove two small screws as seen above. These screws are located on the same end of the Ammo as the RFID sensor and USB connector.
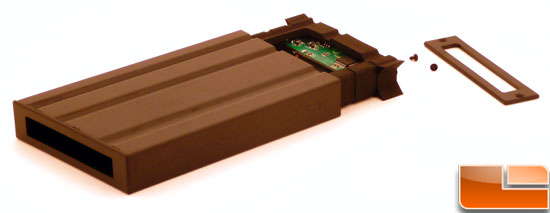
Once these screws are removed, a rectangular plastic piece can be removed and the rubber antivibration sleeve can be removed from the metal shell. Simply push on the exposed rubber on the opposite end of the encloser to begin removing the rubber sleeve.
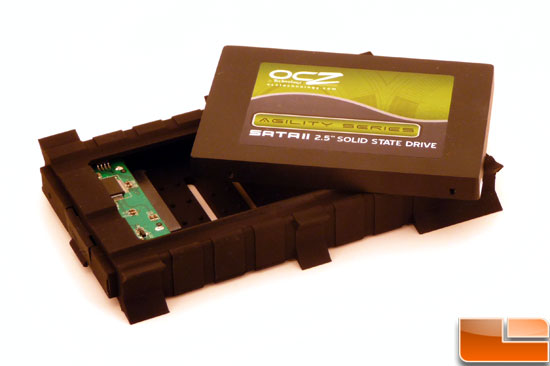
Here we can see the SATA connector and circuit board that is already suspended in the rubber sleeve. The sleeve is designed to securely hold a 2.5″ SATA hard drive within the Ammo enclosure.
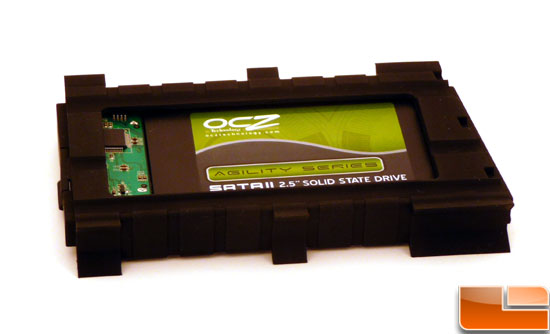
Simply install the drive first in the SATA connector, then stretch the rubber sleeve around the drive to securely hold the connector and drive together. Then slide the sleeve back in the metal enclosure the same way it was removed and replace the plastic bracket and two screws.

With the drive installed, you will be able to follow the included instructions to setup the In Win Ammo enclosure. In the above pictures, the left shot shows a red light glowing from the RFID sensor to indicate the drive is locked down and secure. Once you use either the dog tag or key chain RFID tag, the unit will beep and the light will turn green to indicate the drive has been unlocked and is ready for access.
Now that we have the In Win Ammo setup and installed, let’s run a few benchmarks to make sure performance is on-par for USB 2.0 storage devices.

Comments are closed.