Gigabyte GA-X38-DQ6 Motherboard Review
Bundle And BIOS
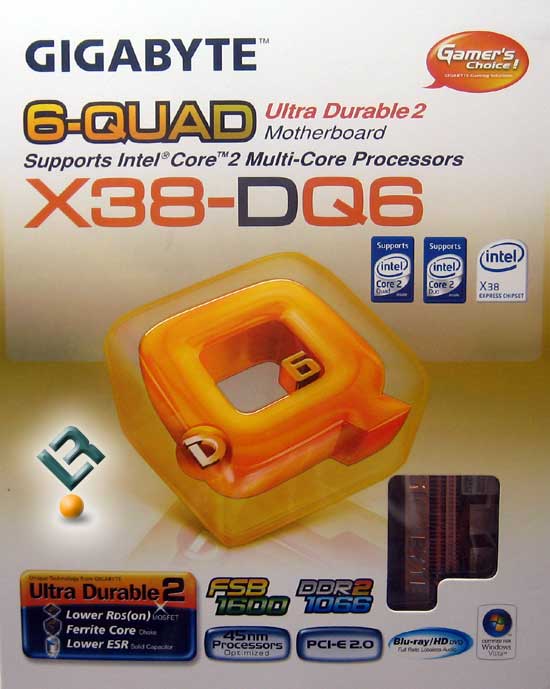
I have always liked the way that Gigabyte packages their boards. They are designed well, and give you the impressions that you are getting a high quality product, and not a toy (can anyone say spaceships and monsters?). Not that it has anything to do with the performance of the board…
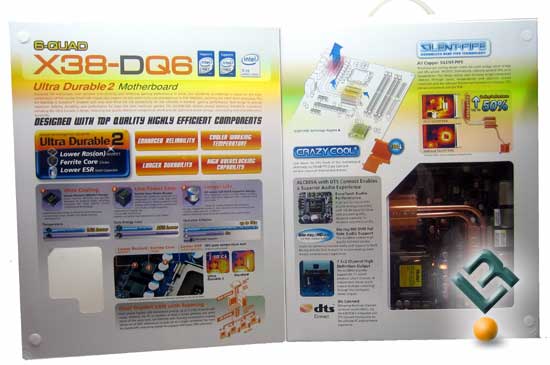
The box opens up to give us a preview of the board in a little window, as well as a lot of information on the flap. This is a pretty neat design in my opinion.
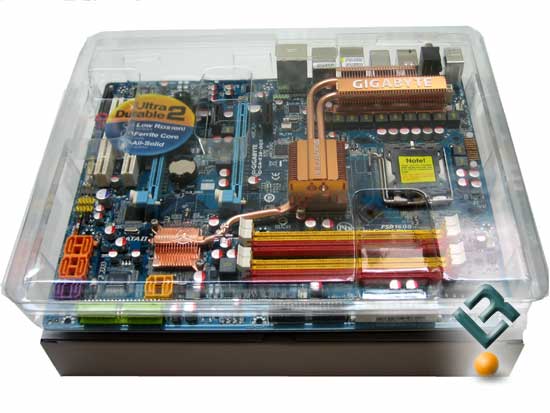
There is no static bag here! Gigabyte places the board in a plastic fitted container. The box underneath holds everything else that comes with the board.

The bundle with the Gigabyte GA-X38-DQ6 is adequate, but with where this board is targeted we expected just a little more! It comes with a 4 SATA cables, and IDE and floppy cable, the backplate and two headers that each allow for two eSATA drives to be connected. Gigabyte also provides two power adapters for your SATA drives, as well as two eSATA data cables. The documentation and instructions provided are very thorough and well prepared.
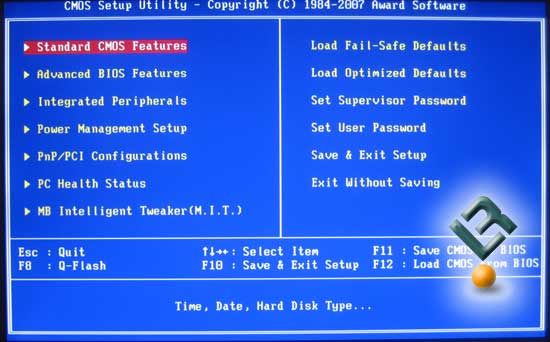
Gigabyte went with customized AWARD BIOS for this board.
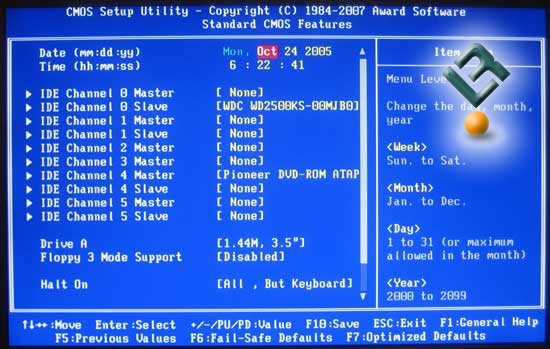
The Standard CMOS page is where we see the drives attached and set our date and time.
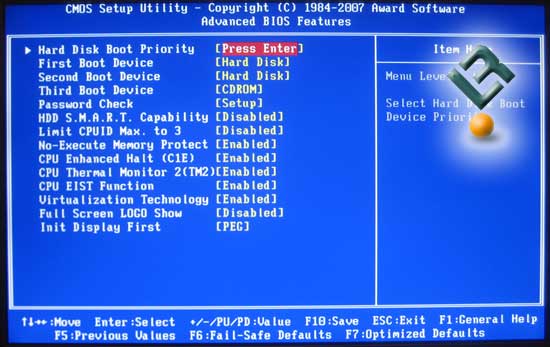
The Advanced BIOS page allows us to set boot order as well as to customize a few things in the boot process, such as full screen logo. We also have a few settings for the CPU that most will not mess with.

The Integrated Peripherals page allows us to set up our drives for RAID, as well as gives us options for how USB is treated on the board. We also have the ability to turn on and off many of the onboard features of the board, such as audio, lan and firewire.
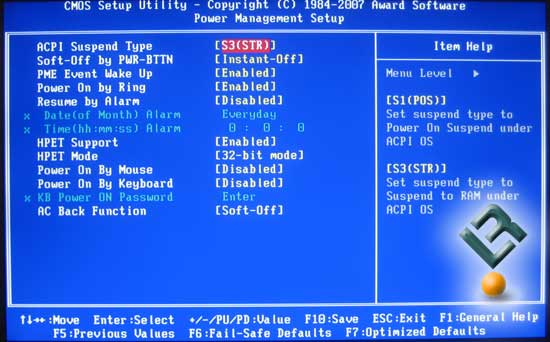
The Power Management page…
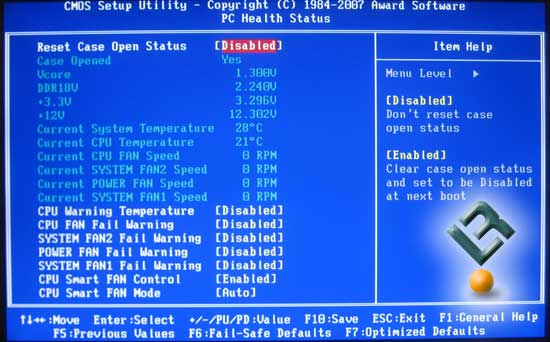
The PC Health Status page gives us the vital information that is needed to keep our system running safely. Temperatures, voltages and fan monitoring is all important, and Gigabyte did a good job giving us what we need here.
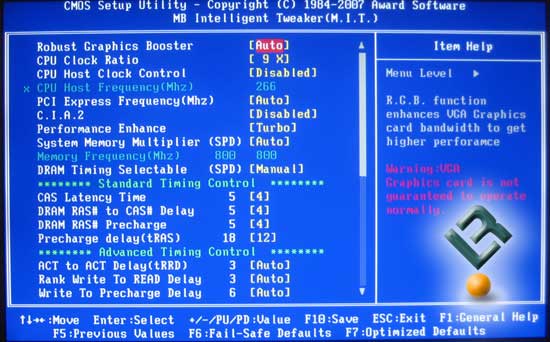
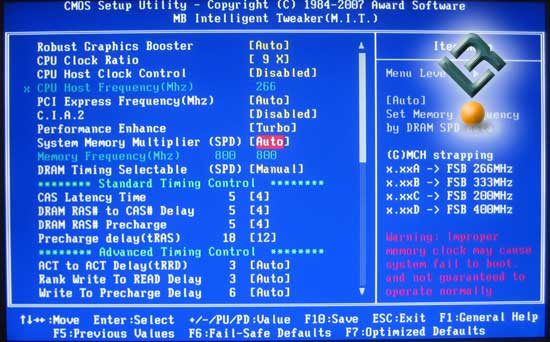
The M.I.T. page is where the enthusiast will call home on this board. After the inital setup of the board, everything you will need to bleed the system of all that it has can be found right here.
The second half of the page. And yes, once again, to get to any advanced timing and overclocking options you have to hit control and f1 on the main BIOS page for access. I HATE this with a passion! Did I mention that I was not fond of this… HELLO! Anyone listening! It would at least be nice if there was a way to turn off this “safety” feature for those of us who do not need or want the safety!

The fsb of the board goes all the way to 700! Pretty awesome.

Gigabyte has their own automatic overclocking built in in the form of what they call C.I.A.2. Most advanced users will not use this, but it may help someone that is a novice at overclocking feel “safe”.
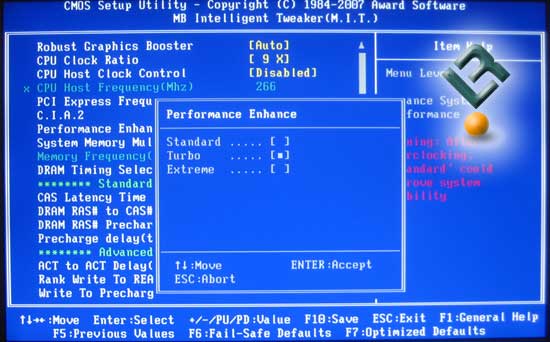
Performance Enhance settings are available, but are recommended to be set to normal when overclocking.
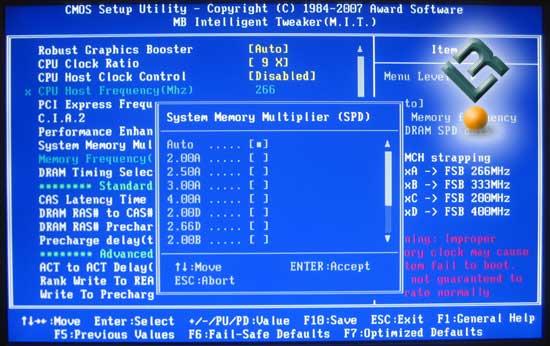
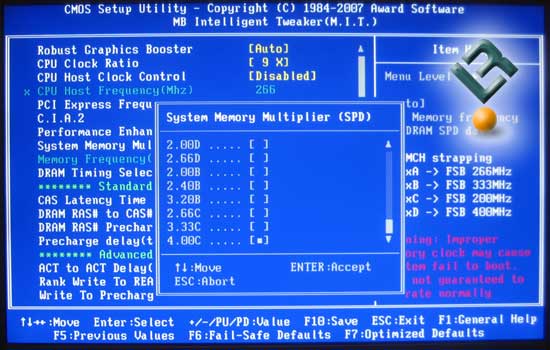
The memory dividers/multipliers are a little unusual… two pages of them:
One last picture before we explain the settings…
Now, this is way more confusing than it needs to be, but basically, you use the settings that match your CPU fsb (266, 333, 200 and 400) and then figure out which multiplier is needed to get the speed that your ram is rated at.
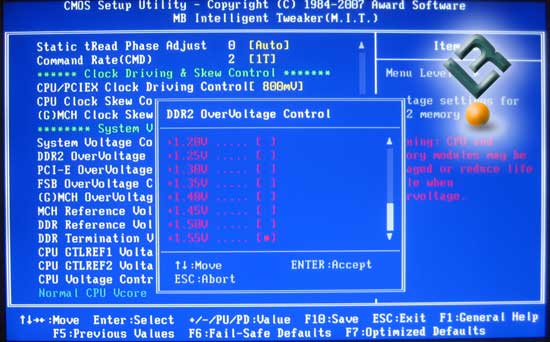
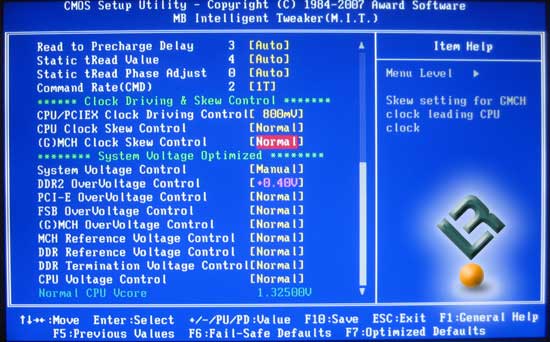
Vdimm is able to be set at a whopping 1.55v over the default voltage of 1.8v. That is some extreme juice to push through you memory!
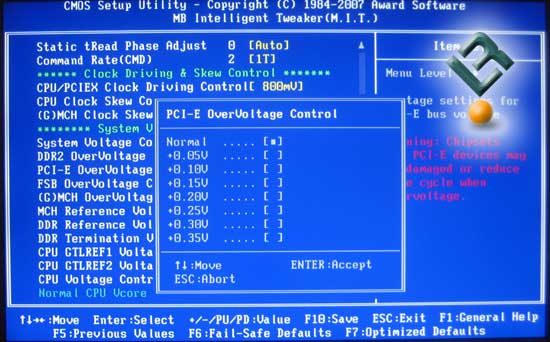
You can also raise the voltage of the pci-e to .35v over the default setting.
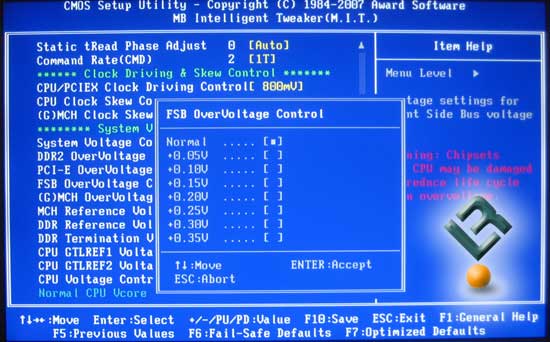
FSB voltage control can also be set to .35v over default.

Southbridge voltage can go up to .375v over default.
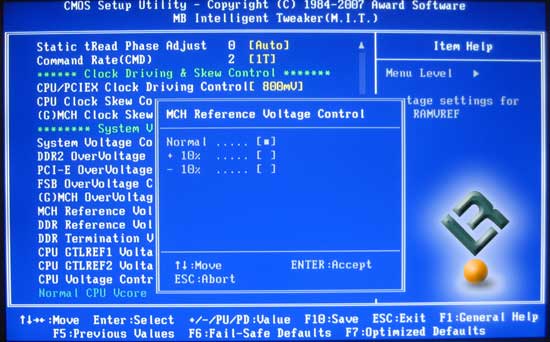
MCH Reference Voltage options…

DDR reference voltage options…
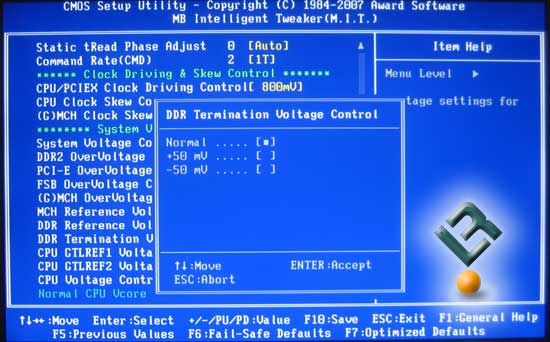
DDR termination voltage options…
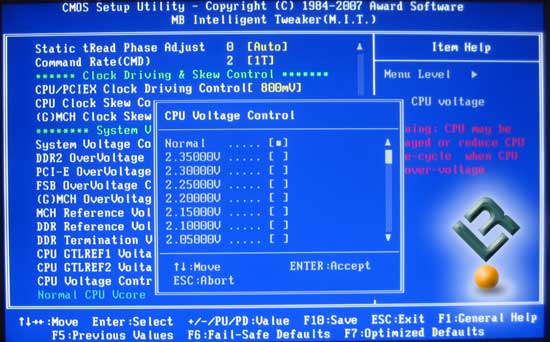
Vcore can be raised to 2.35v, which is again a lot of juice! That is not a complaint! We love the extreme options.
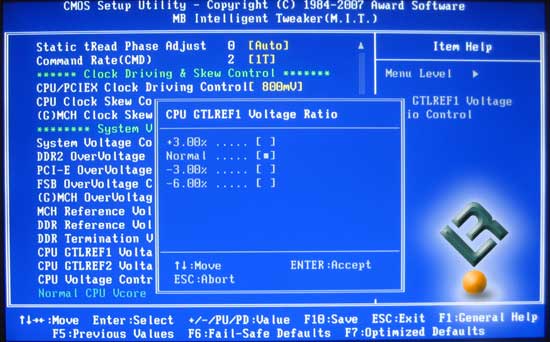
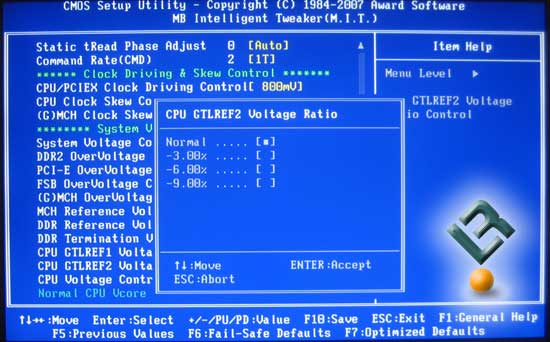
The last two shots are CPU CTLREF voltage ratios…
Ok, let’s move on… my head hurts looking at all these numbers!
Comments are closed.