Gigabyte GA-P55-UD5 Motherboard Preview
A Closer Look At The Layout

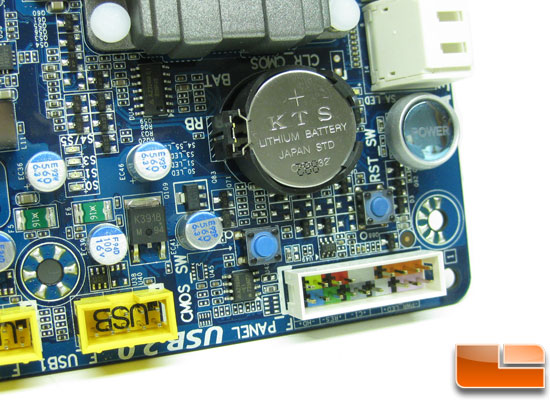
The GA-P55-UD5 mainboard features power, reset and clear CMOS buttons along the bottom right corner of the board. The power button is rather large and easy to identify since it is labeled, but the reset and clear CMOS buttons need some better labeling. It seems the days of having to move a jumper over to clear the CMOS is long gone. The front panel connectors are color coordinated as you can see above, which makes assembling a PC much faster.

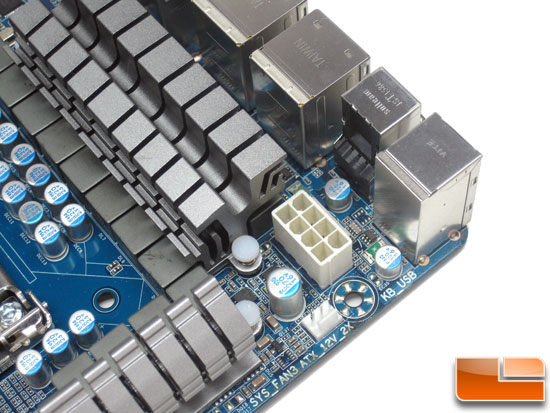
Here is a closer look at the 8-pin +12V ATX power connector that resides on the top left corner of the board. Once Gigabyte installs the U-shaped heat pipe to connect all the heatsinks it looks like this will be a tight fit, but still with enough room to be easily functional. You can also see the fan header for System Fan 3. It should be noted that other than the 4-pin CPU cooling fan header the board has five additional fan headers. Out of the six fan headers on the board two are 4-pin headers (CPU Fan and SYS Fan 2).

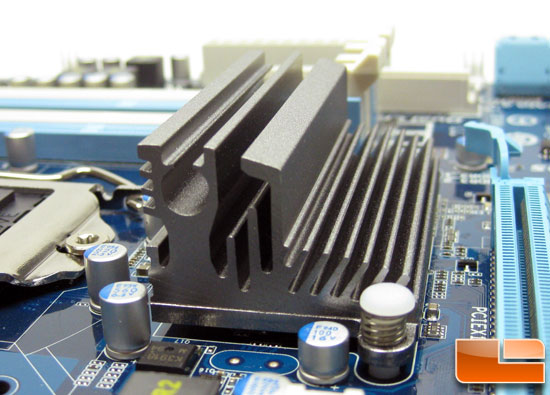
The P55 chipset heatsink reminds me of a gun metal gray, but I like the look and finish. A PCH fan header is located just out of frame, so adding air cooling is easily possible if you can figure out a way to attach a fan to the interestingly designed heatsink.

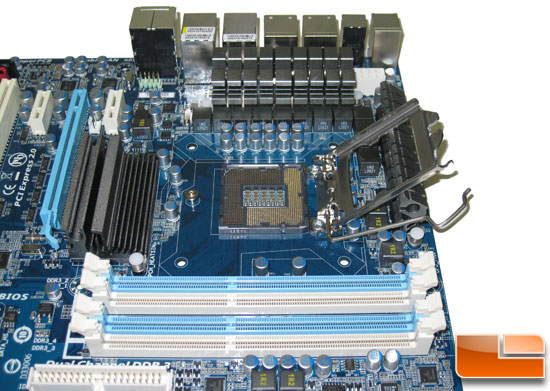
The new LGA 1156 socket has a new ‘slide’ type lever mechanism for opening and removing the CPU, which is new to us. We have not installed and removed the processor enough yet to notice any negatives to the new design.

Comments are closed.