Gelid Icy Vision Video Card GPU Cooler Review
Disassembling the GTX480
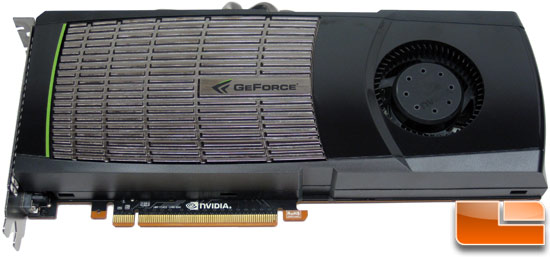
I will be installing the cooler on my EVGA GTX480. Since I had to take it all the way apart I might as well walk you through the whole process. The front of the GeForce GTX 480 graphics card consists of a glossy black plastic shroud, the five heatpipe cooler, a large radiating surface and the squirrel-cage fan.
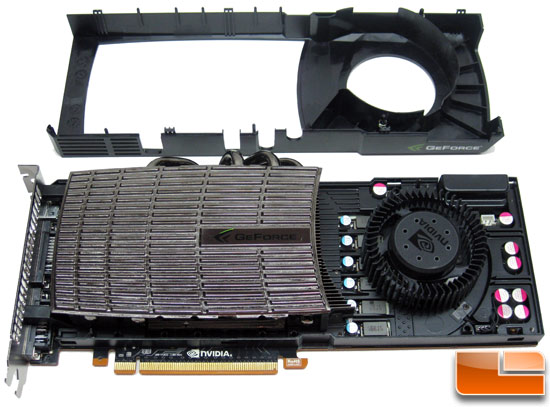
The first step in taking apart the GeForce GTX 480 is to remove the fan shroud, which is easy to do as it is a tool-less process. I really like this design as you can easily clean out the fins of the heat sink without having to remove any screws! You can just squeeze the plastic around the clips, they release and you can use compressed air to blow the dust out of the fins. Notice that once the fan shroud is removed you can see how ginormous the metal plate is on the heat sink!
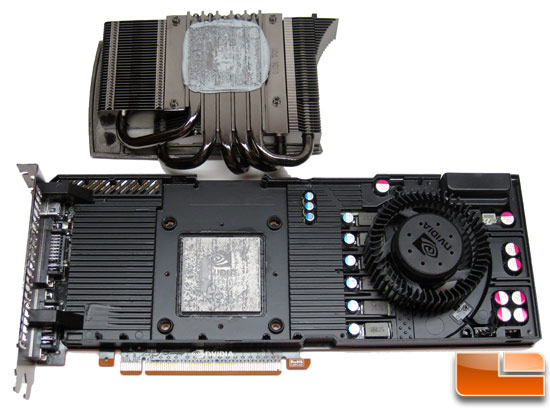
Next you can remove the four larger Philips head spring screws as they attach the heatsink to the video card. With the heatsink removed you can see the core for the very first time! The design of this cooler is great as once again you can change out the thermal paste in a matter of seconds.
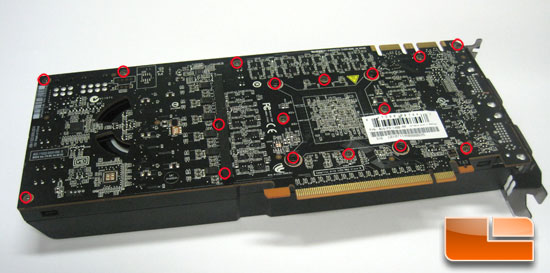
The stock cooler and fan assembly is held on with 19 screws in all: 17 on the back and two on the end next to the DVI ports. At this point in time you can go ahead and remove all of them.
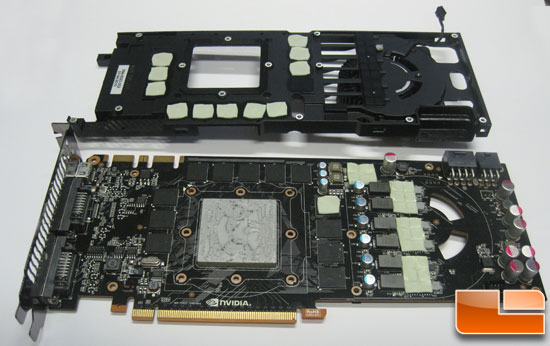
With the card apart we can see where EVGA put thermal paste and where they put thermal tape. Now this will be different for the water block, but we will cover that in a second.
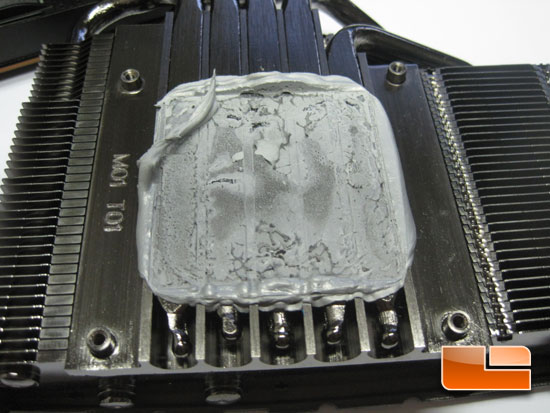
If you have ever wondered what an excessive amount of thermal paste looks like, this is a prime example.
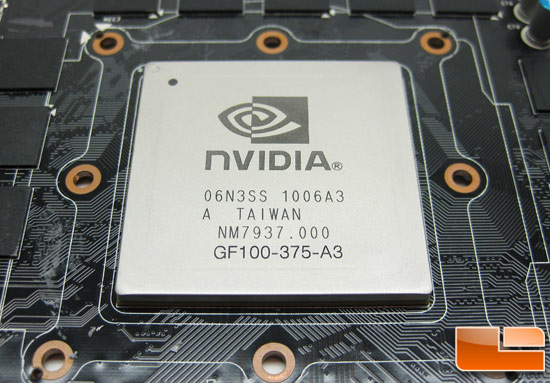
For now what is needed is the card cleaned. I did the bulk of my cleaning with isopropyl alcohol and cotton swabs. Once the bulk was off I did a final cleaning with Arctic Silver ArctiClean two part cleaning system.
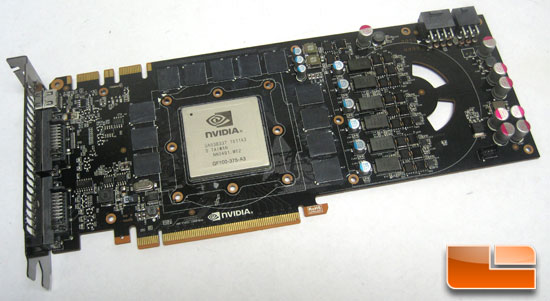
With the card cleaned, the next step is to put on the cooler.

Comments are closed.