Fractal Design Meshify S2 Case Review
Meshify S2 Build Overview
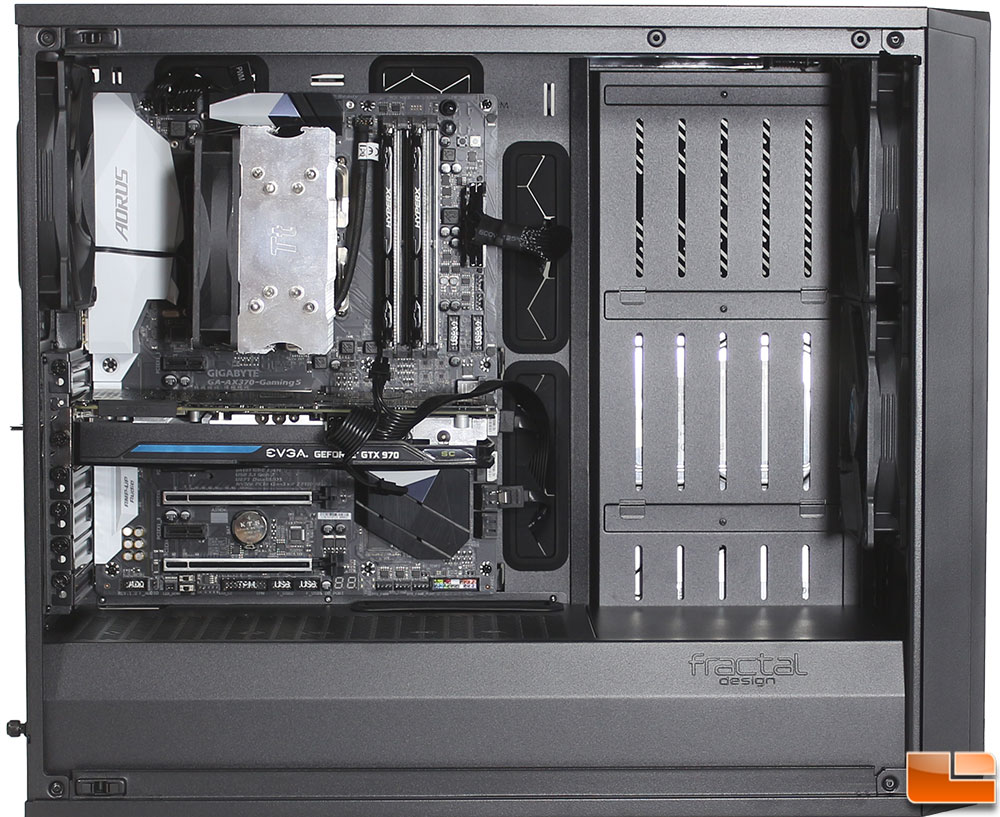
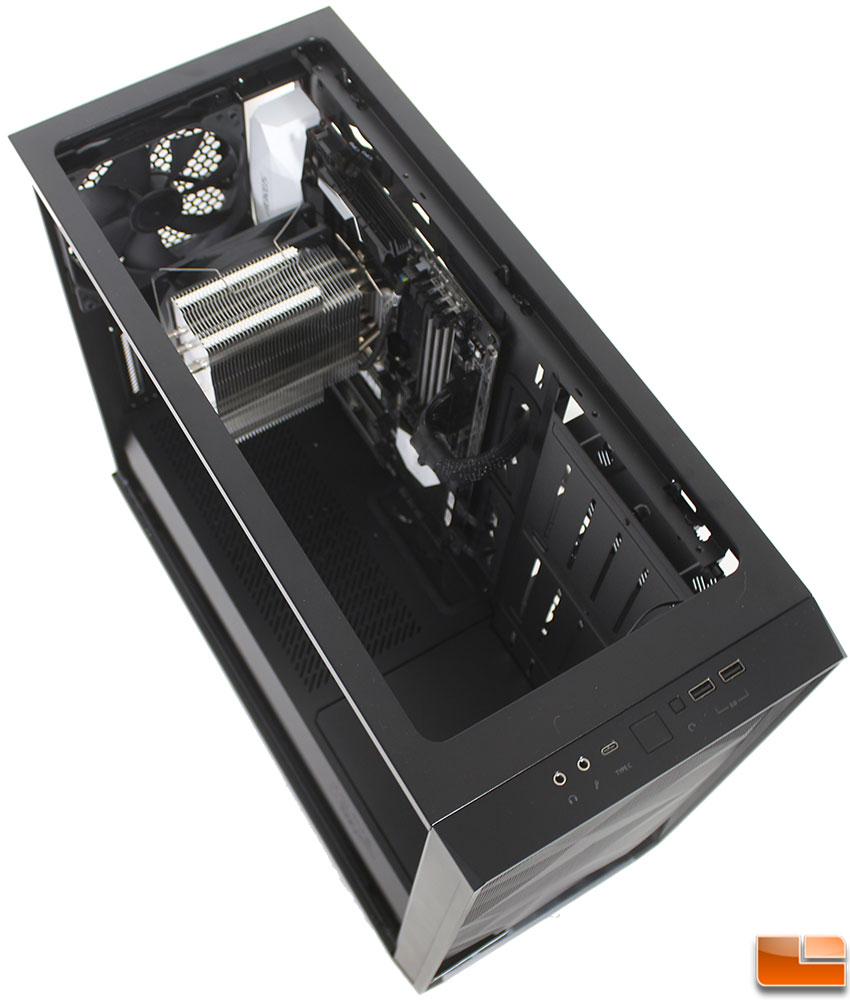
With nearly everything connected, we can see that there is a large amount of space that is unused when you install a standard ATX motherboard. The case is definitely larger than the Meshify C, but that is partly because it supports up to E-ATX motherboards, which would still leave plenty of space to mount liquid cooling reservoirs and connect the refill port to the top panel for easy refilling. The extra length to the Meshify S2 is not only because of the E-ATX motherboard support, but also how Fractal Design has decided to make space to mount three hidden 3.5″ hard drives. Let’s take a look at what it took to get to the finish build and find out if there are any surprises.
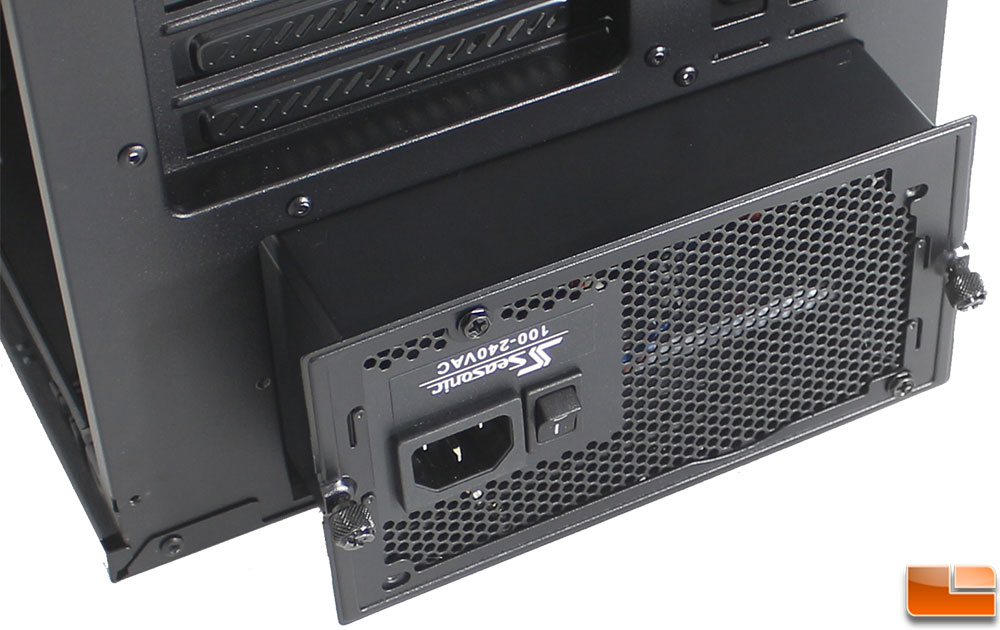
Installing the power supply is very easy with the rear install plate. You can’t install the power supply through the sides as the front is covered, and the back side you have to contend with the bottom railings. The install place is held in place with two thumbscrews, and attaches to the power supply with the four included screws. Slide the power supply into the case (I would recommend attaching any power cables to a modular power supply first), and secure it. There are rubber anti-vibration pads for it to rest on, which requires you to lift the power supply slightly while sliding it into place. Remember to mount the fan on the bottom for it to get fresh air.
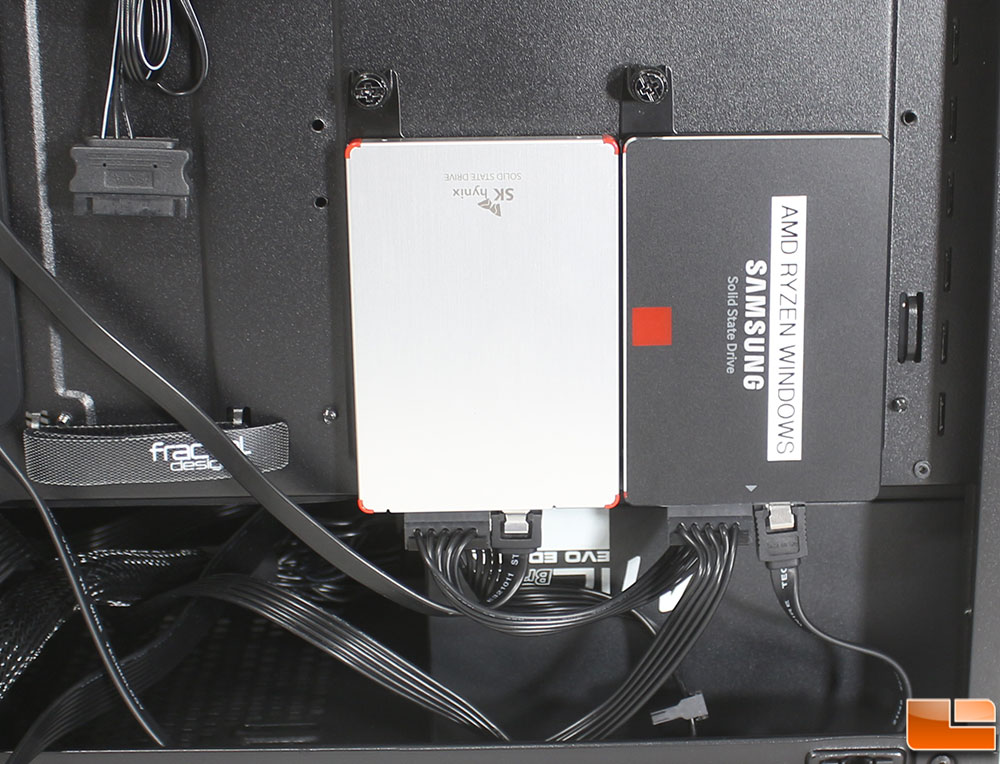
Installing two 2.5″ SSD’s on the back of the motherboard tray was extremely easy. Simply attach the drives to the trays with the included screws, connect the cables and slide them back into their position. The really nice thing is that these are close enough to use just two SATA power connections, and you can use any SATA cable you want as there is plenty of room for even right angle connections. This is probably one of the better install positions on this side of the case, there is no space constraints for cables.
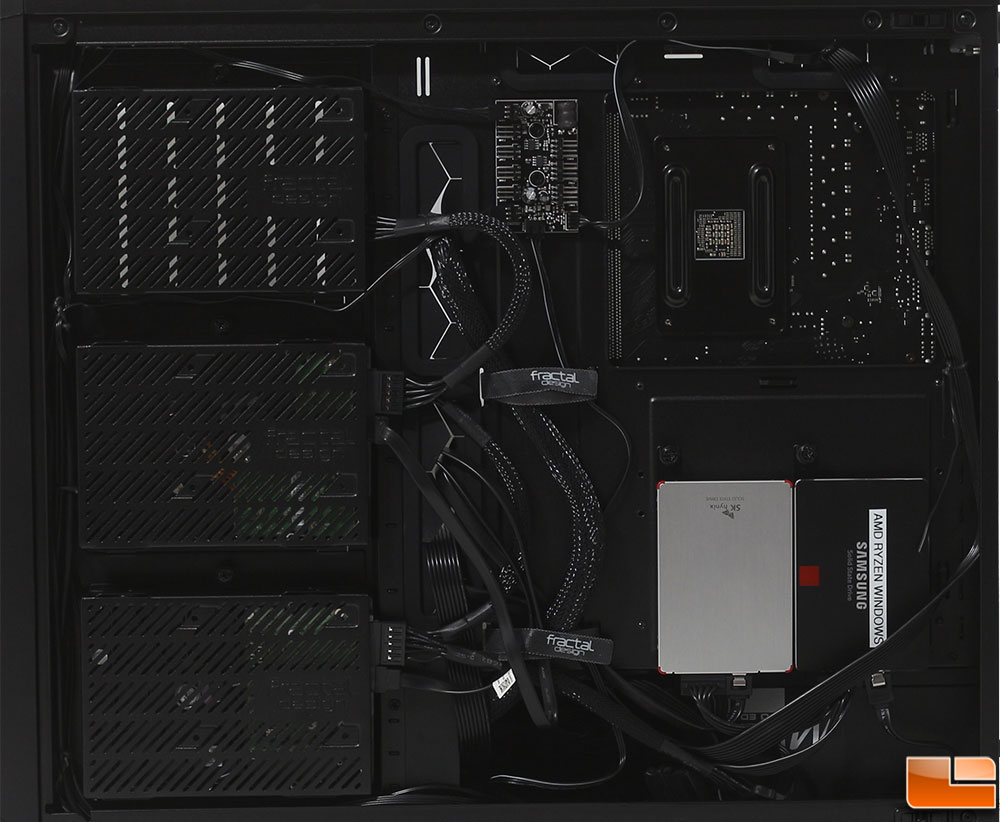
As we mentioned earlier, there are 14 locations to use cable ties to secure the cables, plus the two pre-installed Velcro straps. There is no reason you couldn’t make cable management a breeze. The only thing holding you back is the length of the cables on your equipment. Fractal Design includes a really nice SATA power cable for the 3.5″ hard drive cages. All the cables provided with the Meshify S2 are long enough to route to your motherboard, with cable left to make sure they are kept organized and clean. The only cable I needed to have a little longer is the 8-pin AUX power cable from the SeaSonic power supply. I can route it and secure it to a cable tie location towards the back of the case, however it’s just a little too short to route it totally out of the way; there are extensions you can pick up if you really want to keep the cables tucked away. With all the cables attached and the system fully operational, I was able to replace the back side panel without forcing it, and the push-pin locks kept the panel securely closed.
While you can reach in and connect the various cables along the top edge of the motherboard without removing the top panel, sometimes you might find it easier to just pull the panel. I tend to run into space constraints connecting the 8-pin AUX power cable if I already have the CPU cooler installed, so removing the top panel made it much easier. Once you remove the top mesh panel, the internal panel is held in place with four screws, and then it simply lifts out.
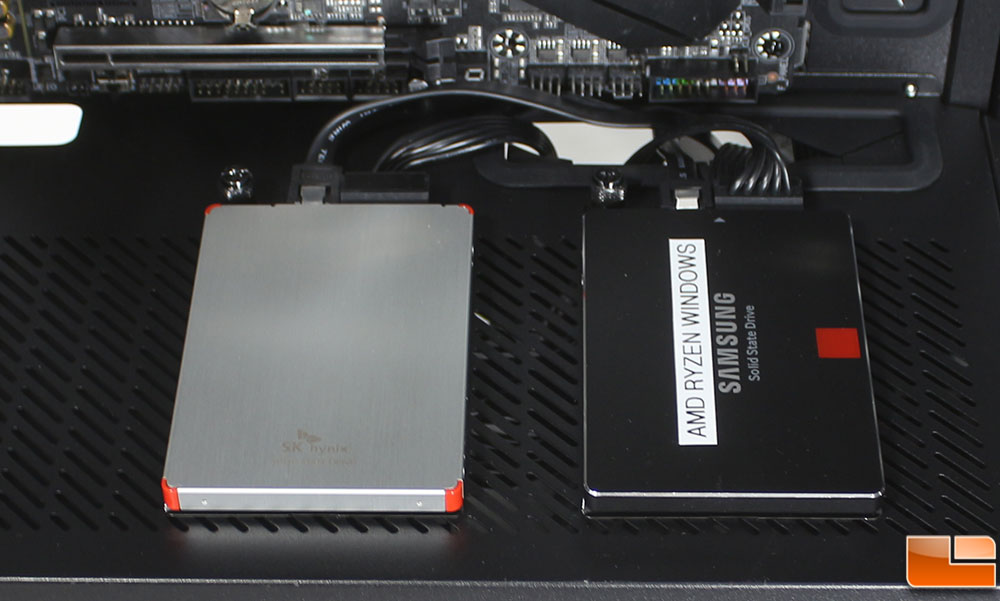
On top of the power supply shroud is to spots to move the 2.5″ drive trays from the back of the motherboard tray to the front side. Once your drives are mounted on the trays, simply slide them into the slots and secure it to the power supply cover with the thumbscrews. Of the two spots, if you are installing one drive, I would probably put it at the front spot as it lines up rather well with the cable management holes in the power supply cover. Also, a few little recommendations to make your install easier, I would attach the power and data cables prior to installing the drive onto the power supply cover; especially if you are installing two drives here. Second, using straight SATA connection would be highly recommended. Take a look at the amount of space between the two SSD’s, there is not enough cable between two SATA power connections to use just two, I ended up needing three connections, with the middle one being unused. Space is at a premium when installing your drives here, so be sure to think it through before doing the install.
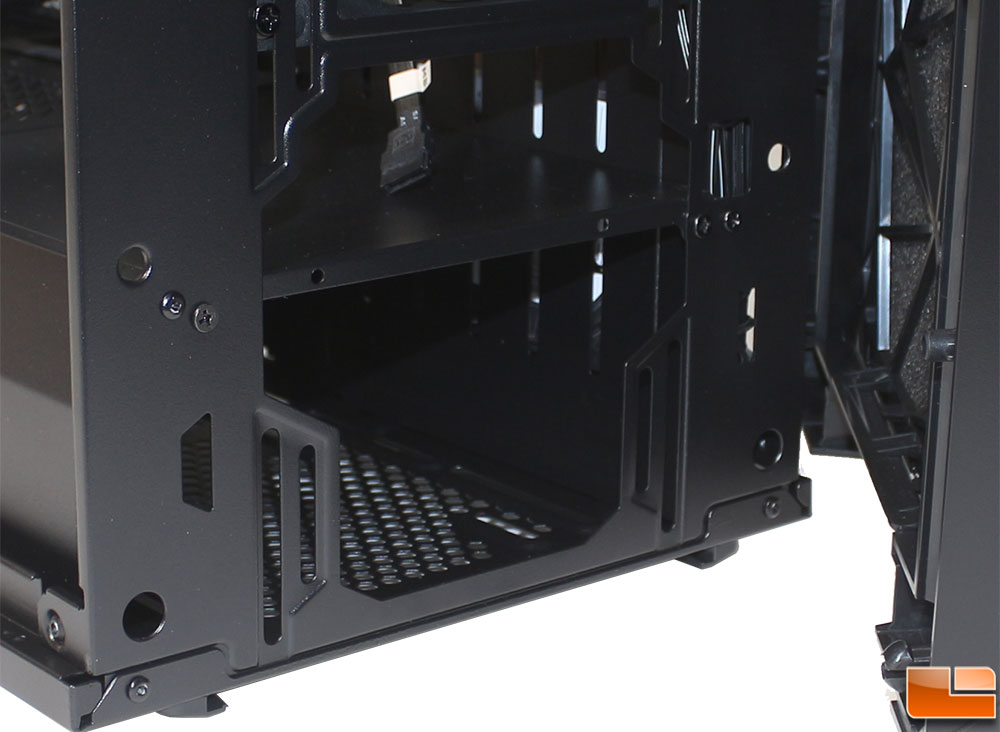
In order to remove a small section of the power supply cover you need to remove two screws that are only accessible if you remove the front panel. As the front I/O ports are attached to the front panel, this is best done before you do your cable management. Even with the cables routed along the back panel there was enough give that I could get to the screws to remove the small section.
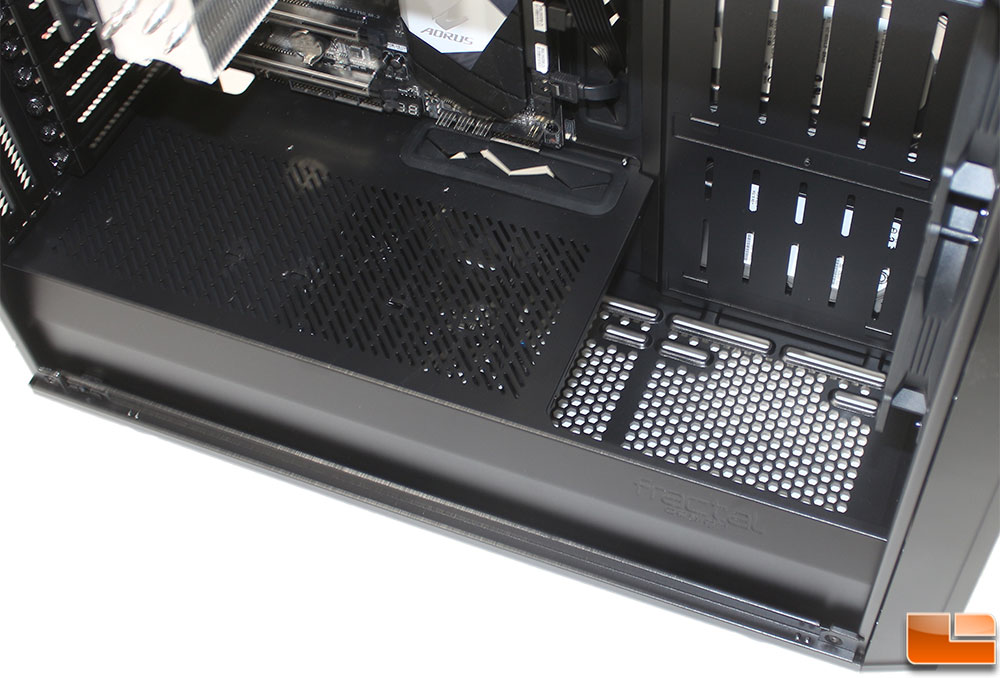
With the section of the power supply cover removed, we can now install two 140mm fans on the bottom panel, or even another 240mm liquid cooling radiator. I would advise caution though, the second 120/140mm install location is pretty close to the power supply, so you might run into space constraints, but it could be done if you take your time. The other advantage to removing this panel, is that you can now install a 120/140mm fan or up to 360mm liquid cooling radiator on the front panel. This space can also be used to mount part of a custom liquid cooling reservoir (which Fractal Design has included two brackets to mount your reservoir).