Fractal Design Define XL R2 Case Review
Fractal Design Define XL R2 Exterior Impressions
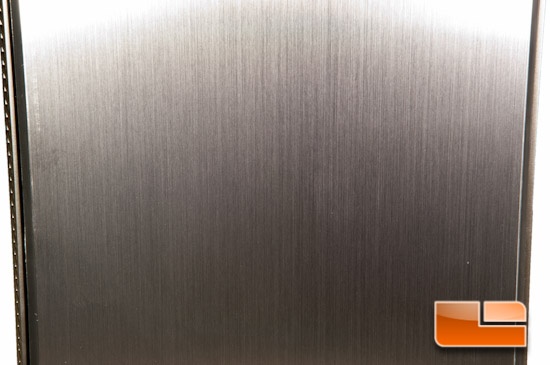
Fractal Design has gone the way of being simplistic on the exterior, while at the same time making the case pleasing to the eyes. The Define XL R2 does not disappoint with either of these qualities. Starting with the front door, we see a nice brushed aluminum finish.
To pop open the door, you’ll see a notch out on the right hand side. This absolutely makes opening the door quite a bit more convenient. There is a little force when trying to open it, as the door is held closed with a magnet.
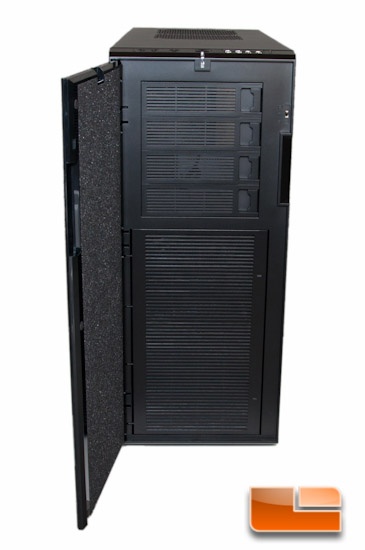
The door unfortunately only hinges to the left, which may be bothersome to a few. For me, with one of my other cases, I found myself needing to flip the door around due to the placement of my rig, which is where I find this a flaw. The hinge quality itself is nice and solid. On the back side of the door, there is a nice piece of foam padding to assist with sound dampening.
Concealed behind the door, are four 5.25” drive bays up top, the fan controller, and access to the fans in front.
These 5.25″ bays have fillers that are nice and easy to remove, though they can be a little tricky to get back in, should you need to.
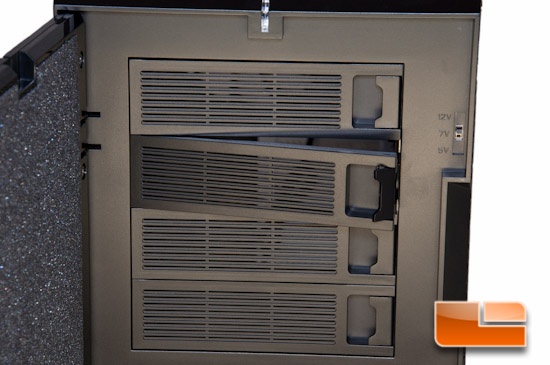
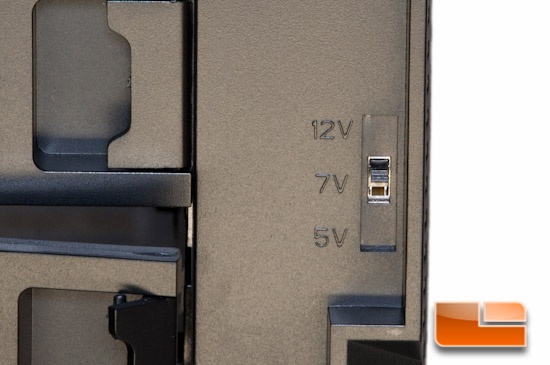
Just to the right of the 5.25” drive bays, lies the built-in fan controller. With this switch, you can switch the voltage of the fans from 5, 7, or 12 volts.
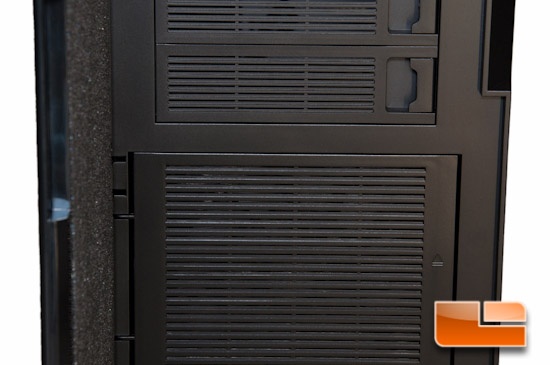
Just below the drive bays are places for two 140mm or 120mm fans. You simply push on the two marked spots where you see an arrow pointing up (bottom right of photo), and the door will open up to the left.
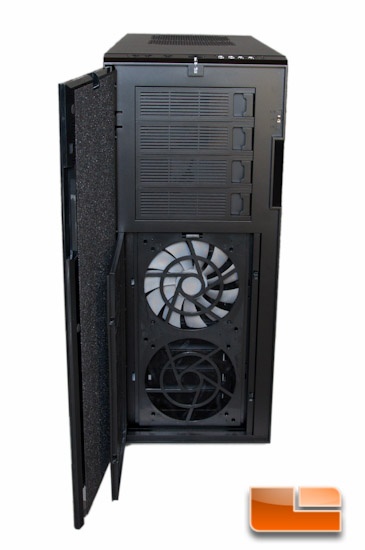
Behind that door is one of the included and pre-installed intake fans, which conveniently has a dust filter in front of it.
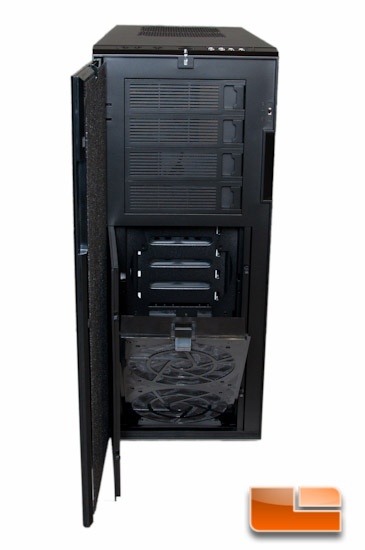
Pulling the fan cage out is a breeze (pun intended), as you just press down on the tab on top holding it in, and it’ll just come right out. Unlike the Define R4, which has a filter that can be removed, this filter is integrated into the fan cage and is not removable. I would have liked to see the filter have the ability to be removed, as I do not always want to just vacuum them off, but rather I’d like to wash them, too. Fortunately removing the fans from their holder is simple.
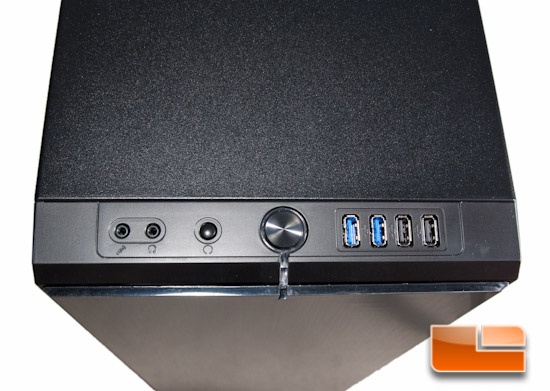
Moving to the very top of the face, and placed on the very edge, are all of your I/O connectors. Moving left to right, there is the microphone in, headphones out, reset button, power button, 2x USB 3.0 ports, and 2x USB 2.0 ports. There is also a blue LED for the power, just below the power button itself.
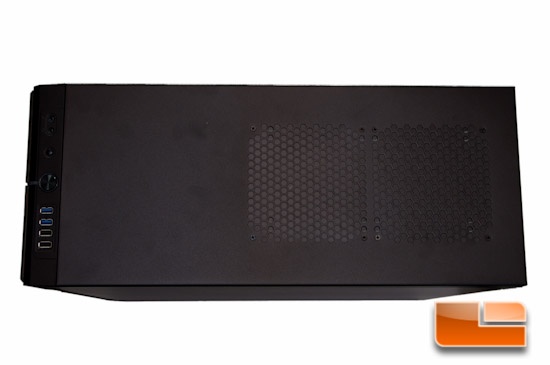
On the top of the case are two spots for either 120mm or 140mm fans, both which have nothing more than sound deadening material in place.
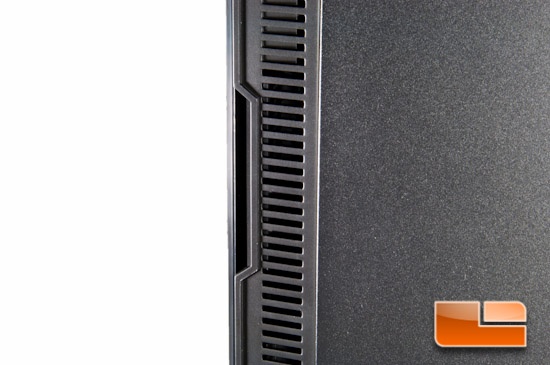
Sliding back down to the left hand side of the case, there is a spot for a 140mm fan to be mounted to the door. On the very right hand side is a long vent, which will help your intake fans pull in air.
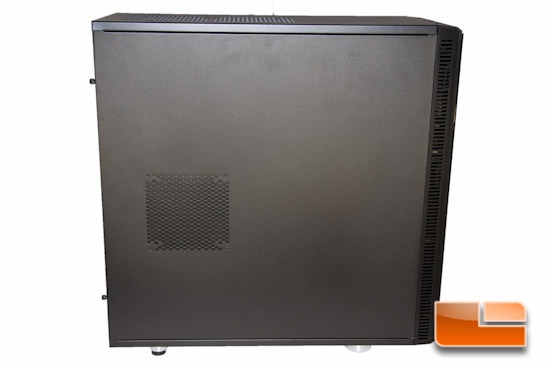
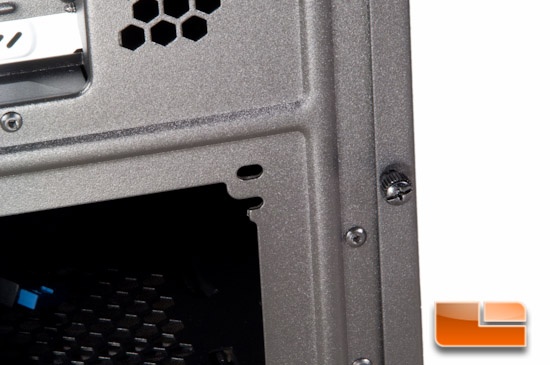
Removing the side panel is sort of easy, as on the rear are two thumb screws per panel. You will simply slide the panel back a bit and it “hinges” at the front of the case. This hinging method may be inconvenient for those who have this case in a tighter space. What would make this easier to remove, is if Fractal Design actually had a bump out on the rear of the panel, so you can actually get some grip on the panel with your fingers. Instead, you’re left to use the friction between your hand and the panel, and then pull back with some force. If you can manage to get your fingernails behind the door, you may not find this much of an issue.
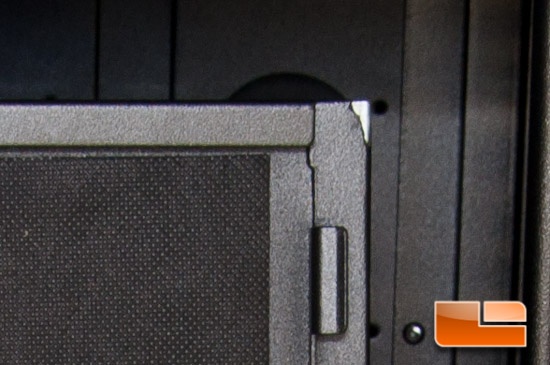
I do also have to note that when I popped this panel off, and due to the difficulty with removing the side panel, it plopped down on a harder surface that I was working on, which caused the paint to chip on the corner. I was not at all thrilled with this and felt it completely necessary to point out!
On the rear of the case, working our way top down is another one of the pre-installed 140mm exhaust fans. There are 9 expansion slots in this case, which the fillers are painted a cool white. On the bottom is where your PSU will mount.
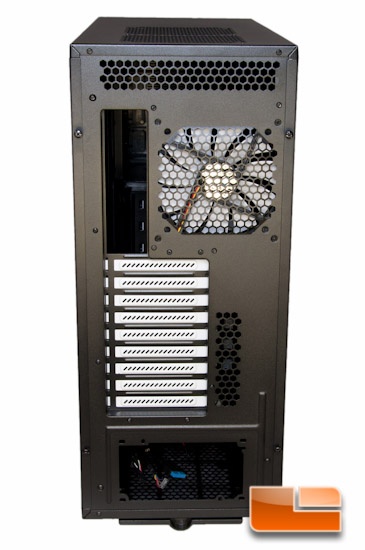
Also on the rear are the thumb screws that hold the side panels in place; four in total. I’ve seen much easier tool-less options for removing the side panels, but I’ll take thumb screws over nothing!
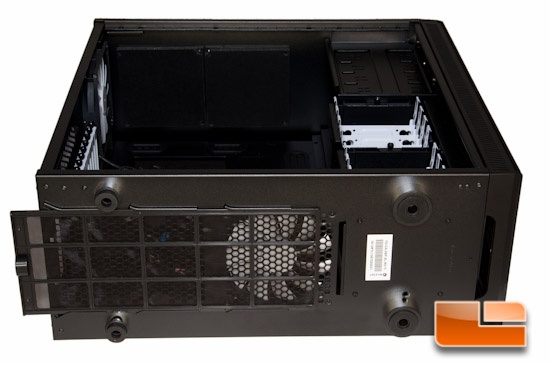
At the very very bottom lies the filter for the bottom. It can be removed from the case, sliding to the rear. I greatly appreciate the fact that this filter can be removed, though it is quite long and again, can only be removed from the rear. Depending on your placement of your case, this may be difficult to remove. In the picture below I have it slightly removed so you can identify it. The feet are also quite nice, in that they are chrome with rubber on the bottom.
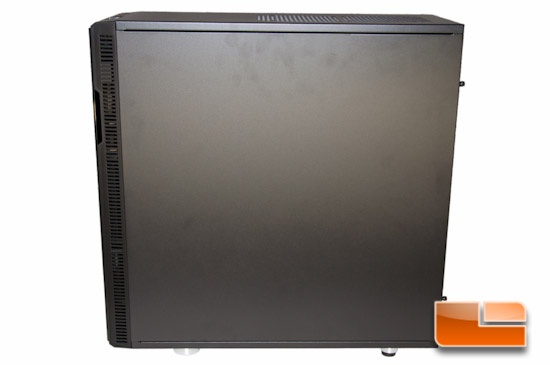
Finally, on the right side of the case is a whole lot of nothing. On the very left is the vent that helps your intake fans pull in air. You can also see where the notch is placed to open the front door.
Next up, I will pop open the case and check out what it has to offer inside!

Comments are closed.