Fractal Design Define R4 Case Review
Define R4 Hardware Installation
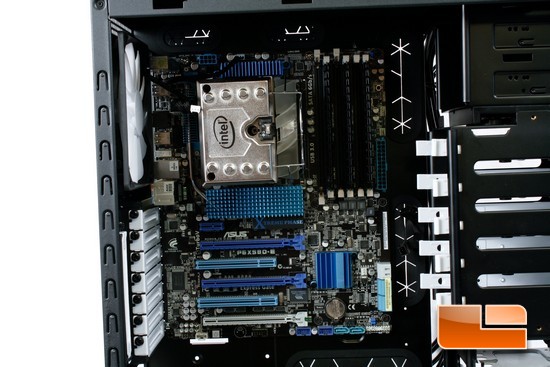
The Define R4 chassis can handle a standard sized ATX motherboard quite easily.
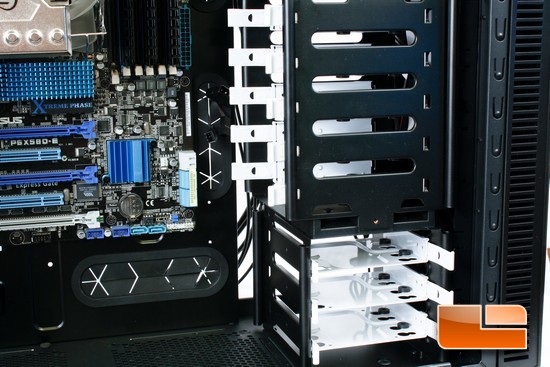
A quick close up of the upper HDD cage rotated 90, I wonder if the HDD/SSD carriers will become a major obstacle while they are in a 90 orientation. Only one way to find out and thats to continue installation
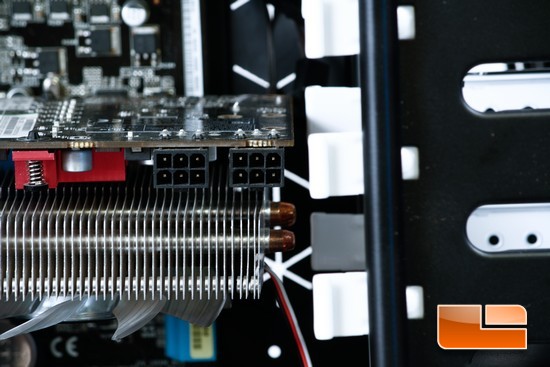
Talk about close, the quick release that is on each of the HDD/SSD carriers barely gives me enough room to use a standard sized high end video card. There is only roughly about one quarter of an inch of room between the HDD/SSD carriers and the video card.
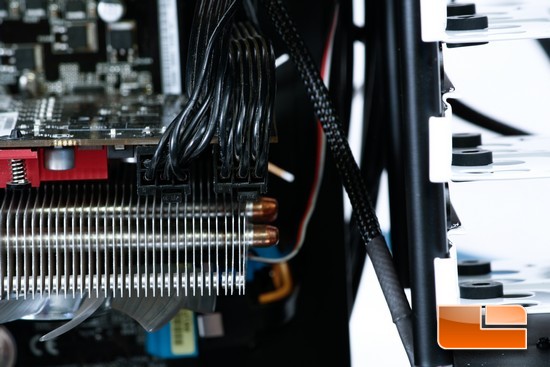
Rotate the HDD cage to its normal orientation gives us plenty of room between the video card and the HDD cage.
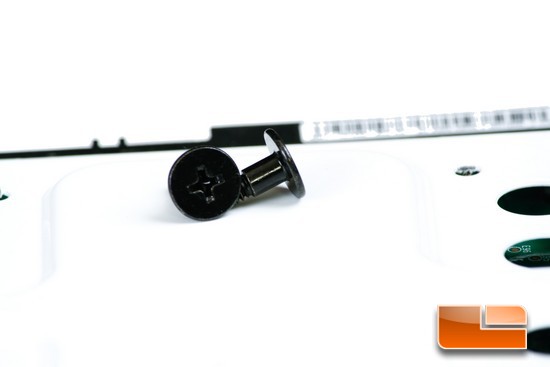
To install 3.5 HDDs onto the individual HDD carriers we will need to use these flat topped screws to secure the HDD to the carrier.
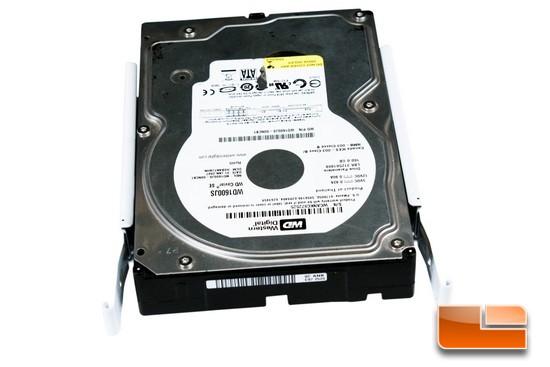
What a 3.5 HDD looks like once it has been installed onto the HDD carrier.
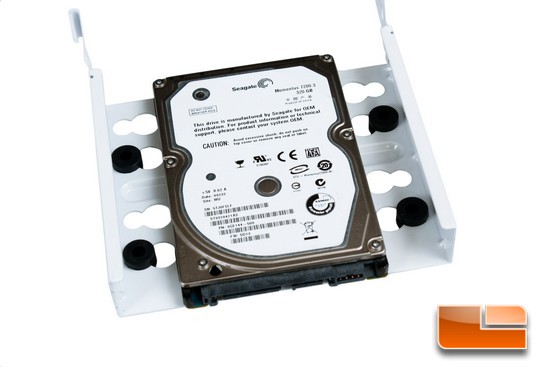
To install a 2.5 HDD/SSD onto the HDD carriers we will be using the inner four mounting holes. Align these mounting holes to the 2.5 HDD/SSD and locate the appropriate screws then secure these drives to the carriers. Lap top HDDs and SSDs both have similar mounting holes.
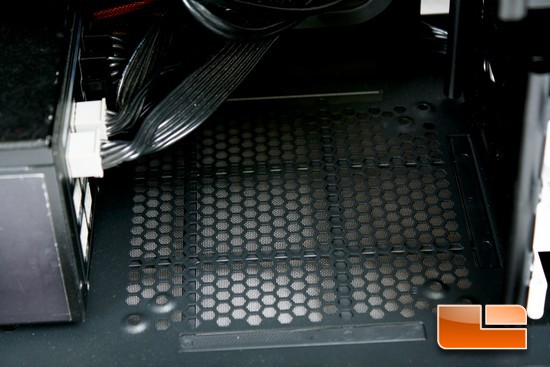
If you use a moderately sized PSU in with this chassis you will be able to mount a lower 140/120mm fan into the Define R4 chassis.
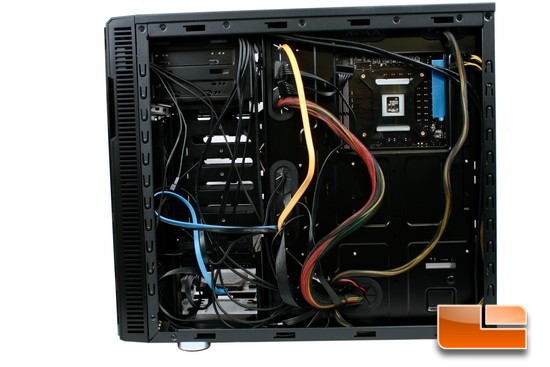
What the backside of the motherboard tray looks like once all of the computer hardware has been installed.
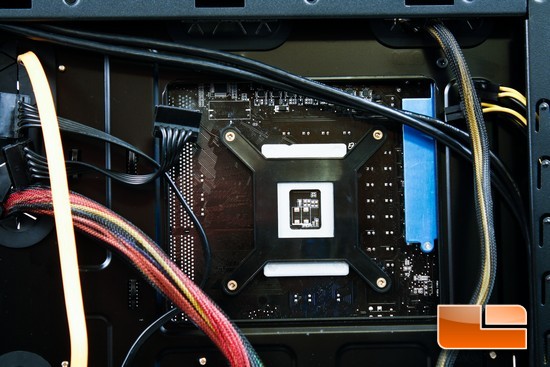
Just as I suspected, the CPU cutout is large enough to handle a wide variety of motherboards, so that we are able to remove the CPU cooler, or install one, without having to remove the motherboard.
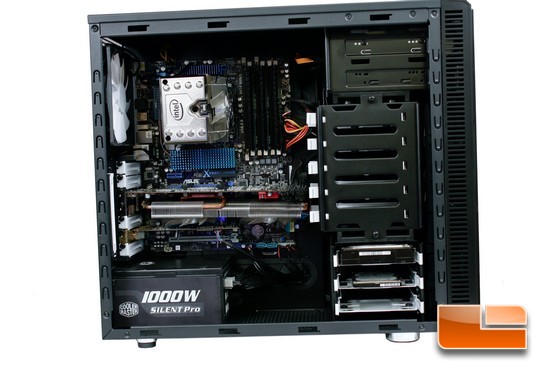
Now that is what I call a clean installation. Finally there is a chassis that has the ability of hiding all of my PSU wires behind the motherboard tray, and make installing the side panel easy after hiding all of our PSU wires.
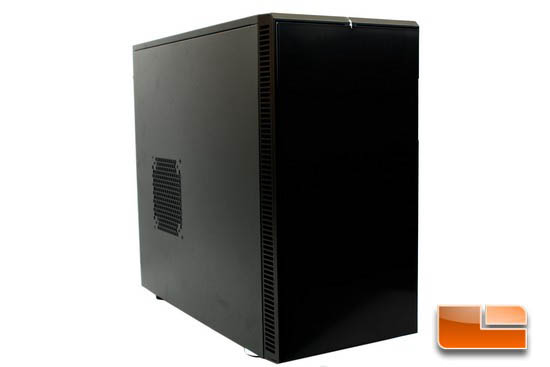
What the Define R4 chassis looks like once everything is installed and all buttoned up. No different from when I pulled the define R4 chassis from the confines of the box.

Comments are closed.