FOXCONN 975X7AB-8EKRS2H Motherboard Review
Board Layout
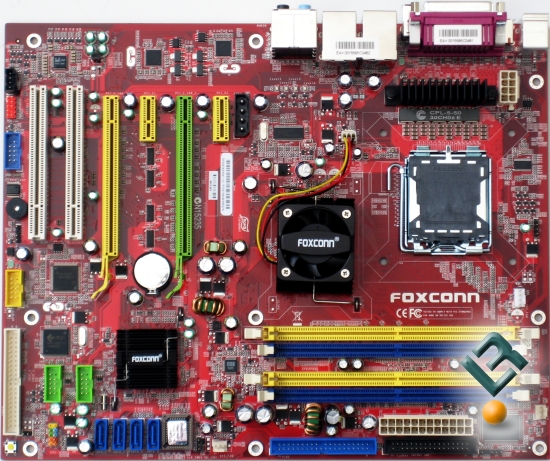
A quick look at the board shows a nice and clean layout. There is nothing around the CPU socket that looks like it would hinder the installation of any aftermarket heatsink or water cooling setup. It was absolutely no problem with our Corsair Nautilus water cooler. There certainbly are a lot of colors on the board, a little too many for my personal taste, but that is very subjective. The PCB is a nice shade of red, it is just all the other colors that are a bit annoying. As you can see, the northbridge is actively cooled, while our southbridge has a nice little heatsink and no fan. Overall, the layout was very good. Let’s take a little closer look.

The top right of the board is the location of our dimm slots. This board supports a maximum of 8GB of DDR2 at speeds of 400/533/667/800, in single and dual channel configuration. To the right of the dimm slots, we have our 24-pin power connector. This may be just a little close to the dimm slots, but not so much that is caused any problem. right next to the power connector is the floppy connector. The edge of the board is a good place for this (if you have to have one). Just underneath the floppy is the first of two IDE connectors. The one on this part of the board is handled by the added JMicron chip.
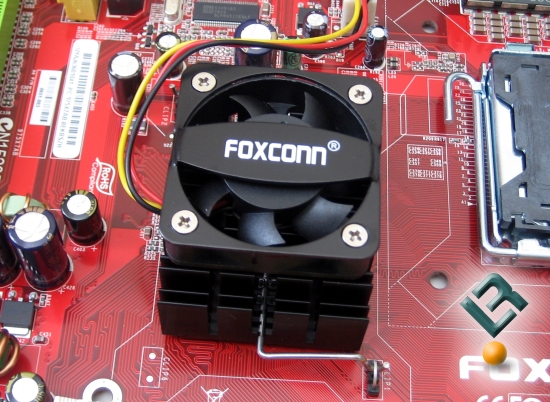
Also, on this part of the board you can see the chipset, well, not really the chipset, but the HSF that covers the chipset. This active cooling did fine for our testing and overclocking, as we had no issues at all.
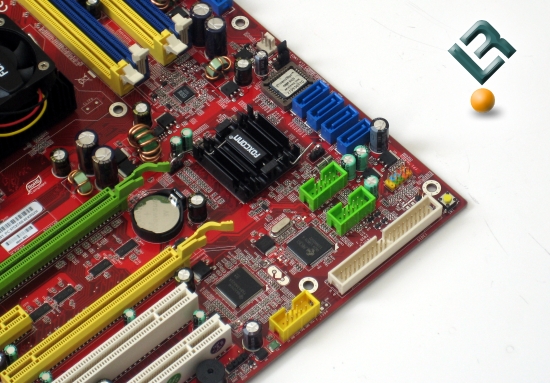
Moving to the bottom right of the board, you can see the southbridge, and once again it should be noted that this is passively cooled with a small heatsink. This did get very warm to the touch, and extreme enthusiasts may want to add a fan or even water cool it for maximum potential in overclocking. Just to the right we have our four SATA connectors. These are powered by the Intel ICH7R southbridge, are SATA II compliant and support RAID 0, 1, 5, 0+1 (or 10).
Right under the SATA connectors we can see the front panel I/O connectors. Take a closer look at those:
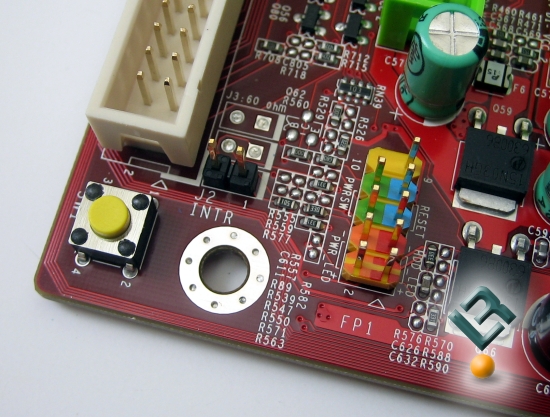
Very colorful! And certainly very helpful as you set up your board. In that close up picture above, you can also see a little yellow button. This is a power button, which comes in handy when you are working with the board on a test bench, or at least when you are in a situation where the board is not hooked up to your case.
Right next to the power button, you have the second IDE connector that is on the board. This is in a great position, on the bottom edge of the board. The ATA/100 (bottom of the board) is serviced by the ICH7R and the ATA/133 (next to the floppy connector) is serviced by the JMicron controller.
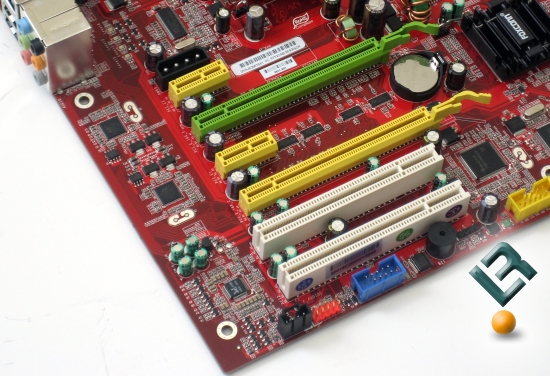
Moving along to the bottom left of the board, we have our PCI and PCIe connectors. This board sports two of each of the following: PCIe x16, PCIe x1 and PCI legacy. With the two X16 slots available, this board is also capable of running to ATI Crossfire capable video cards, making this a great board to run if you would like to upgrade to Crossfire in the future. Just above the top PCIe X1 slot, we have a four-pin molex power connector that used to make a Crossfire setup more stable. This must have worked just fine, as we had no issues running our ATI cards in corssfire at all.
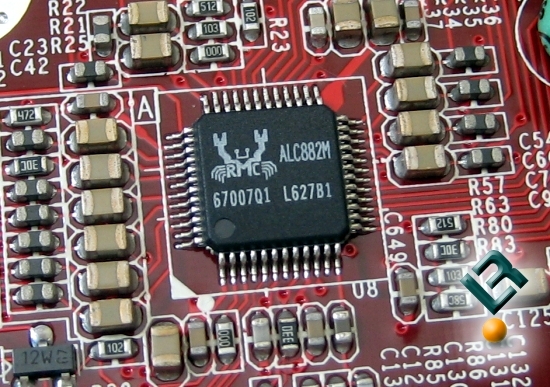
Our audio solution is also found on this part of the board. Foxconn decided to go with the Realtek ALC 882 (HDA). This solution is able to provide HD audio in a 7.1 setup.
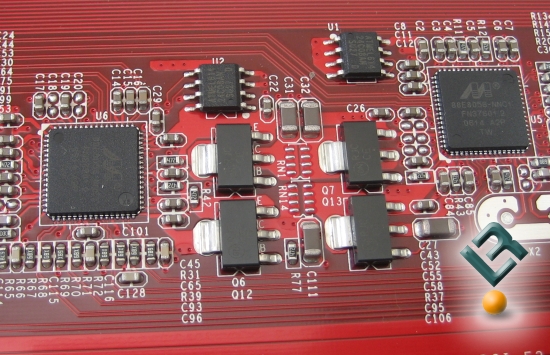
The 975XAB also sports dual gigabit-lan. This is done by using two of the Marvell (10/100/1000) PHY lan controllers. This is a pretty nice little bonus for a board in this class.

Moving along to the top left of the board, we can see the 8-pin power connector at the very top, just above the heatsink that we will look at in a moment. This connector is in a nice position here at the top of the board. To the right, we see the CPU socket. Once again it is worth mentioning that this area is clear and free of anything that might potentially get in the way of using a large heatsink or water cooling. Just underneath our socket, once again is the active cooling for the northbridge. Just for kicks, here is a closer pic of that…
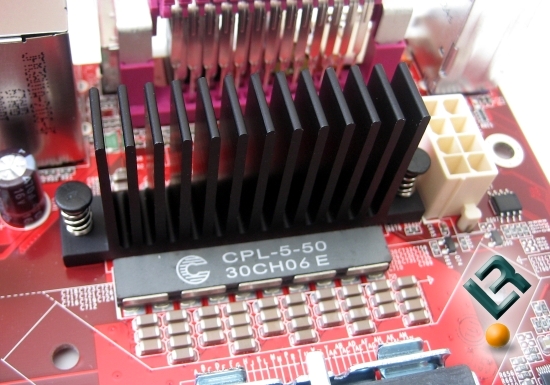
One last thing to cover is this heatsink that we see in this part of the board. Foxconn has decided to do away with the typical mosfet power supply on the board and use a Digital Pulse Width Modulation setup instead. This heatsink is there to cool that power supply, and using this setup is a much cooler option for the board, and it is also one of the reasons that this area of the board is so clean in its layout.
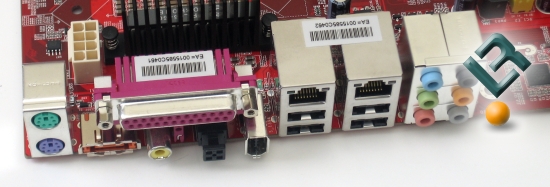
Lastly, we see out I/O panel. We have out legacy PS/2 connectors for mouse and keyboard, a parallel port, dual ethernet ports, firewire, audio, 4 USB 2.0 ports, and an eSATA connector.
Ok, enough of that, let’s look at the bundle and the bios!
Comments are closed.