Cooler Master V8 CPU Cooler Review
Installing the V8

Everything needed is provided to mount the cooler to your LGA775 or AM2 socket. There is also an optional LGA1366 bracket kit that will allow the V8 to be used with the new Core i7 CPUs.
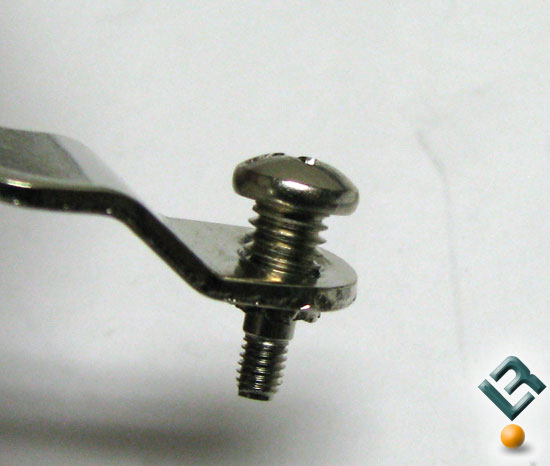
Ill be setting the cooler up to be used on our Intel test system. The first step is to install the mounting studs to the LGA brackets. The mounting studs attach to the brackets with a left hand thread, so you’re not crazy when you have to turn the screw the wrong way to tighten it.
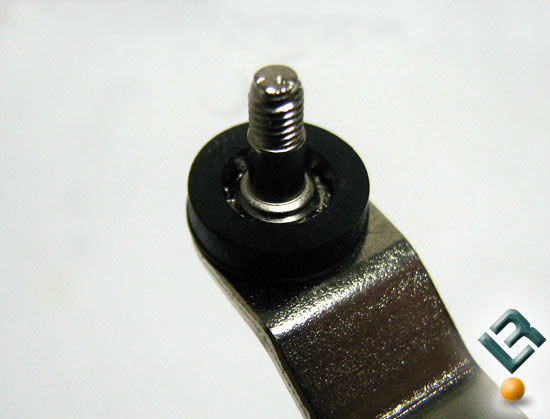
Once you have the mounting studs installed you have to install foam insulators on each.
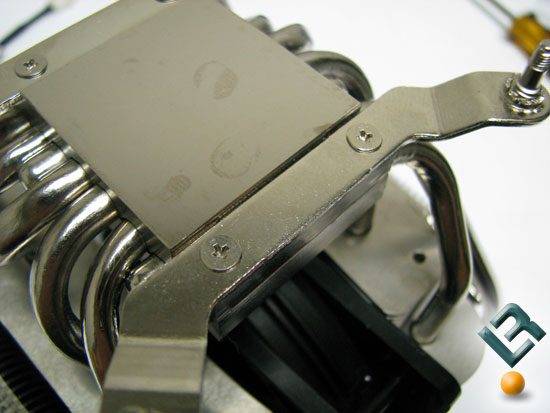
Then you have to attach the brackets to the cooler base with 2 screws each.
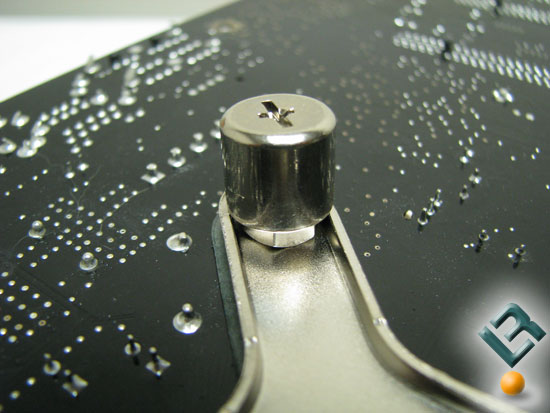
Then, all that is left is to mount the cooler to the board, place the backing plate, and secure it all with 4 hex nuts. Now this is the one part that is similar to installing a real V8; you might want to get a second set of hands. It can be done without help, but it gets very interesting balancing the board on the cooler and all while trying to start 4 hex nuts.
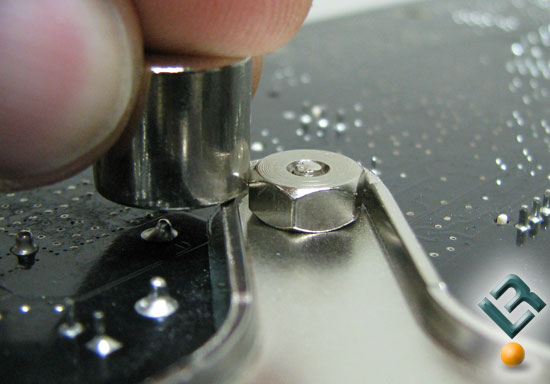
At first I thought that the provided socket would not work as it is wider than the backing plate. With a little patience it does tighten up and there is just enough engagement between the nut and socket to get the job done.
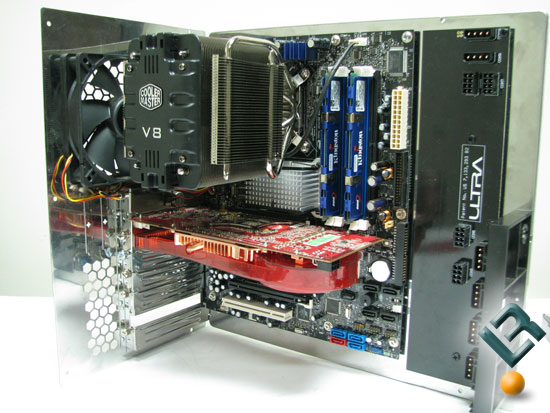
Here we have the V8 installed in our Intel test bench. The V8 clears all the motherboard components with ease and room to spare. The fan control also mounted easily into the expansion slot just above the video card.
Comments are closed.