Cooler Master V10 CPU Cooler Review
V10 Bundle
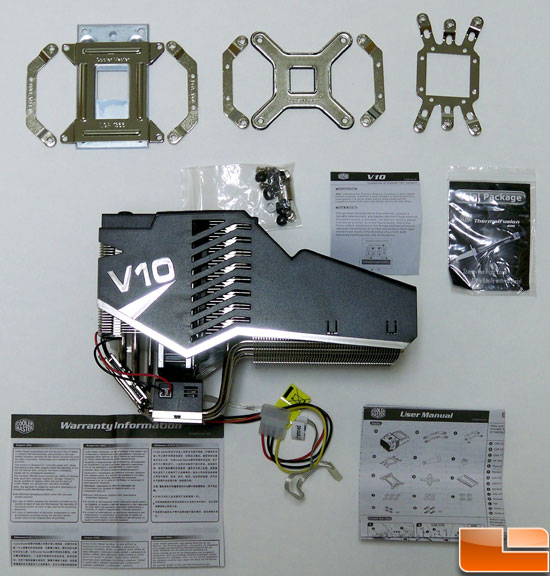
As you can see in the photo above, Cooler Master packed in quite a bit of hardware with the V10. We mentioned on page one that the V10 supports several CPU configurations and at the top you can see all of the mounting hardware. To the right of the cooler you can see a card that has a brief explanation about how the TEC works. Further to the right you can see the thermal compound included. At the bottom of the photo we have the Warranty information card and on the right the User Manual. The instructions are black and white but are very easy to follow.
Under the hood
Most of you remember that scene from The Transformers when Megan Fox digs around under the hood of the Camaro. Ahh… well I am fairly certain that no hot girls are going to be poking around your computer case to take a closer look at the V10, but you never know right?
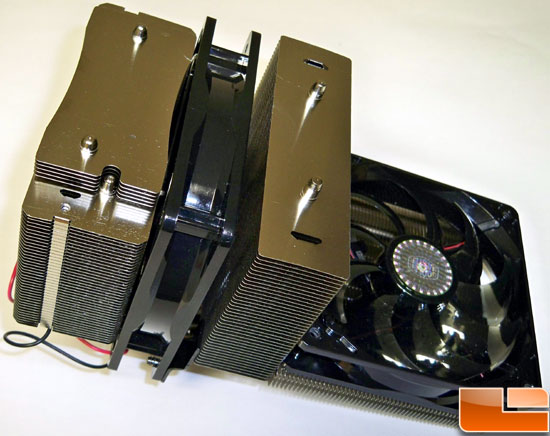
In this photo we have removed the plastic shroud that covers the heat sink. This is done by the removal of 6 screws.
With the shroud removed we can get a better view of what makes the V10 rumble. On the far left, the red and black wires are leading from the control module to the TEC. The hot side of the TEC is attached to the base plate that has the heat pipes and fins. The cold side is attached to the “smashed” heat pipes, which run directly to the base.
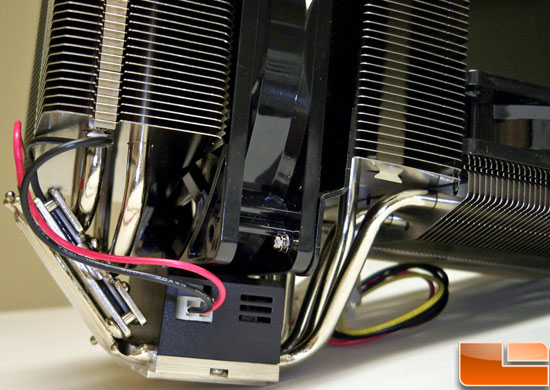
This photo is from the opposite side of the unit. You can see the power cable running out of the base. This molex terminated cable powers the 70w TEC and control unit. The control unit has been very well tweaked so that it only comes on when needed, so while at idle or light loads you aren’t drawing unnecessary power. The control unit can also sense when the TEC may induce condensation and will lower the cooling power to prevent such a problem. As long as you are using a quad core CPU that is unlikely to happen.
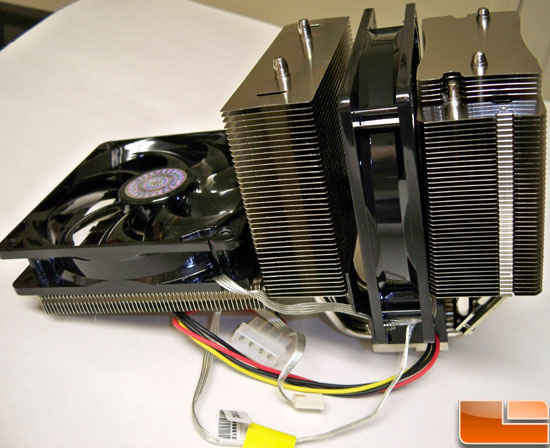
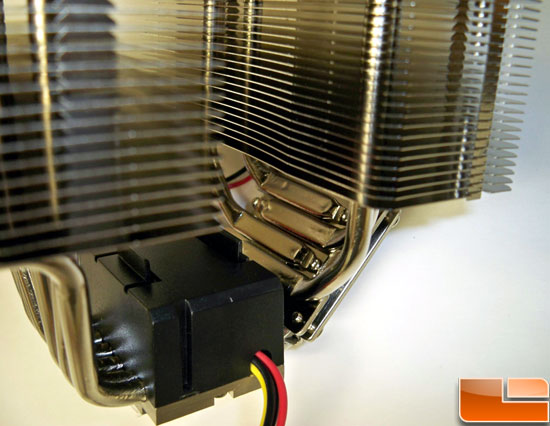
Here we have another shot of the V10 without the shroud. The fans are powered off just one cable. You can see by looking at the vertical fan that the power and PWM functions are integrated at the back of that fan. If you want to swap fans this is something you will need to do yourself or use two separate headers to power the fans.
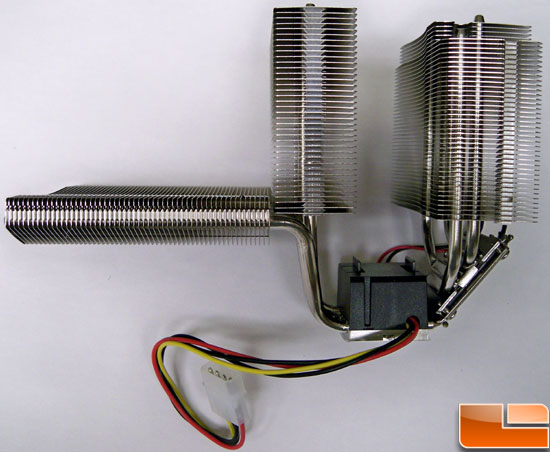
And finally we have the V10 without any fans installed. This gives you an idea of how much cooling this heat sink provides.
Comments are closed.