Cooler Master ATCS 840 Case Review
CM ATCS 840 – Interior/Build
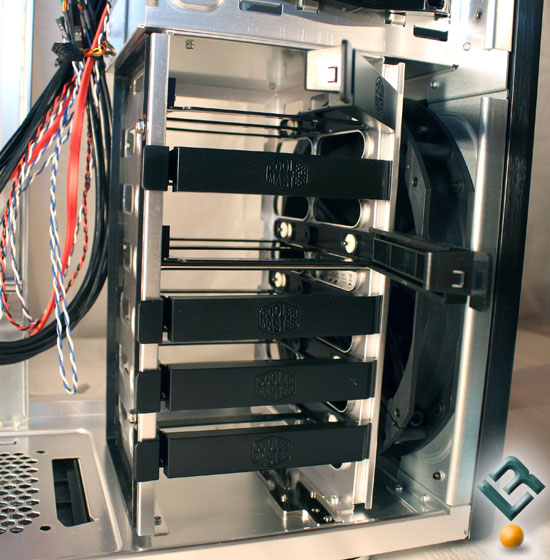
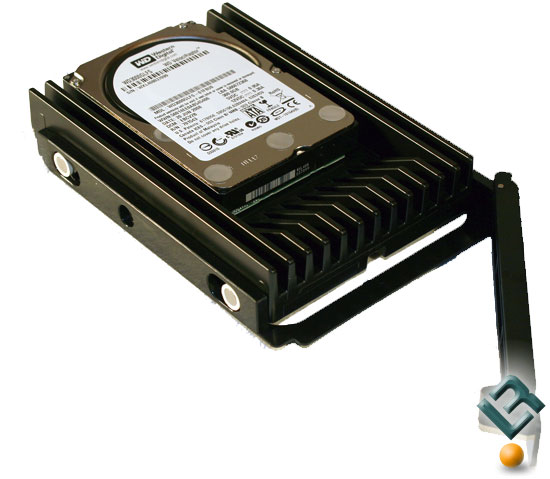
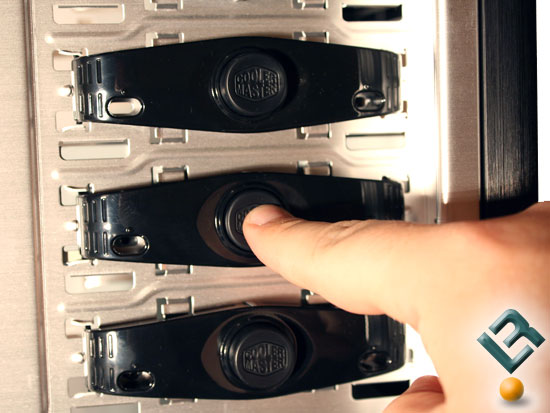
Installing hard drives is simple and requires no tools. The drive bays slide out, insert the hard drive, slide it back in and close the locking door. Also note the front 230mm fans which intakes fresh air and passes it over the drives to help keep them cool. All of the fans have included adapters so they can be connected to the motherboard directly or to the power supply.
The SATA and power connectors are on the opposite side and there is plenty of room for the cables to be connected and stowed but you really need to use the 90 degree angles SATA connectors which are supplied with most modern motherboards.
For the 5.25″ bays, there is a simple locking system employed. Remove the faceplate, slide the drive in and click the button to lock it in place. Although this should be sufficient to hold the device, I recommend still using screws on the opposite side to be safe.
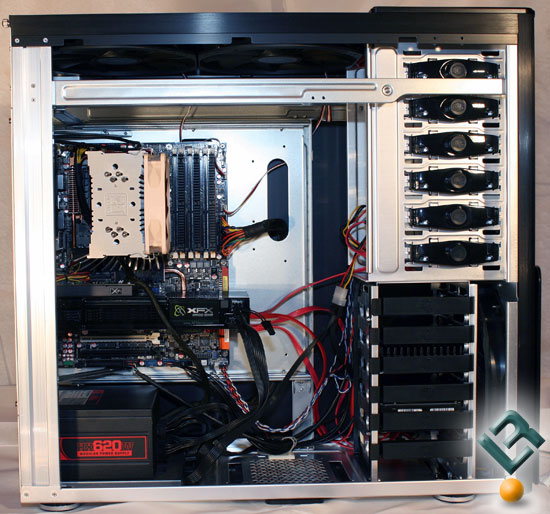
Everything fits nicely with plenty of room to spare and there are many options for cable routing as there is room behind the motherboard tray for hiding cables. I didn’t spend much time trying to clean up the cables and it stil looks uncluttered with unrestricted airflow. Having a modular PSU helps a lot as well.

Comments are closed.