2012 Budget Mini-ITX Desktop PC System Build Guide
Completed Mini-ITX Build Pictures
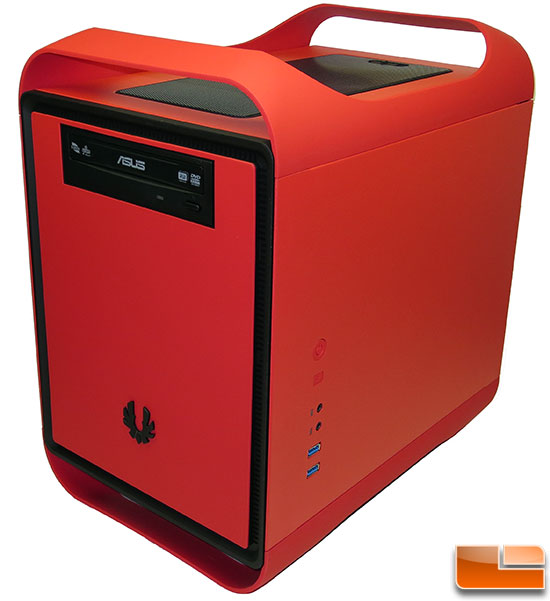
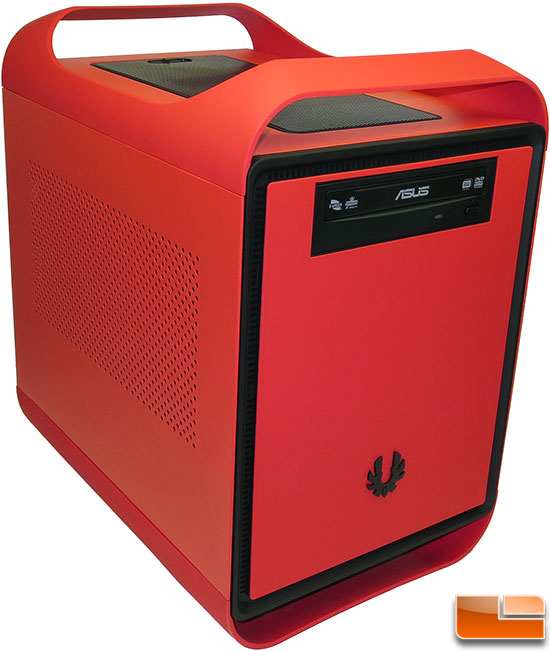
Here is a look at the mini-ITX with it fully assembled and ready to go! The end result is a good looking PC if you like the red and black color combination.

The right side I/O panel takes some getting used to, but it works and helps keep the front of the case clean. BitFenix also did this to keep the costs of the front panel down as they wanted to sell them as accessories. For $20 you can change the front panel and you get to pick between a SofTouch finish or high airflow filtered mesh and then from a variety of colors. This is a nice option to have down the road if you get board with the looks of your case as you can make a fairly significant change for a relatively small price.
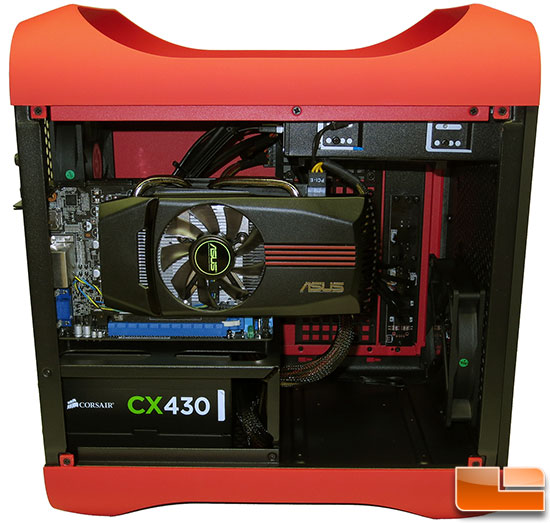
Inside the Bitfenix Prodigy, I was very happy with the results. I figured it would be a wiring nightmare, but the wiring was easy and it came out looking rather clean. You can’t see the Kingston HyperX Red memory, but the ASUS GeForce GTX 650 has a splash of red on it.
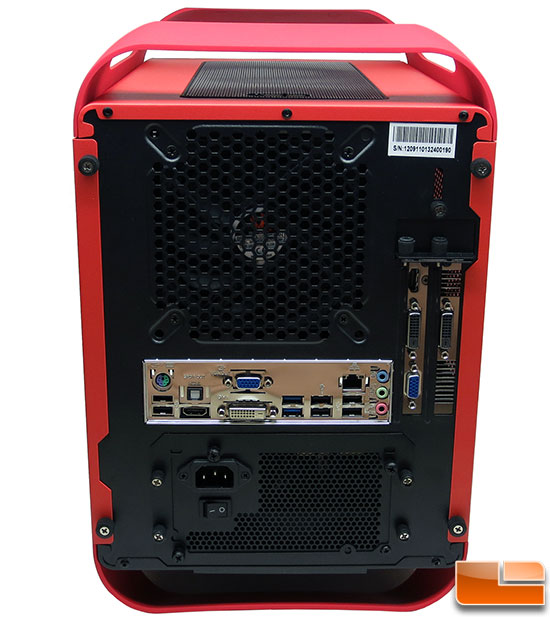
Here is a quick look at the back of the project PC to show how everything ended up looking. The only gripe I have about the build was that the BitFenix Prodigy case has flexible plastic on the top and bottom and the case is a tab wobbly if you bump it due to the flexing. I’m not used to a case moving when you plug in a USB drive, but you get used to it after a bit. We took this build to the digital shipping scale and it weighed in at 19 pounds, which is fairly light for a full desktop system!


Comments are closed.