Thermaltake Water 3.0 Extreme S AIO CPU Cooler Review
Installing the Water 3.0 Extreme S AIO Liquid CPU Cooler
I’ve worked with a few Asetek built coolers in the past and have found them all to be pretty simple to install. Each cooler has easy and annoying parts to the assembly, but thankfully these Asetek coolers are pretty simple throughout.
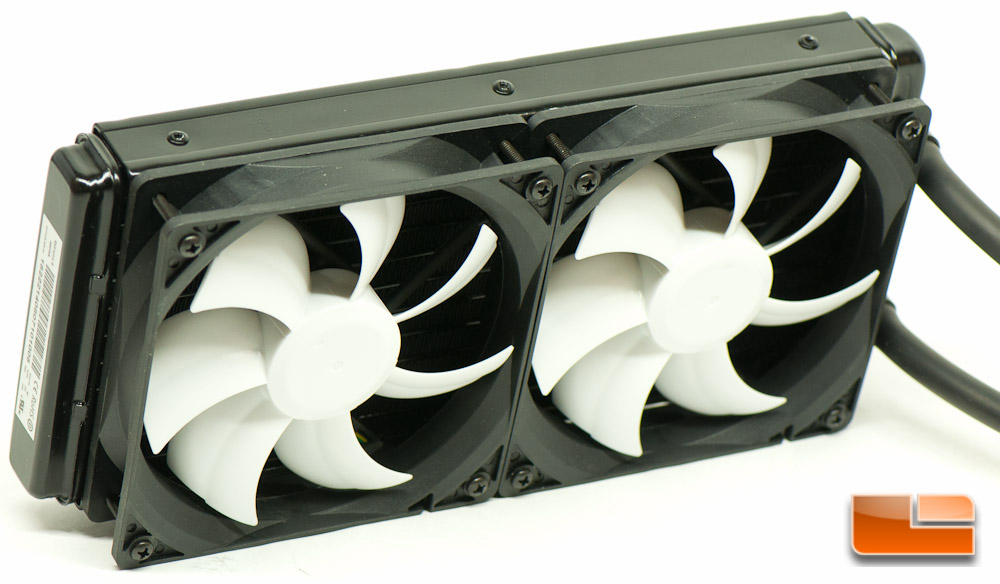
Despite the install guide, I recommend installing the fans first before even trying to drop this cooler in your case. The screws that were included threaded in easily and were the perfect length.
Next up you will need to assemble the mounting bracket, which ultimately attaches to the water block. These clips allow you to install the mounting screws.
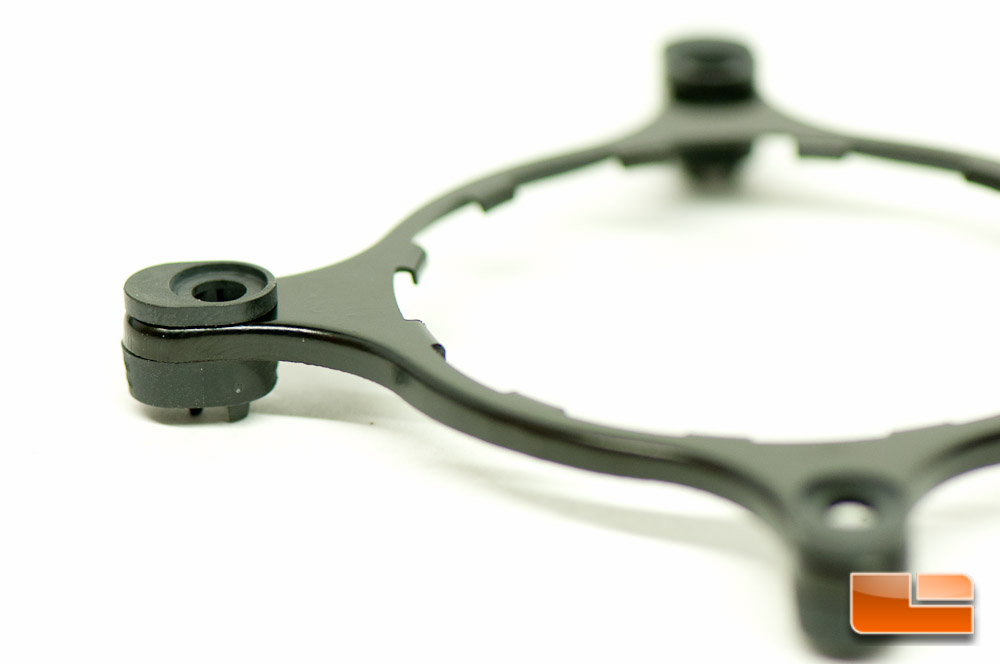
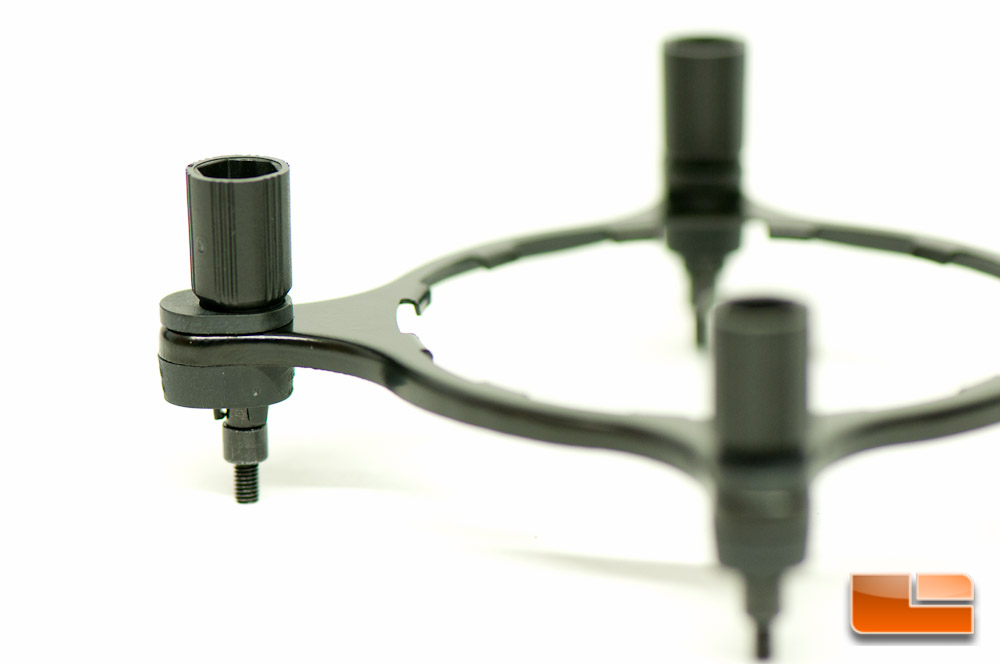
Now just simply slide the mounting screws in place until they snap in and this bracket is ready.
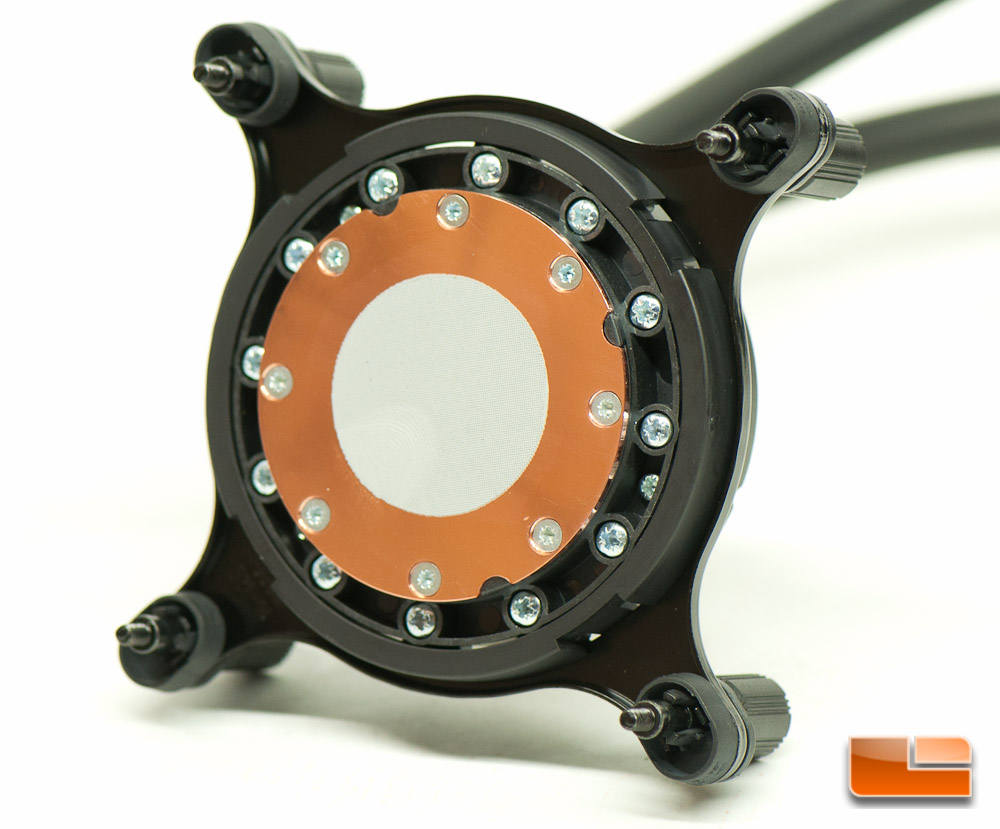
Line the mounting bracket up on the block and then snap in the retention ring. The bracket will actually hook into slots on the block, securing it in place.
Before proceeding further, I made sure my Core i7 4770k was cleaned off with a high purity rubbing alcohol to remove any residue off from old coolers, or any oils from my fingers if I touched the IHS.
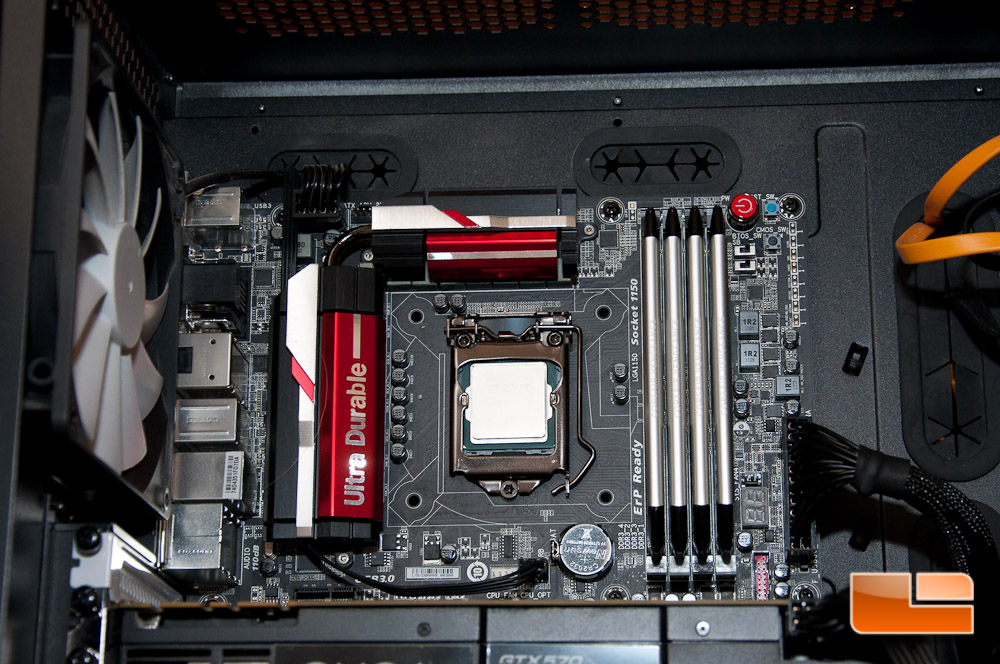
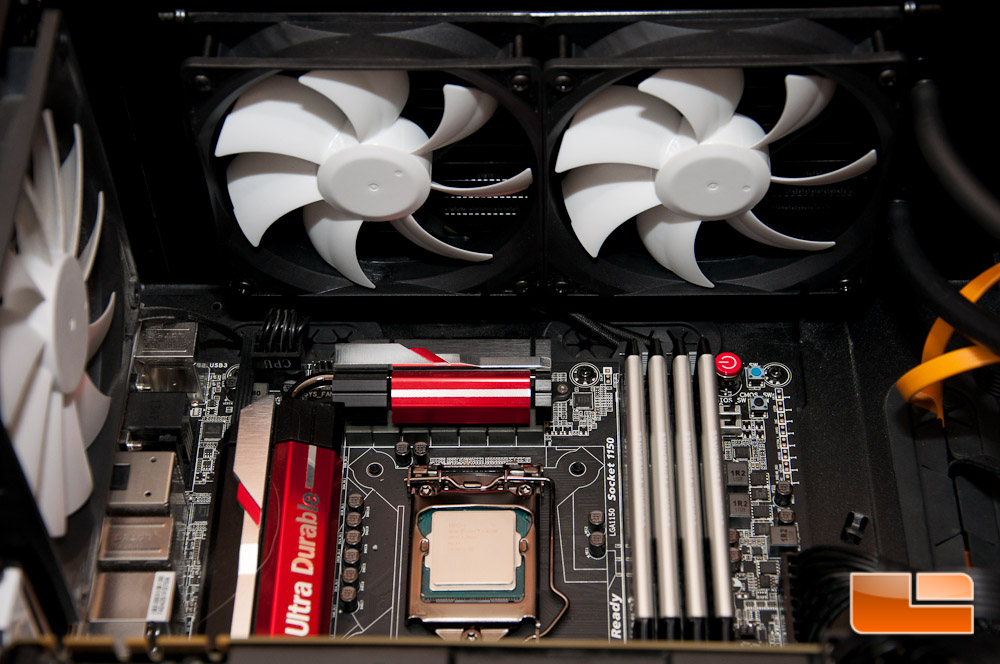
I mounted the radiator to the top of my chassis with the four (4) included screws. I normally catch vendors including the full eight (8) screws, but Thermaltake only includes four. In all honesty, this is more than enough to secure the radiator to any point in your chassis.
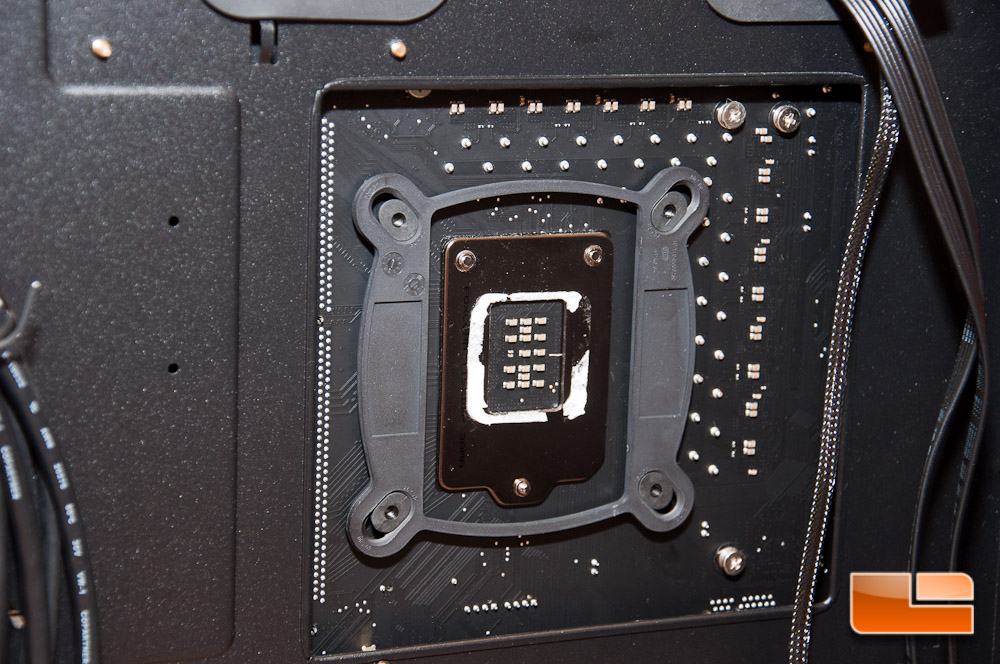
The Intel back plate is very easy to work with, since you can just slide the standoffs into position for your particular socket. I chose not to use the double sided foam strips, but you can if you’d like. The friction from the standoffs in the holes was plenty for me to work with it.
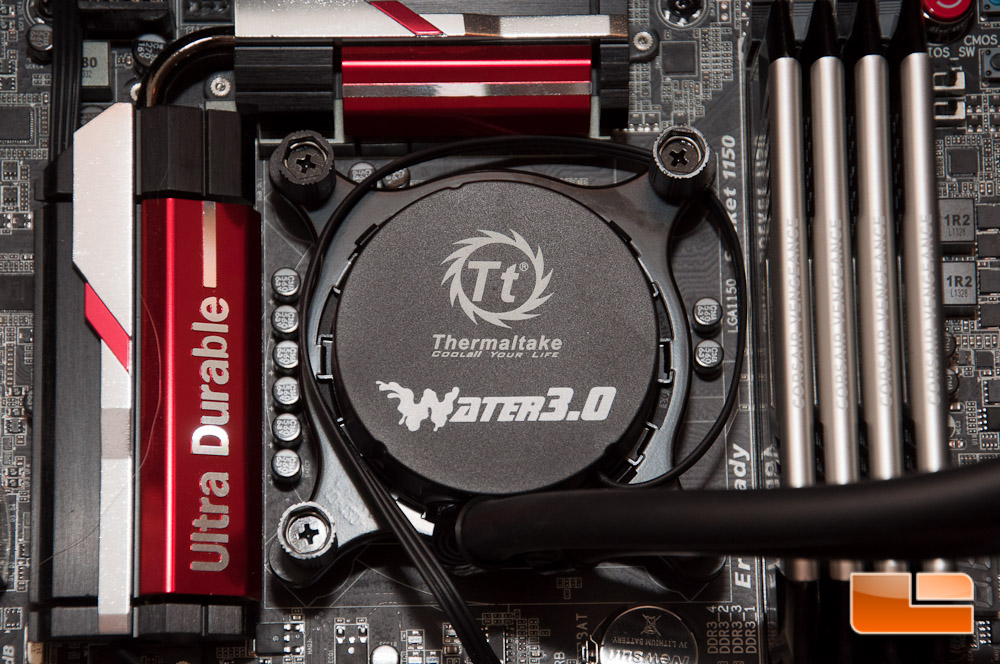
One really nice component of securing the water block to your motherboard, are the nice and large thumb screws. Install these in the crisscross pattern and you’re set. There should be no need for any tools here, as you can easily do everything by hand.
Don’t forget to hook up your pump to a header for power and your fans to any single open 4-pin fan header. I am using CPU for the pump and CPU_OPT for the fans. I’ve also actually chosen to use a cable similar to the included cable, however my cable is significantly longer, allowing me to only display a single wire, not two.
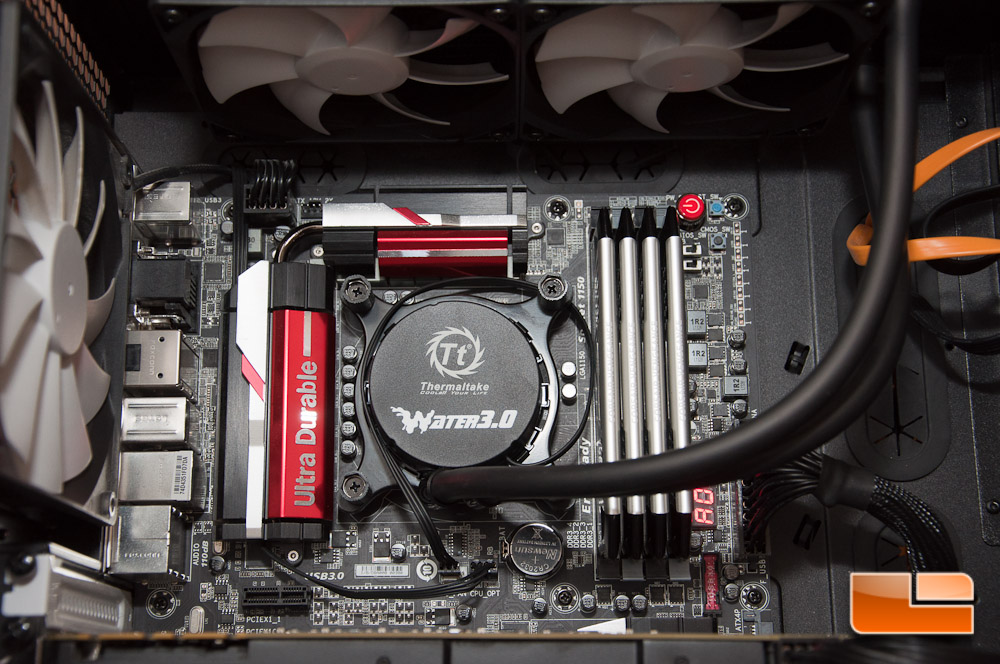
Once you fire up your system, you should hear a slight hum from the pump and the fans will kick on. The fans are pretty noisy under heavy load, but not terrible. There are no fancy LEDs on the Water 3.0 Extreme S pump, which will undoubtedly keep cost down for the consumer.
If you’ve missed it on the other pages, Thermaltake has decided to remove the software component for the Water 3.0 Extreme S, so there is nothing more you need to do but enjoy your new cooler!
Since we’re all here to find out how well this cooler performs, let’s move onto that section of this review. Before we make that jump, let’s take a look at what’s inside our system.