Thermaltake TMG ND1 GeForce GPU Cooler
Installing the ND1
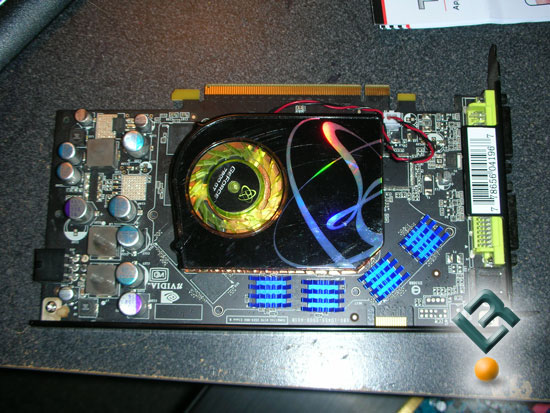
I started with my tried and true XFX NVIDIA GeForce 7900GT. I removed the stock cooler, which consisted of four screws. I also had to very carefully remove the remaining four Zalman memory heatsinks. Every person who has ever had to remove memory heatsinks has had that breath-taking moment were your hoping that the sink doesn’t take off the memory chip with it.
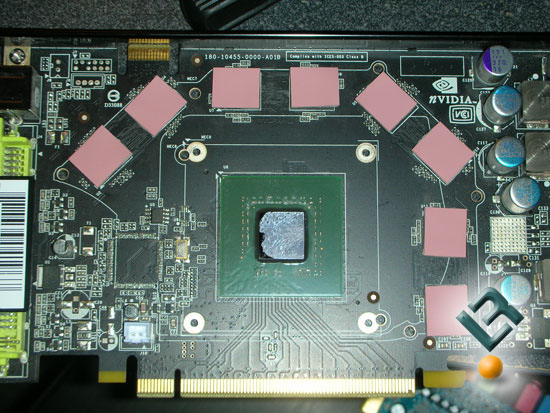
Next you take the memory interface material and apply it to the naked memory chips. I would been happier if Thermaltake did not use this gum like thermal material, but in the end its the easiest way to go for Thermaltake. The material serves two purposes, to cushion the chips and to act as a way to take heat from the chips and go into the cooler. However, as most users have discovered, trying to get that last little bit of FSB out of motherboard, this type of material is always replaced by their favorite TIM. Finally, I applied my TIM of choice, and proceeded to install the cooler.
Installation was rather simple. I placed plastic washers on either side of the screw holes, placed the cooler on the card, and tightened the screws until it was tight, with the notion to not over tighten to avoid crushing the core.
I have to give it to Thermaltake, installation of the cooler was simple and streamlined.
Okay, enough talking, lets get to the numbers!
Comments are closed.